With the new release of Bagisto, the velocity theme has been introduced by which the admin can select between the default theme and the Velocity theme. In this article, we will see how to configure Velocity theme in Bagisto.
How to select the Velocity theme for the front end?
The admin needs to navigate to the settings on the side menu bar under the settings click on the channels, the admin needs to click on the edit icon to edit the channel as shown below:-
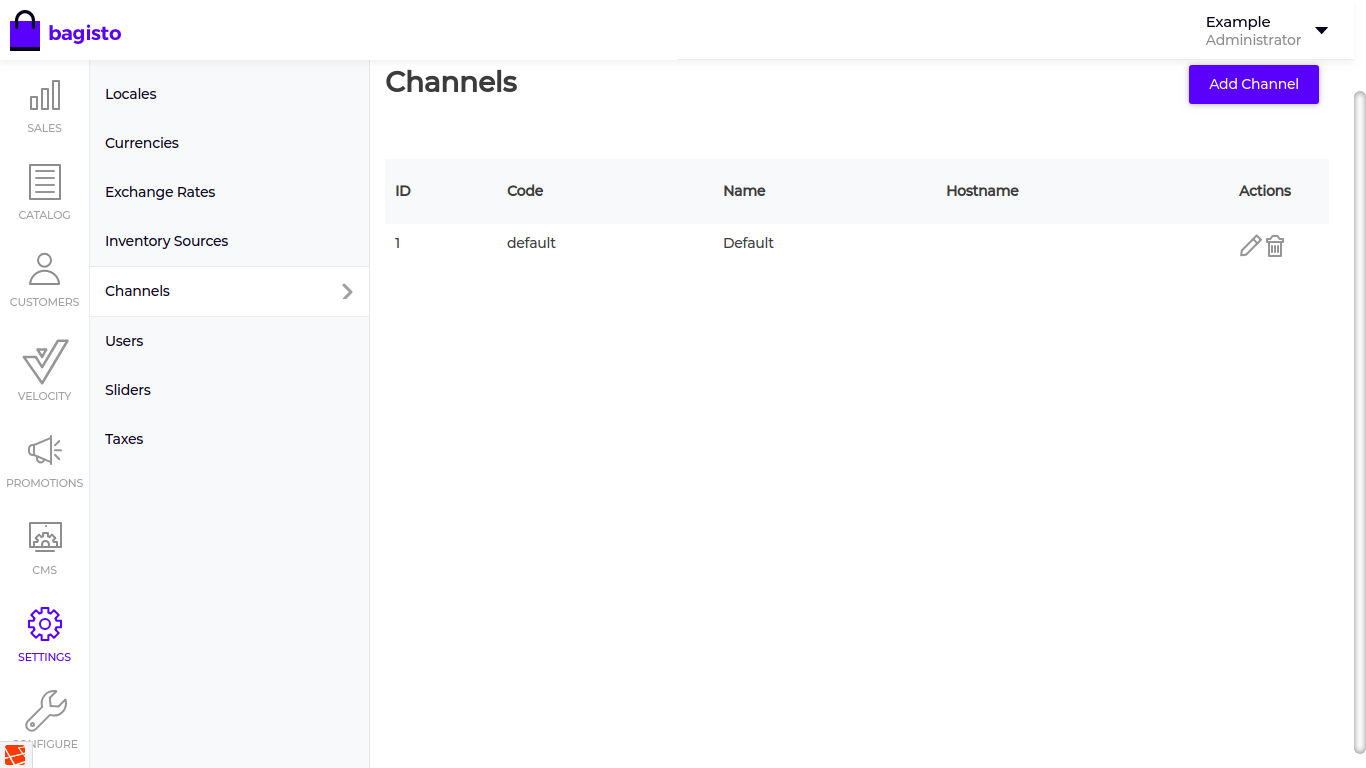
After clicking on the edit icon a page will open where the admin can see all the details regarding the channel.
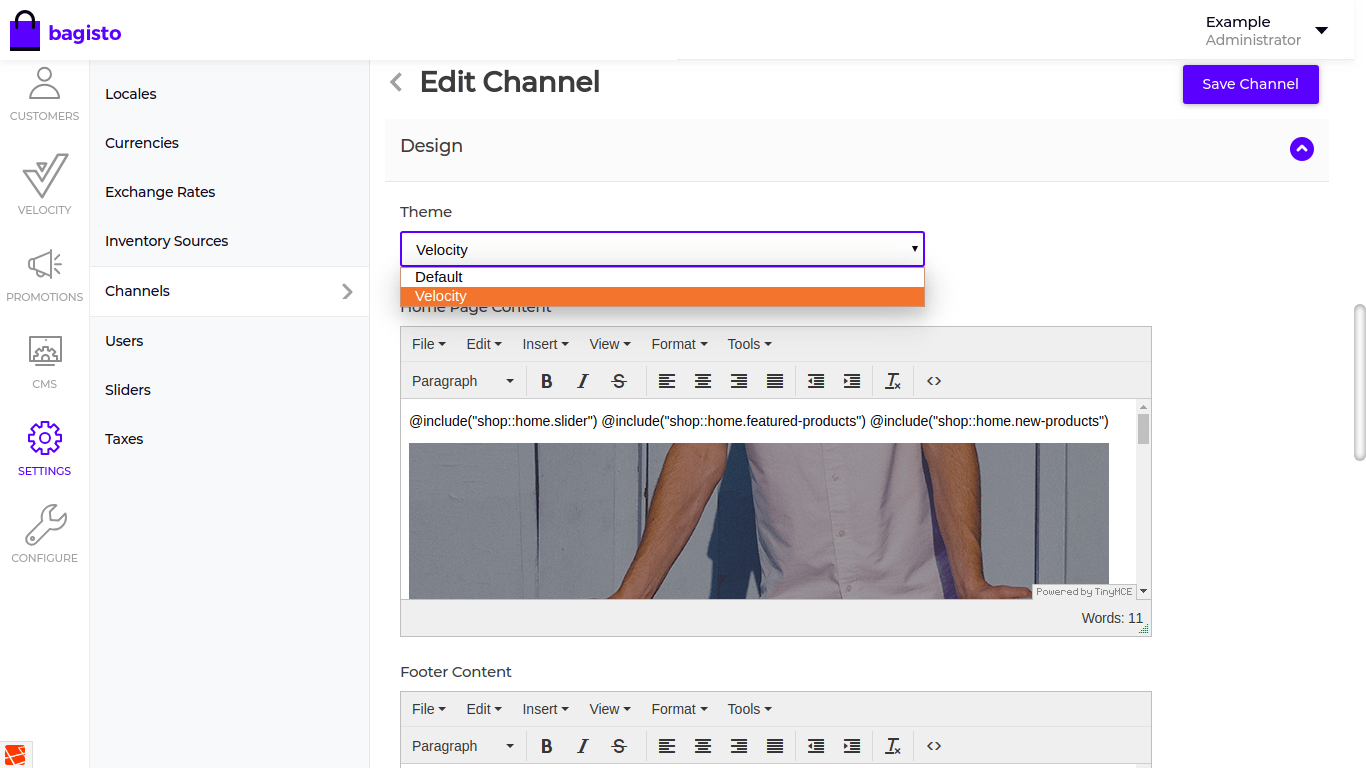
In this page under the Design section, there is a field named as the theme from where the admin can select the Velocity theme from the dropdown menu.
How to configure the Velocity theme?
To configure the velocity theme the admin needs to click on the Velocity on the menu bar, In which there are two options available Header Content and MetaData.
Header Content
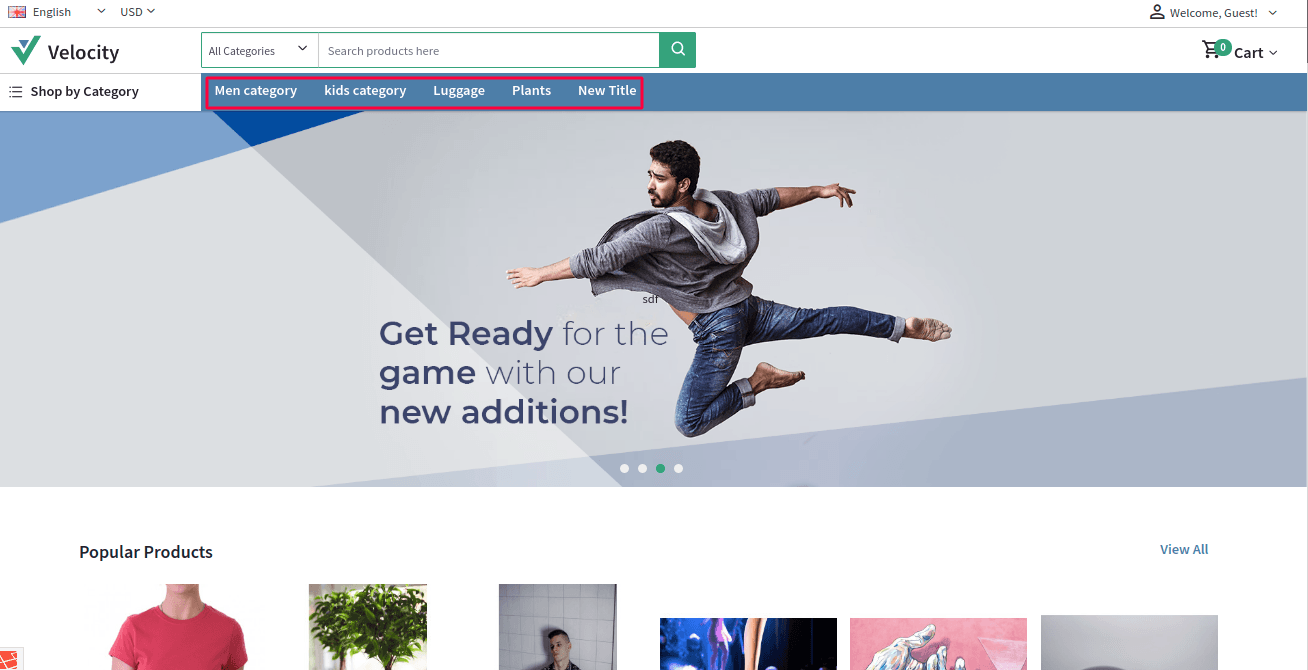
From here the admin can add the header content in the Velocity theme that will be visible on the blue colour bar beside the Shop by category.
All the header content created by the admin can be seen under the Content Page List, The admin can also edit the content by clicking on the edit button as shown below:-
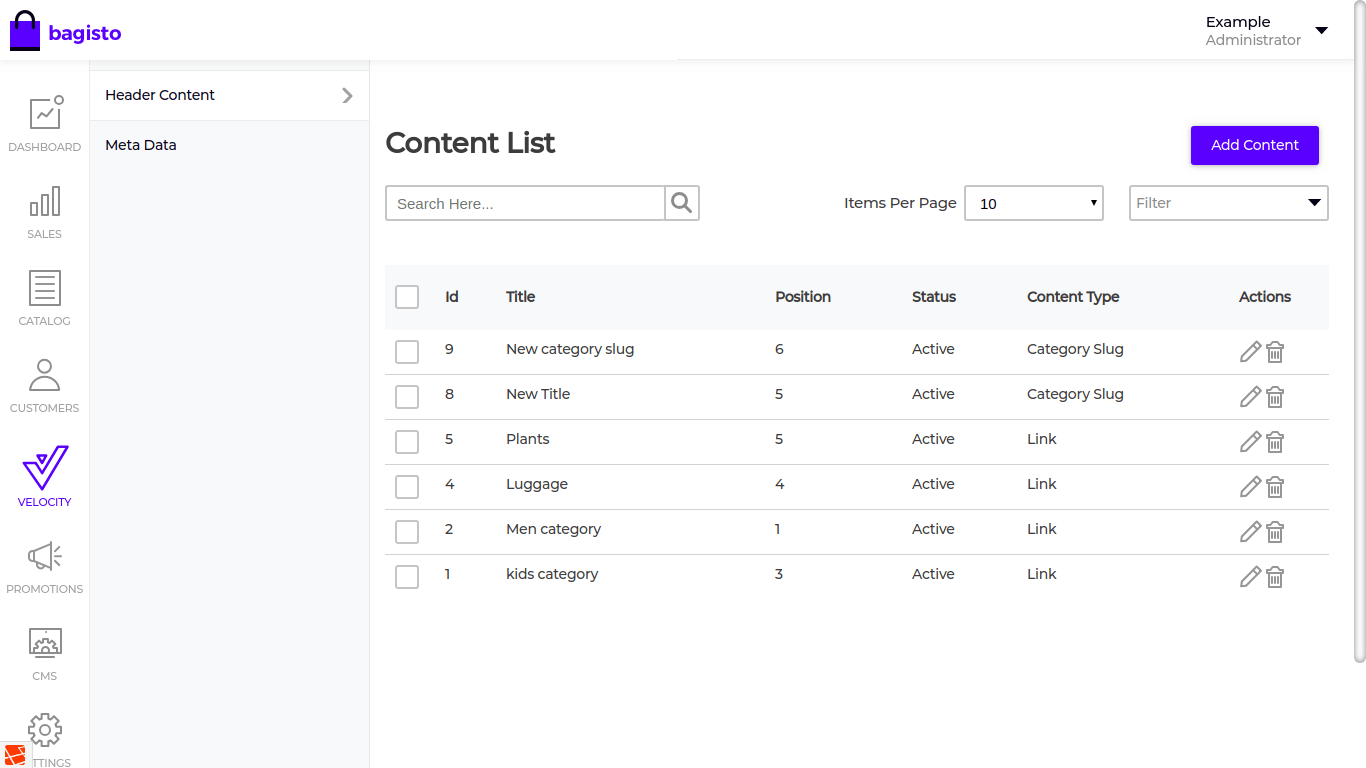
Click on the Add New Content, under the Page Setting section there the three field as shown in the image below:-
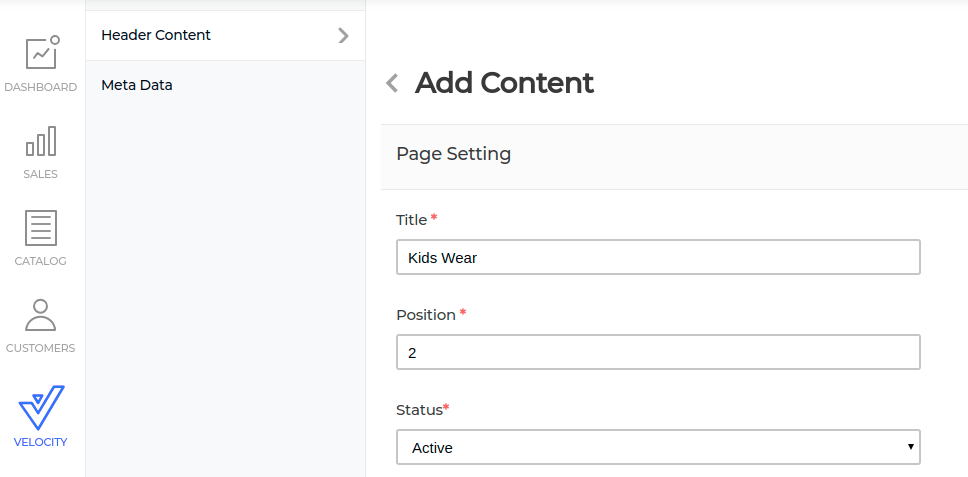
Title
The admin needs to enter the title in this field that will reflect in the front end.
Position
The admin set the position for the title that will reflect according to the position number set by the admin.
Status
The admin can select between Active or Inactive from the dropdown menu.
Now let’s move to the Content Settings under the Content Settings section there are three fields as shown below:-
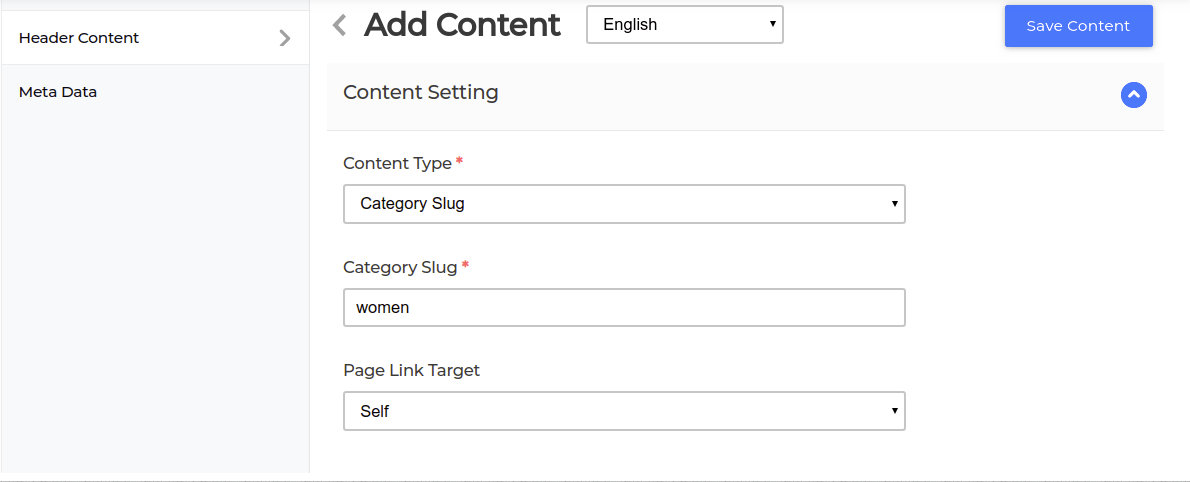
Content-Type
The admin needs to select the Category Slug option in this field.
Category Slug
The admin needs to enter the slug of the category. The admin can find the category slug in the category section after clicking on the edit icon of a particular category.
Page Link target
The admin can select Self and the New tab from the dropdown menu.
- Self:-After clicking on the link, the category page will open in the same tab.
- New tab:- After clicking on the link, the category page will open in the new tab.
Click on the Save Content button.
In the Front end, the header content will look like as the image shown below:-
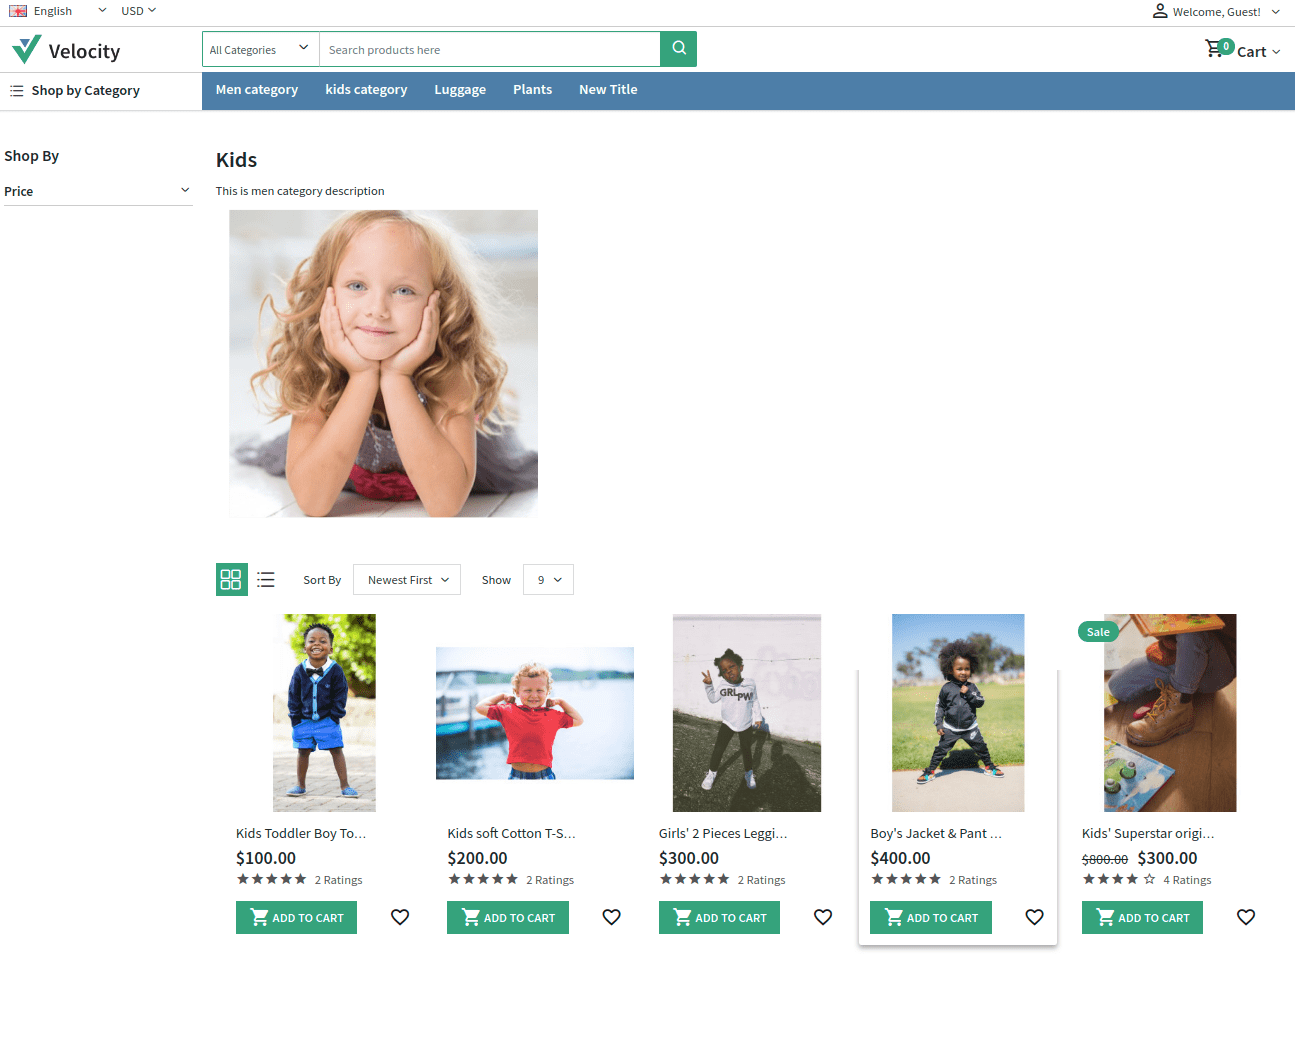
After clicking on any title the customer will be redirected to the category page of that particular title as shown in the image below:-
Meta Data
Under the Velocity Meta Data, there are three sections General, Images and Footer like the image shown below:-

Under the General section there are following fields as shown in the image below:-

Activate Slider
From here the admin can active or Inactive the slider.
Sidebar Categories
Here the admin can select the number of categories that will be visible when the customer will click on the Shop by Category.
Featured Products
In this field, the admin can set the number of featured products that will be visible in the front end.
eg:- If the admin has input 2 in this field then only 2 featured product will be visible in the front end.
New Products
In this field, the admin can set the number of New products that will be visible in the front end.
eg:- If the admin has input 3 in this field then the only 3 new products will be visible in the front end.
Home Page Content
In this field, the admin can set the home page content according to the requirements.
The admin can set the images advertisement, Product policy, section for featured product and new product according to his requirement. This page content will reflect on the front end accordingly to the sequence as set by the admin.
By clicking on the source code(<>) the admin can set the other featured lines if required.
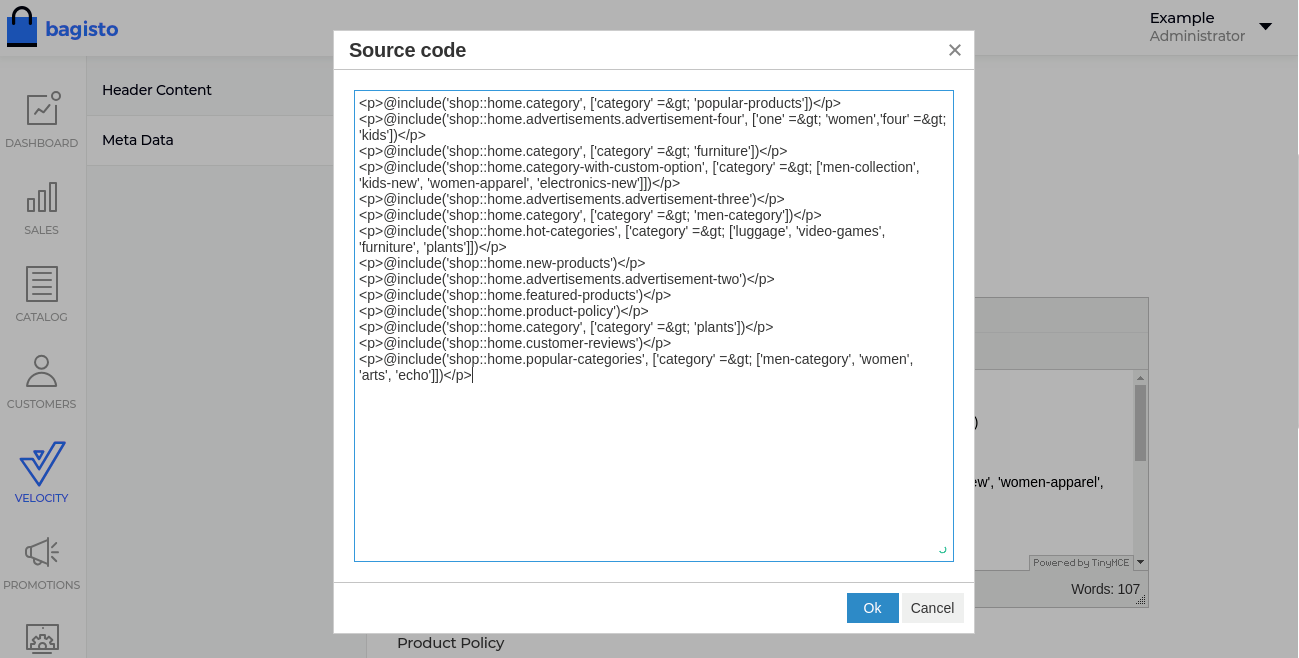
To add the link in the 4 images Advertisement just add the following in the Home Page Content as shown in the image below:-
@include(‘shop::home.advertisements.advertisement-four’, [‘four’ => ‘https://bagisto.com’, ‘three’ => ‘https://bagisto.com’, ‘two’ => ‘https://bagisto.com’, ‘one’ => ‘https://bagisto.com’])

Product Policy
The admin can set the product policy here according to the requirements.
Images
Under this section, the admin can set the images for
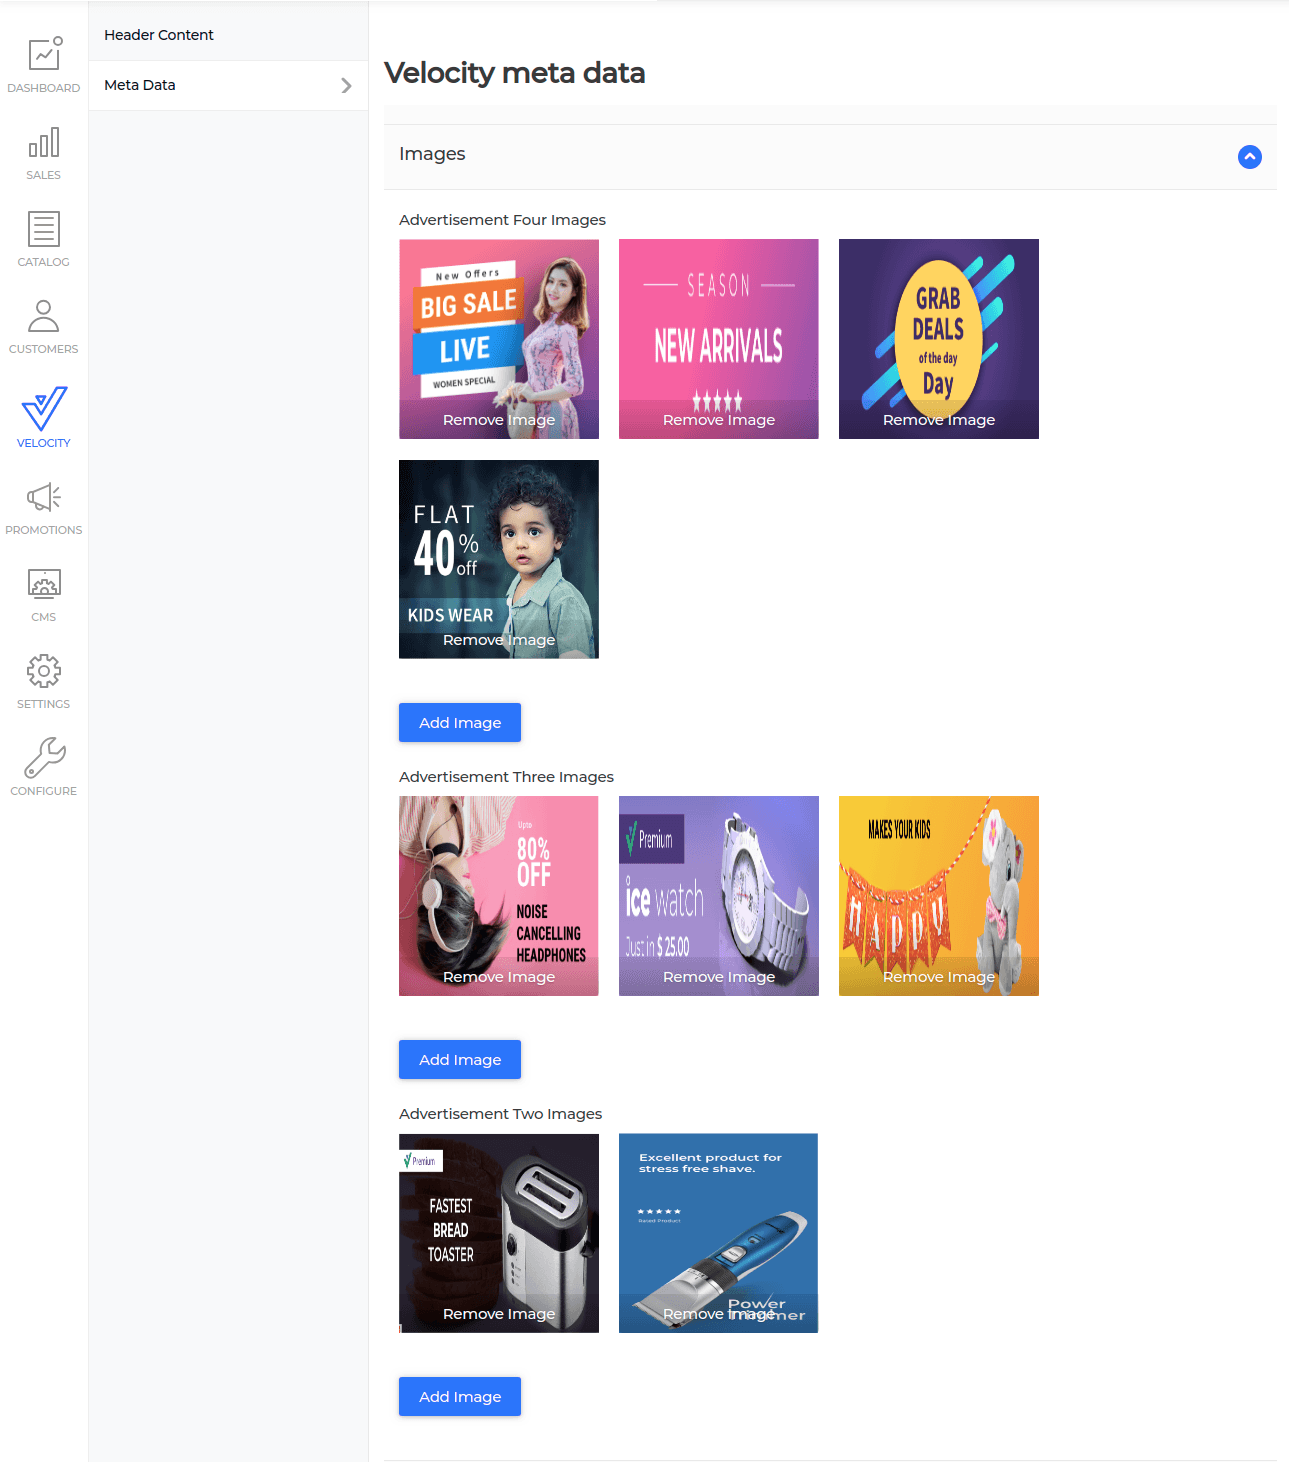
Footer
Under the footer section, the admin can set or edit the footer part of the velocity.
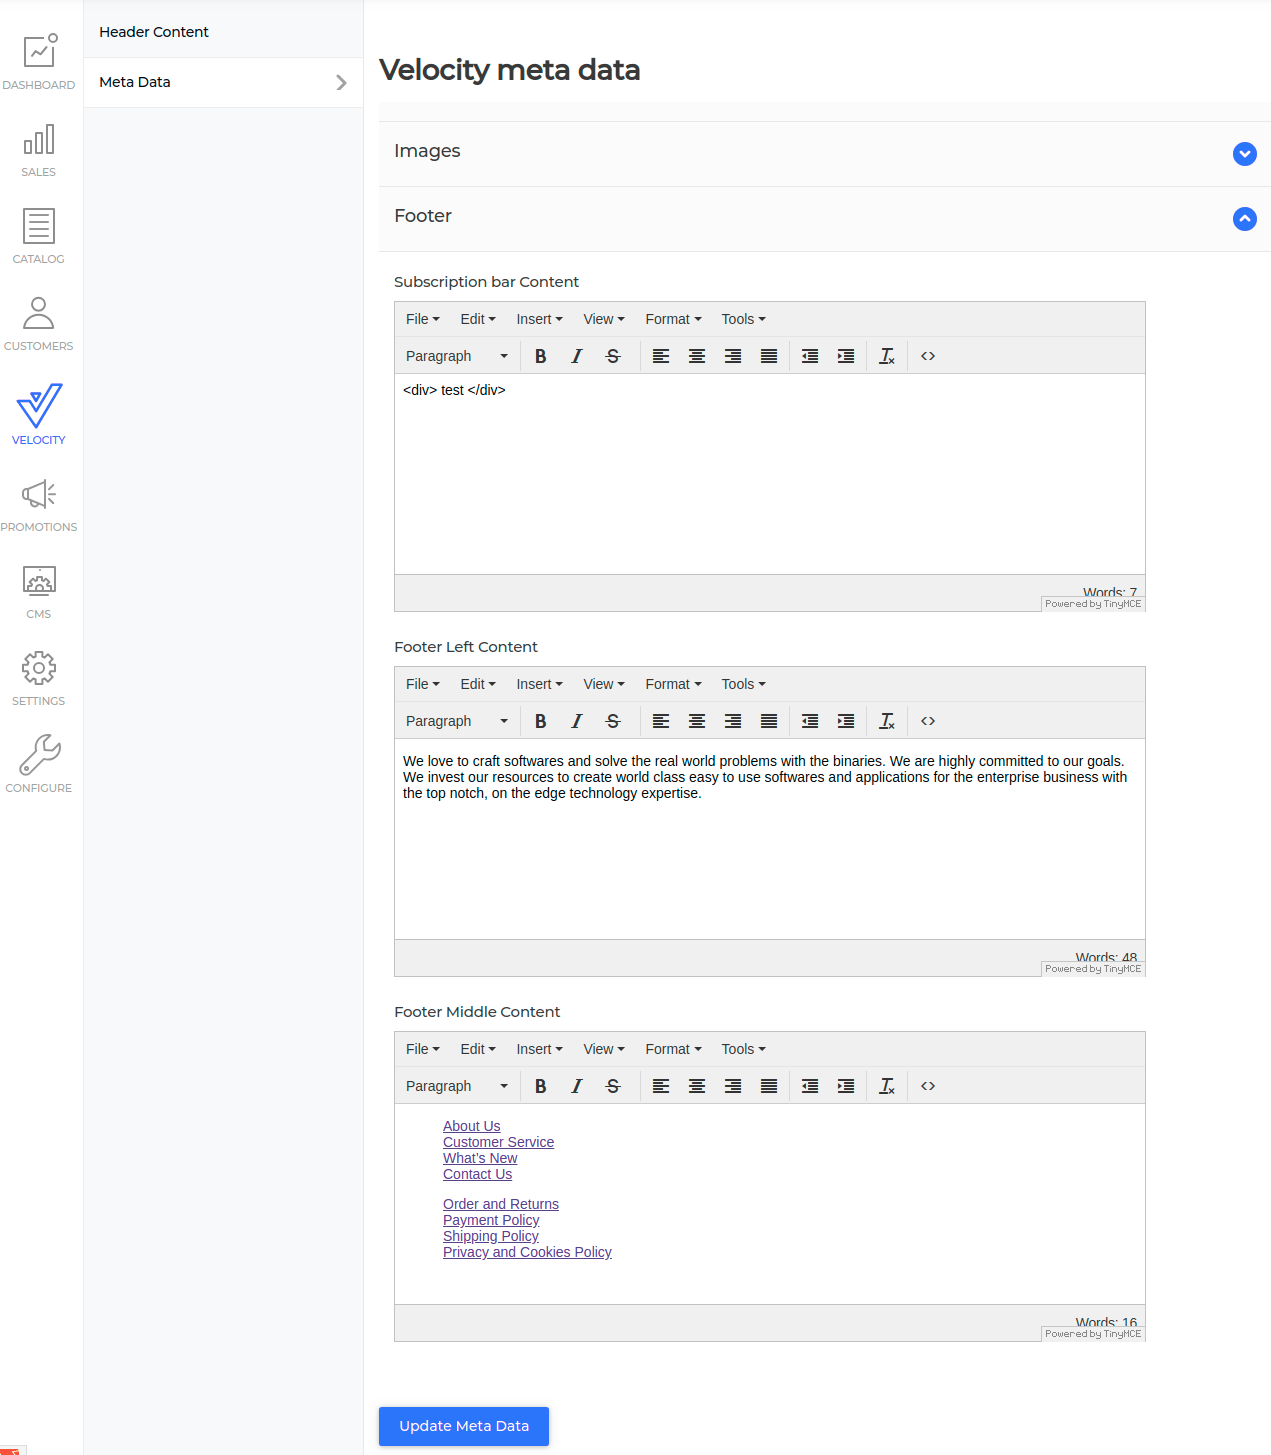
Subscription Bar Content
The admin can set the subscription bar content here, this will reflect in the front end on the section where there is a subscription bar.
To enable the Social Media we need to add this code in the subscription bar content.
Social media link:-<a href=”https://webkul.com” target=”_blank” class=”unset” rel=”noopener noreferrer”><i class=”fs24 within-circle rango-facebook” title=”facebook”></i> </a>

Footer Left Content
The admin can set the content here that will be visible in the left side of the footer part of the front end.

Footer Middle Content
The admin can set the content here for the middle part of the footer. This content will be visible on the middle part of the footer in the front end.

Then the admin needs to click on the Update Meta Data button.
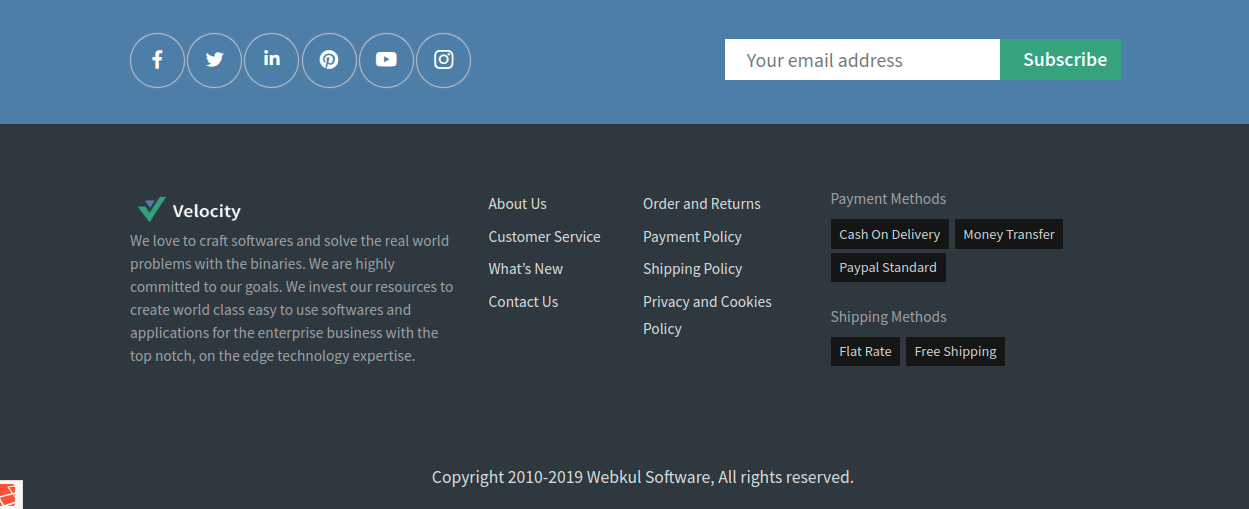
After filling all the details regarding the footer it will reflect in the front end as shown in the image below:-
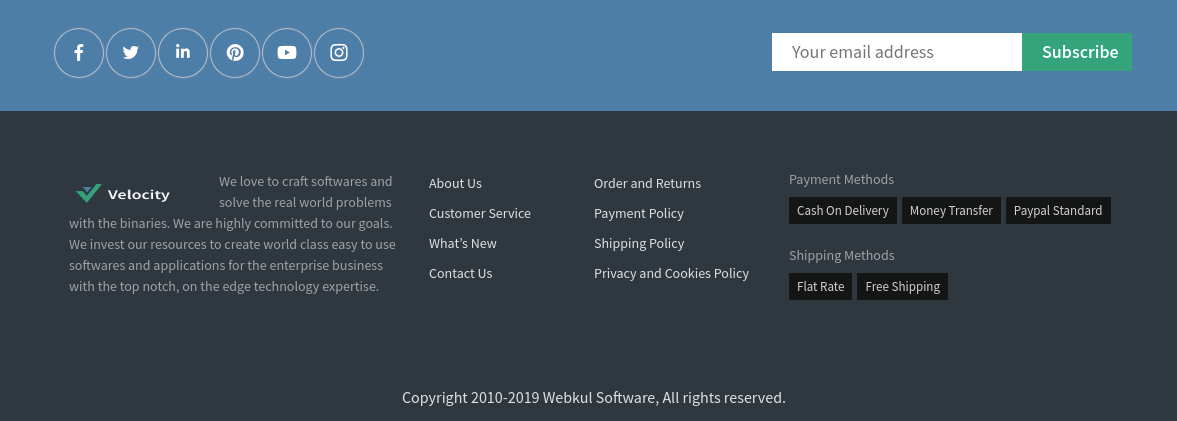
Front End of the Velocity Theme
Home Page
The header part of the front end will look like shown below:-
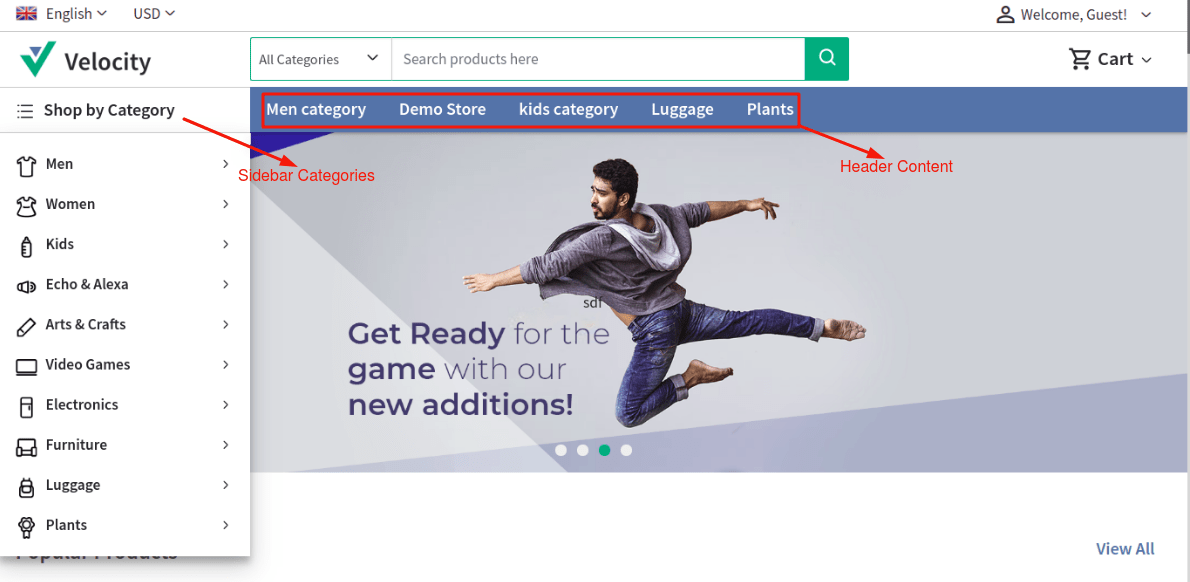
In the header part from the left top, the customer can change the locale and currency and from the right top of the page the customer can sign in and sign up. The header part also includes the slider.
By hovering over the Shop by category the customers can navigate through the product categories.
The middle part of the Velocity theme home page will carry the images advertisement, featured and new products.
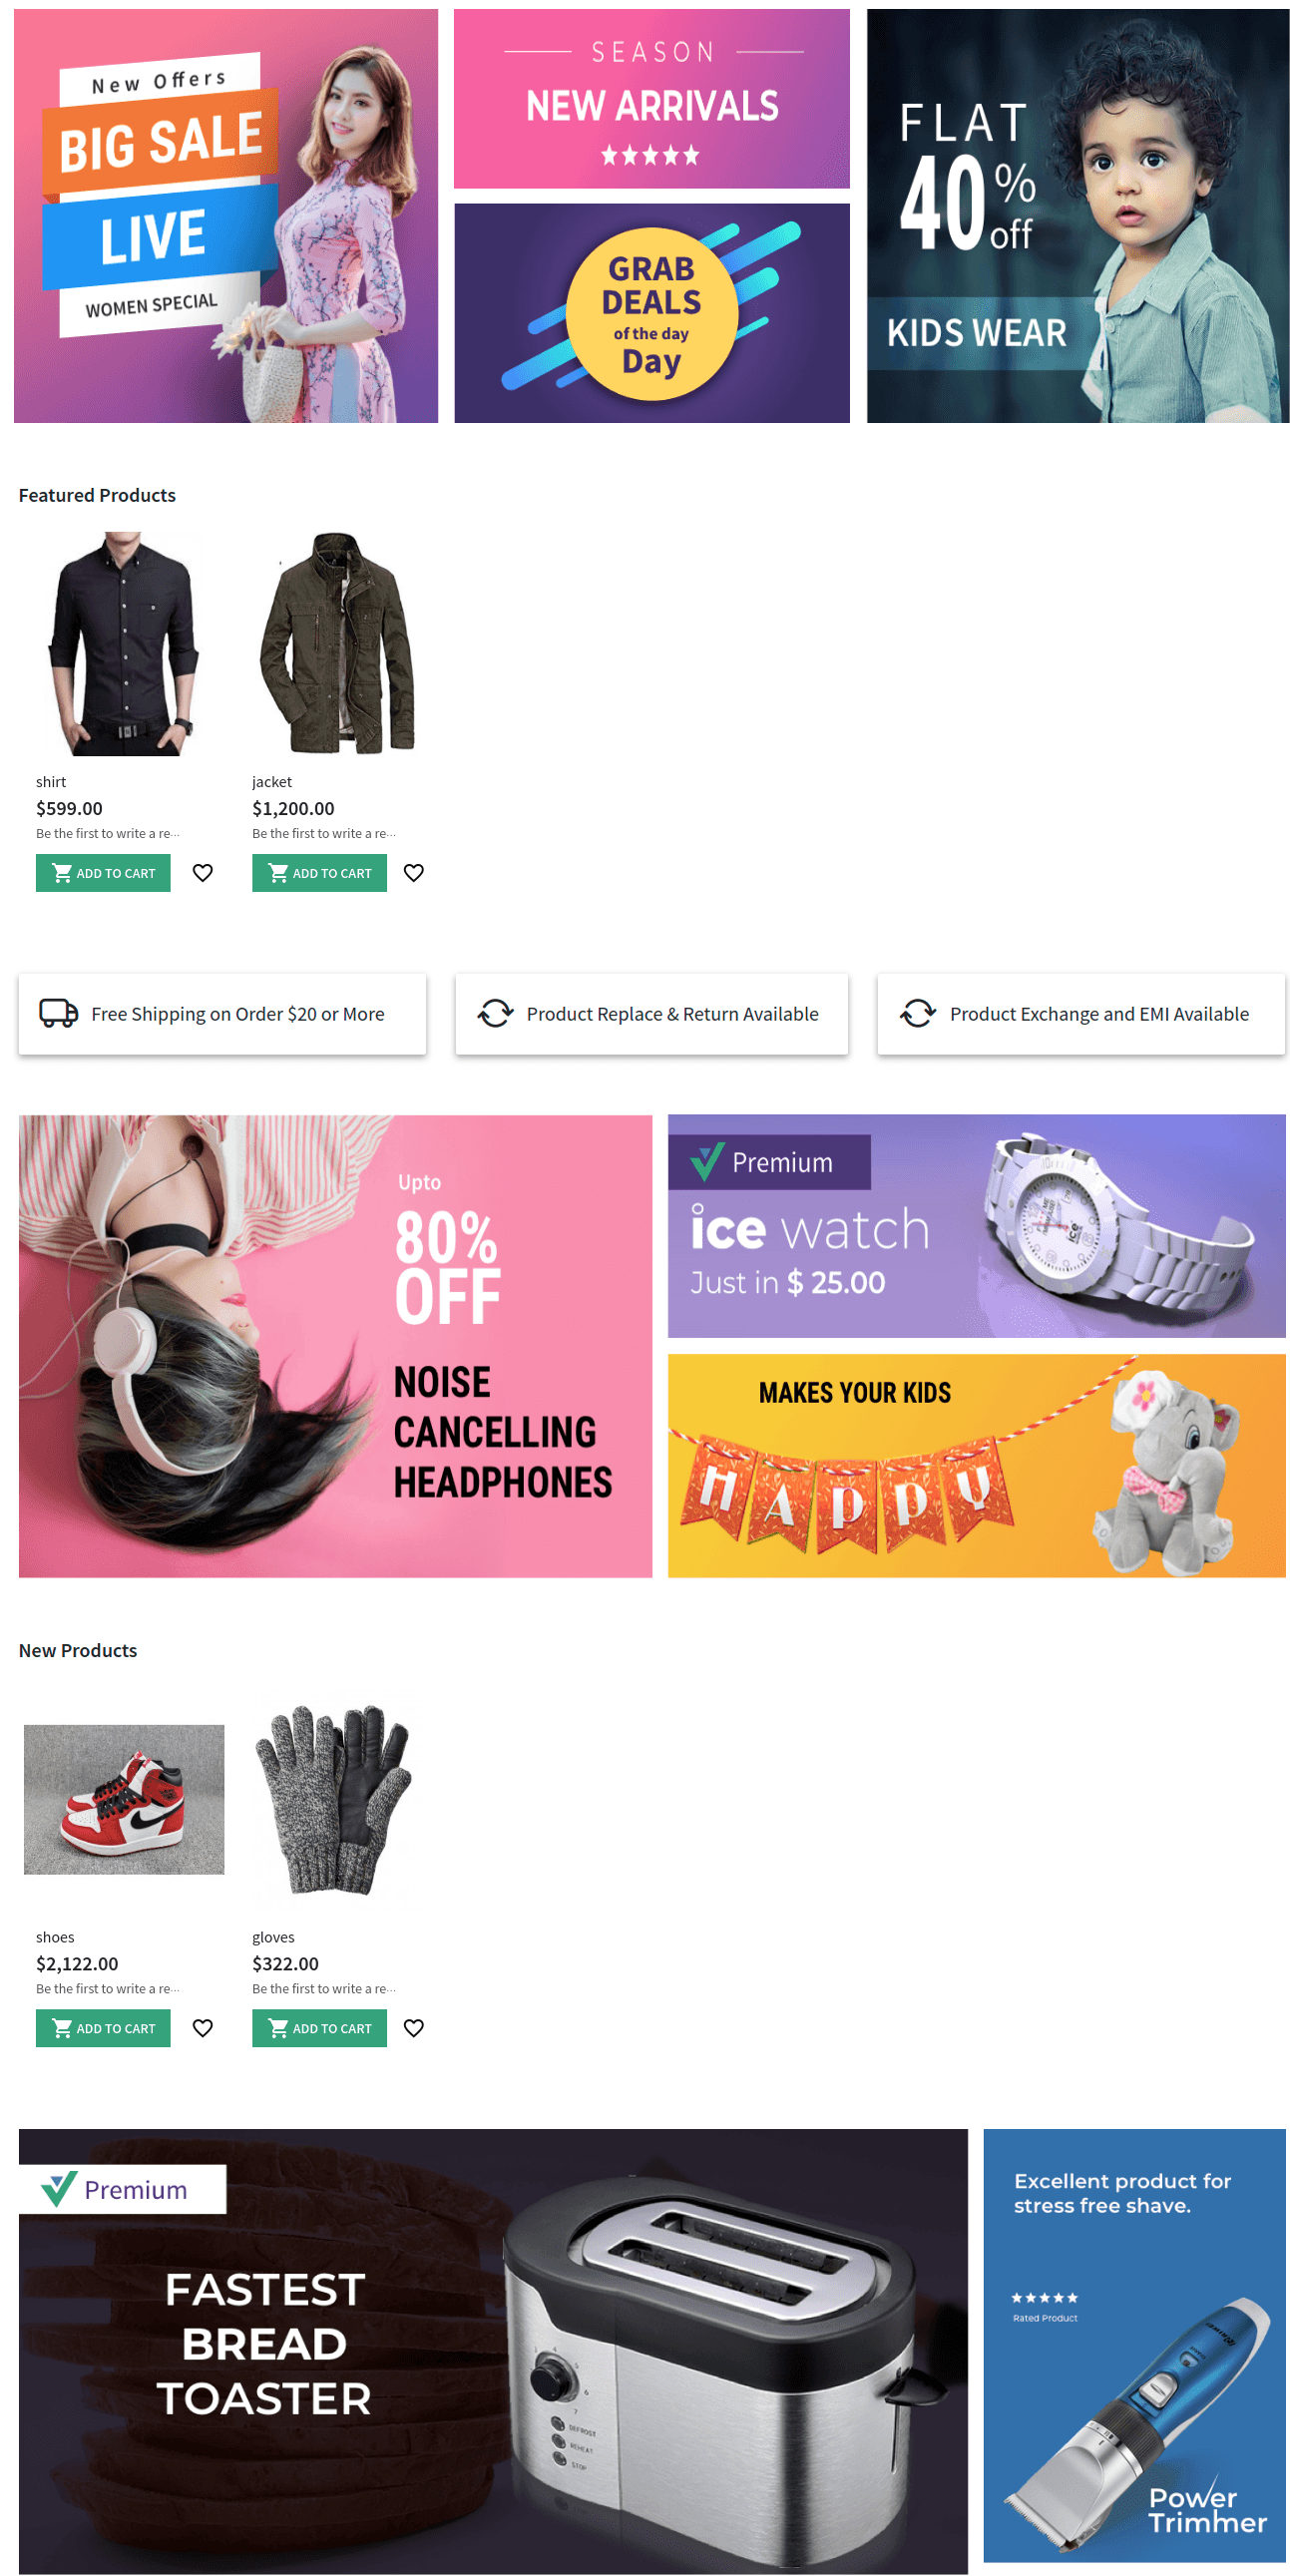
The admin can set the sequence of the images advertisement, featured and new products as explained before.
By hovering over any product the customer can quickly view the product. The customer needs to click on the quick view after hovering over any product.

After clicking on the quick view the product will be shown as shown in the image below:-
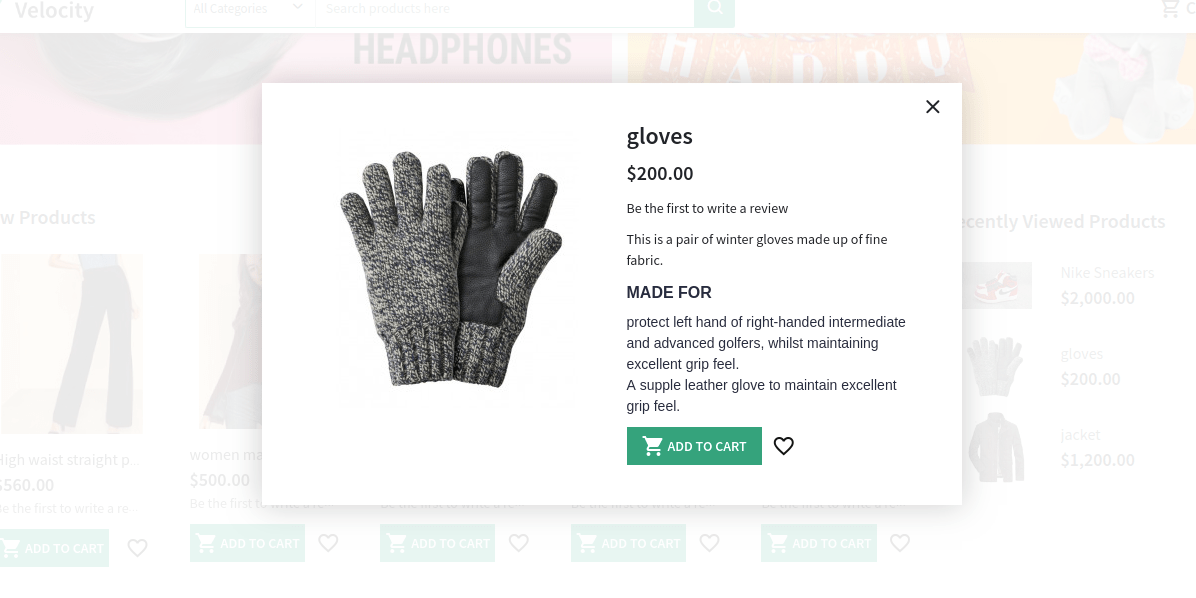
The customer can directly add the product to the cart from here by clicking on the ADD TO CART button.
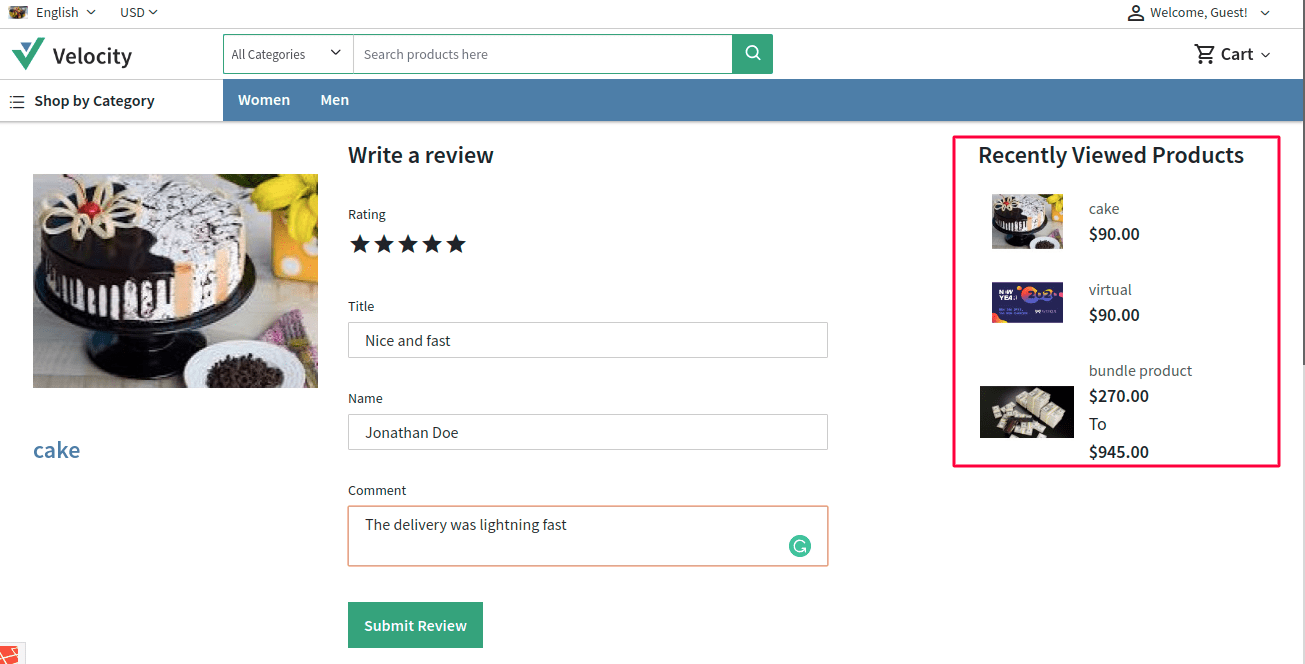
The Recently Viewed Products are also visible in the front end of the velocity theme besides the new products.

The customers can also see the Recently Viewed Products on the page where the customer gives the review for the product.
The footer part of the home page will look like shown below:-
Video Tutorial
SUPPORT
Thus this article was a complete guide about “how to configure Velocity theme in Bagisto.” for any kind of support also raise a ticket at https://bagisto.uvdesk.com/en/


27 comments
How can we help you
Team Bagisto
How can we help you
Team Bagisto
Is it possible?
Kindly raise your issues on Forums our Developer will assist you there.
Link: https://forums.bagisto.com/
Thanks & Regards
Thank you for the appreciation
Team Bagisto
How can we help you
Team Bagisto
can i change the color palette?
can i remove some parts of the theme?, like the select category field (shop by category)
the theme and configuration it’s awesome, congrats…
Greetings for the day!!!
Please check the below link, for the slider image.
https://bagisto.com/en/add-slider-in-bagisto-home-page/
Greetings !!
Please ask your query into our forum https://forums.bagisto.com/, where you will get assistance from the developer about your query.
Regards
We appreciate your feedback but we would be glad if you can let us know where exactly you are facing the issue.
Regards
Please once put the query on our forum so the dev can see to it and assist you: https://forums.bagisto.com/
Greetings for the day !!
Please ask your query in our forum https://forums.bagisto.com/, here our developer will guide you for the same.
Regards
Right now you can only select content-type”Category Slug”.