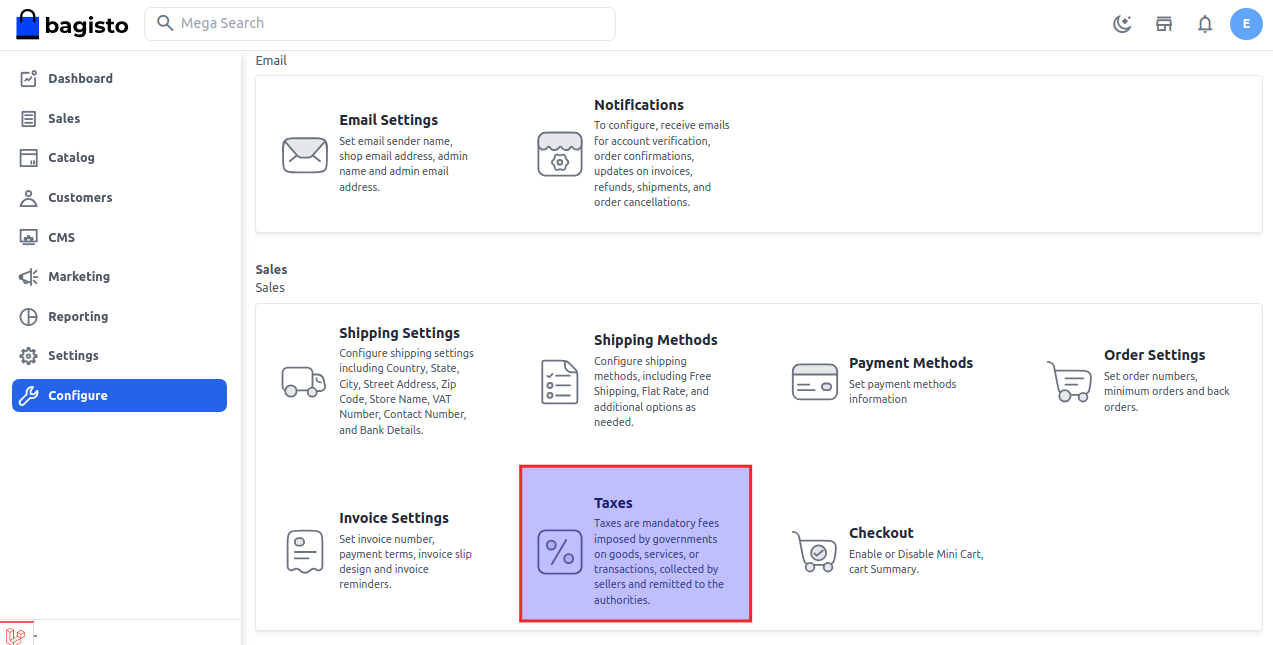
Set up Taxes In Bagisto
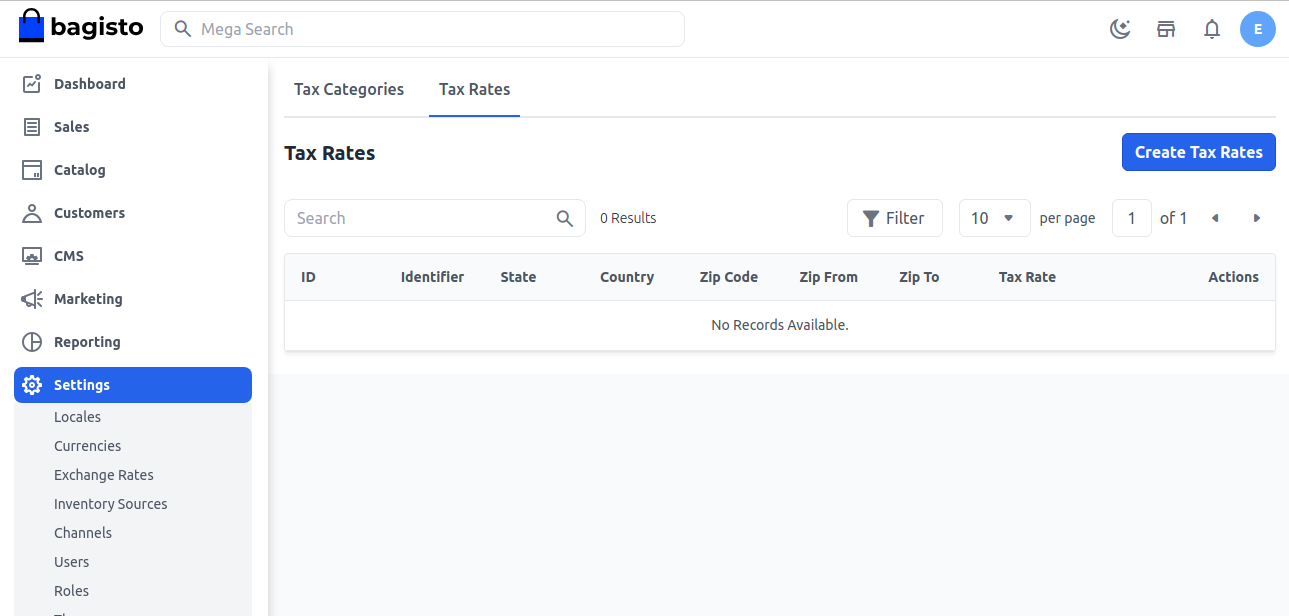
Click on Settings>> Taxes >> Tax Rates >> Create Tax Rate as shown in the image below.
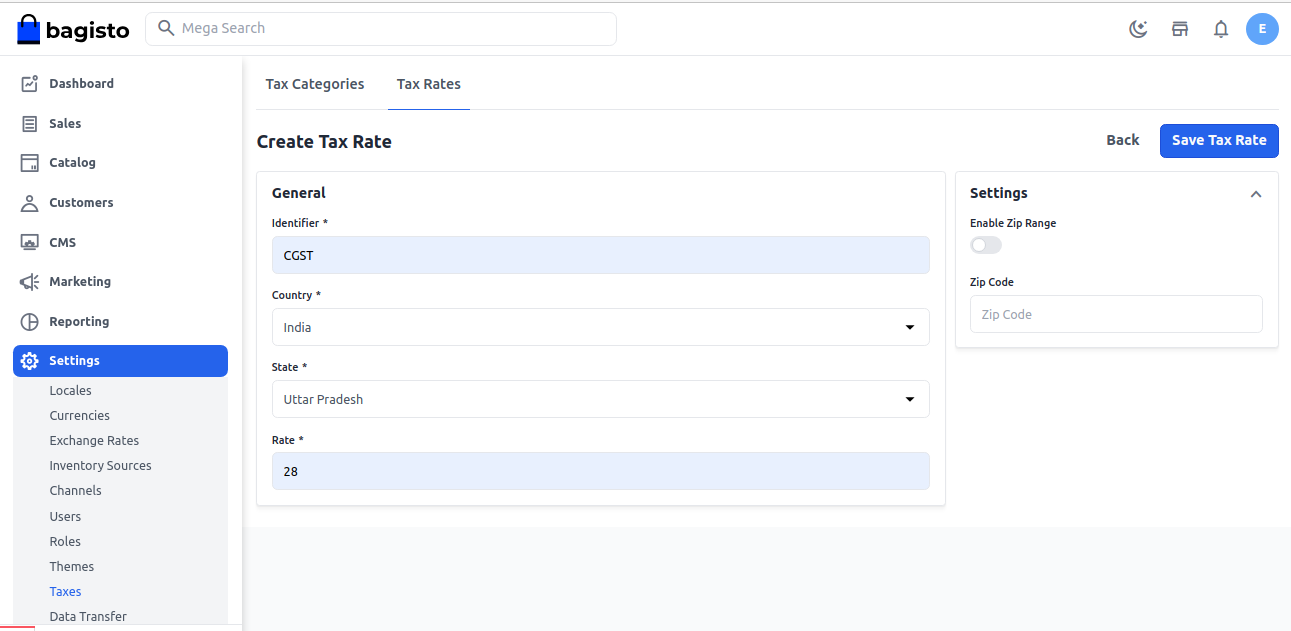
Enter the identifier, country, state, zip code, and tax rate.
Note: You can also define a ZIP code range so that the tax is applied only within the specified area.
After setting the details, click on Save Tax Rate.
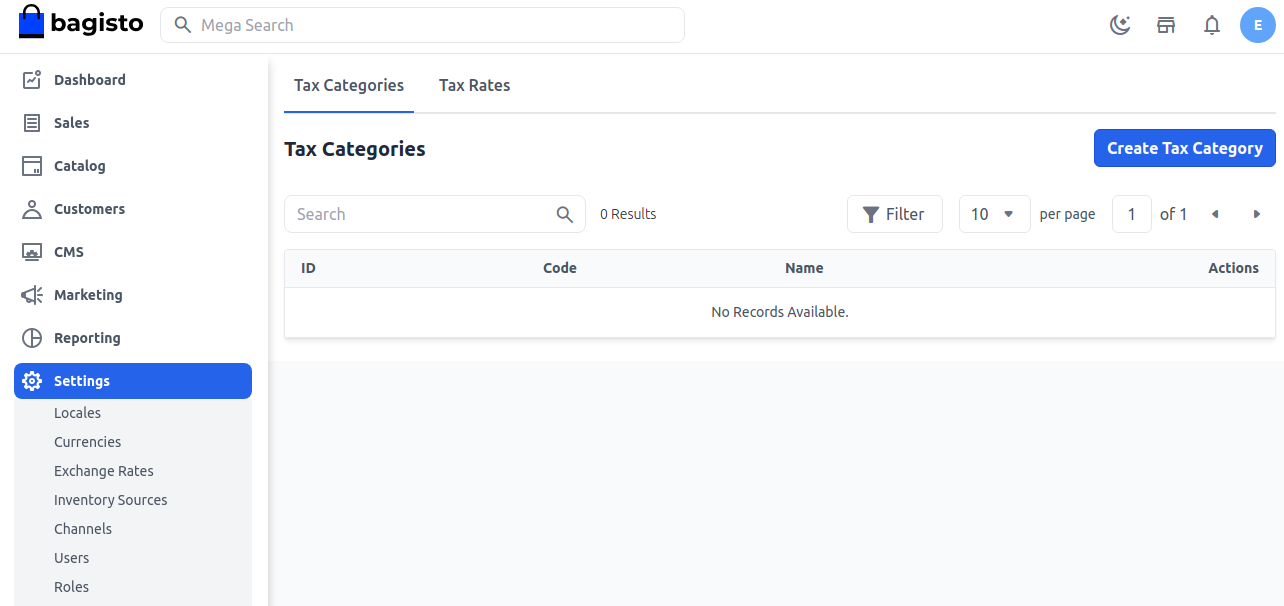
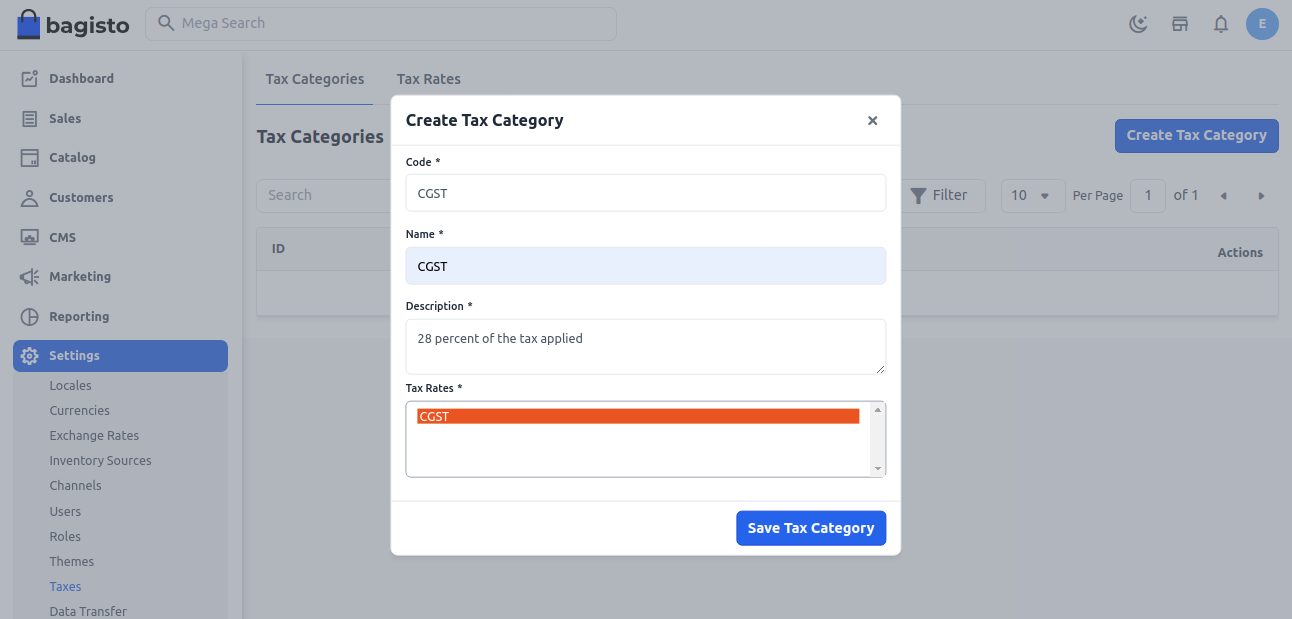
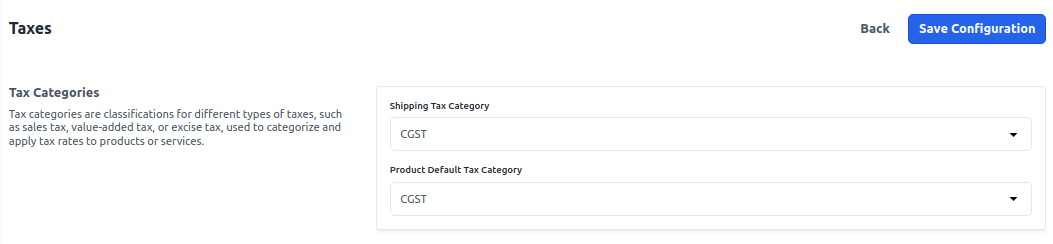
Create Tax Categories
Excluding Tax
Tax Categories
Now select your tax category.
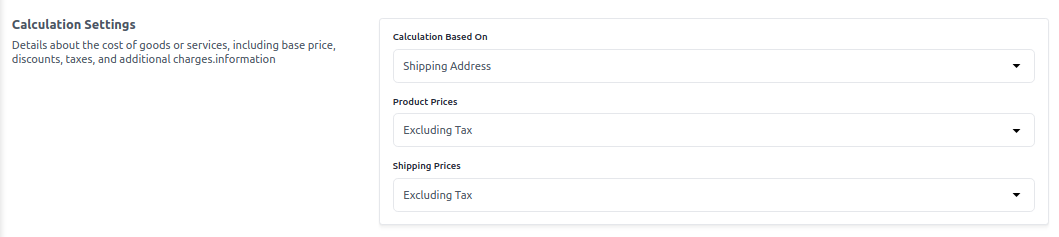
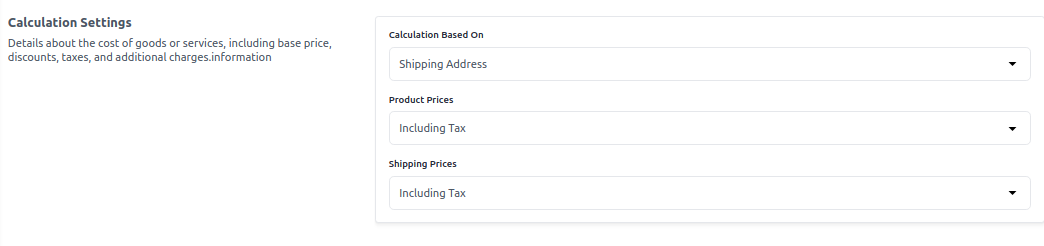
Calculation Setting
1) Select the calculation setting, i.e., calculation based on shipping address, billing address, or shipping origin using shipping methods.
2) Select the Product prices, i.e., excluding tax
3) Select the Shipping Prices, i.e., excluding tax
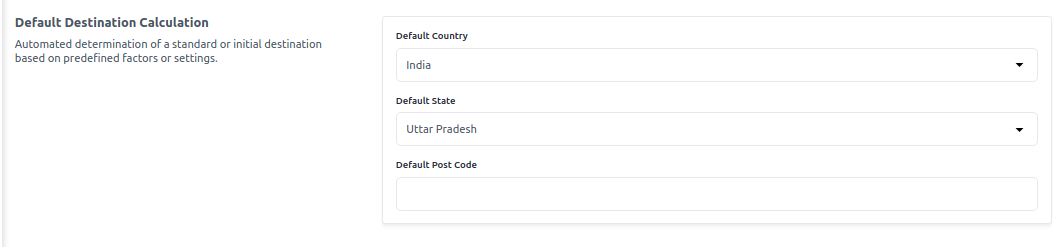
Default Destination Calculation
Now enter the Default Destination Calculation and select your country, state & pin code.
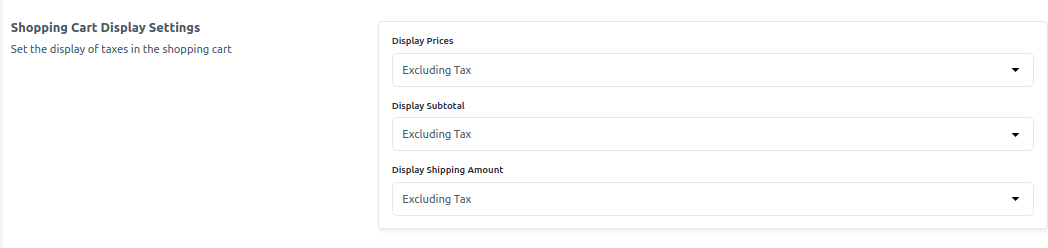
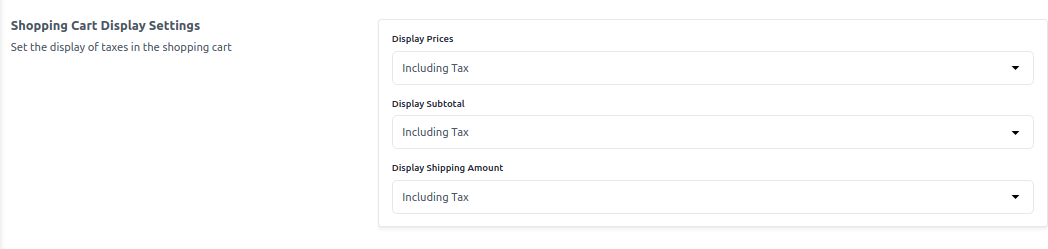
Shopping Cart Display Settings
1) Select the Display Prices to excluding Tax
2) Select the Display Subtotal to excluding Tax
3) Select the Display Shipping Amount to excluding Tax
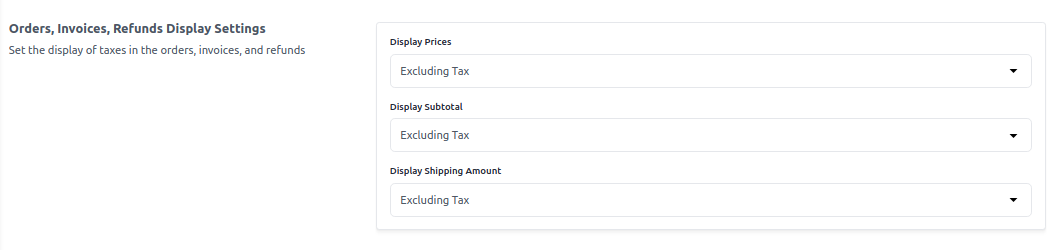
Orders, Invoices, Refunds Display Settings
1) Select the Display Prices to excluding Tax
2) Select the Display Subtotal to excluding Tax
3) Select the Display Shipping Amount to excluding Tax
Now, click on the Save Configuration button.
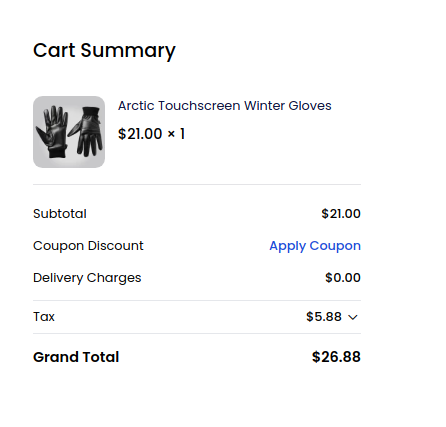
Frontend Output
Including Tax
Calculation Setting
1) So now select the calculation setting, i.e., calculation based on shipping address, billing address, or shipping origin.
2) Select the Product prices, i.e., including tax
3) Select the Shipping Prices, i.e., including tax
Default Destination Calculation
Now enter the Default Destination Calculation and select your country, state & pin code.
Shopping Cart Display Settings
1) Select the Display Prices to Including Tax
2) Select the Display Subtotal to Including Tax
3) Select the Display Shipping Amount to Including Tax
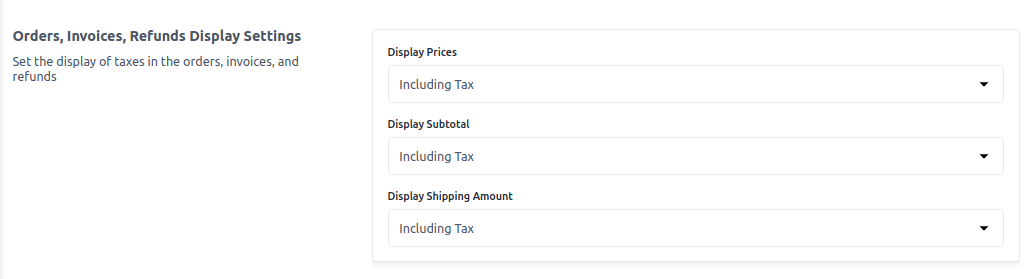
Orders, Invoices, Refunds Display Settings
1) Select the Display Prices to Including Tax
2) Select the Display Subtotal to Including Tax
3) Select the Display Shipping Amount to Including Tax
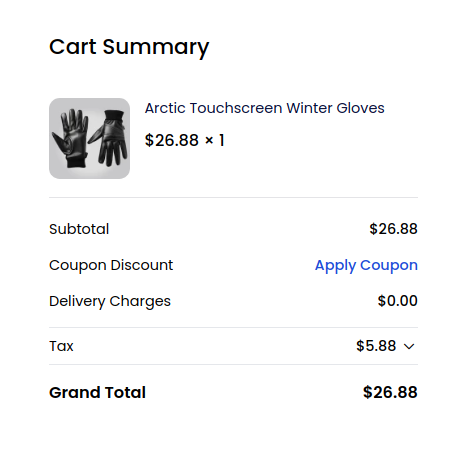
Frontend Output
As you can see, the price shown already includes tax.
Including Tax & Excluding Tax
Default Destination Calculation
Now enter the Default Destination Calculation and select your country, state & pin code.
Shopping Cart Display Settings
1) Select the Display Prices to Excluding & Including Both
2) Select the Display Subtotal to Excluding & Including Both
3) Select the Display Shipping Amount to Excluding & Including Both

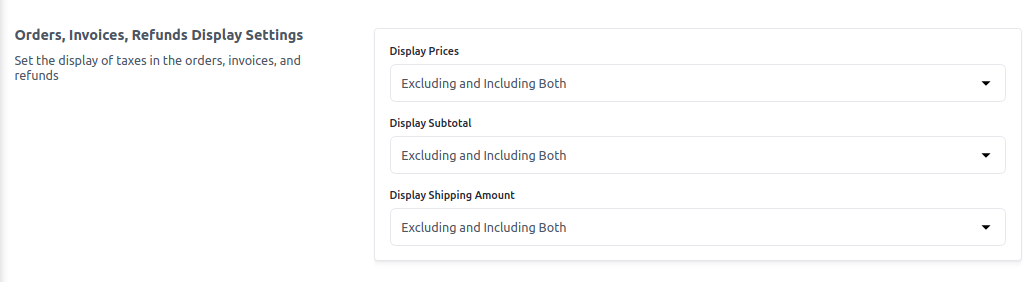
Orders, Invoices, Refunds Display Settings
1) Select the Display Prices to Excluding & Including Both
2) Select the Display Subtotal to Excluding & Including Both
3) Select the Display Shipping Amount to Excluding & Including Both
Now, click on the Save Configuration button.
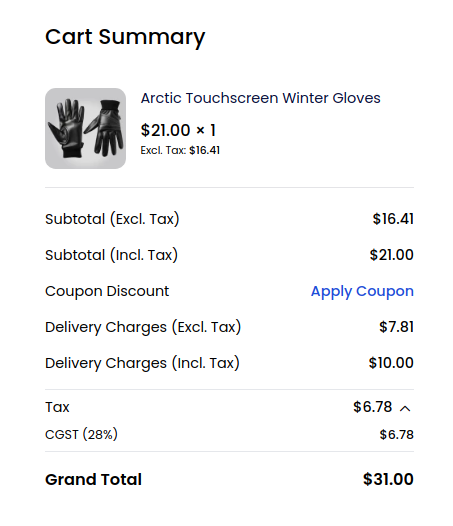
Frontend Output
As you can see, the price is shown with both inclusive and exclusive tax.
Final Thoughts
Setting up taxes correctly in Bagisto ensures accurate pricing and compliance with different regions.
With flexible options like including tax, excluding tax, or displaying both, businesses can choose what fits their needs.
Thank you for reading this blog. If you have any questions, feel free to leave a comment below.
You can also hire Laravel developers for your custom projects.
We hope this guide is helpful. If you face any issues, please raise a ticket through our Support Portal.


8 comments
To know in detail about Taxes go through the below link.
https://docs.bagisto.com/2.2.0/settings/taxes.html
Thanks & Regards
You can create different tax rates and set it as per zipcode
https://bagisto.com/en/taxes-in-bagisto/
Regards
How I can Apply this for the whole Gujarat or whole India.
While creating Tax rate, you can enable the zip range and define the ones for Gujarat