Bagisto is the fastest growing eCommerce realm among the Laravel community and the core reasons behind it is the simplicity and customisable structure. Bagisto offers exquisite eCommerce features along with multi-inventory sourcing out of the box.
From months, there’s been a discussion on how to create modules and packages for bagisto? What are the basic steps a developer needs to follow for both the front end and the admin panel?
Module Development in Bagisto
Here in this article, we are going to explain step by step on how you can create a custom module in bagisto.
Step 1
Inside packages folder of bagisto, create a folder of your company namespace and inside it create a folder with your package name.
Ex – packages/ACME/HelloWorld
Step 2
Inside your package create a file named as package.json, we will use it later.
Step 3
Create an ‘src’ folder under HelloWorld. Inside ‘src’ folder create a folder named as ‘Providers’ and create a file named ‘PackagenameServiceProvider.php’.
Ex – HelloWorldServiceProvider.php
This Service Provider (HelloWorldServiceProvider.php) consists of two methods.
- Boot
- Register
|
1 2 3 4 5 6 7 8 9 10 11 12 13 14 15 16 17 18 19 20 21 22 23 24 25 26 27 28 29 30 31 32 33 34 |
<?php namespace ACME\HelloWorld\Providers; use Illuminate\Support\ServiceProvider; /** * HelloWorld service provider * * @author Jane Doe <[email protected]> * @copyright 2018 Webkul Software Pvt Ltd (http://www.webkul.com) */ class HelloWorldServiceProvider extends ServiceProvider { /** * Bootstrap services. * * @return void */ public function boot() { } /** * Register services. * * @return void */ public function register() { } } |
Step 4
Now you need to register this service provider, for which open ‘app.php’ file inside ‘config’ folder & add your service provider inside the ‘providers’ array.
|
1 2 3 |
'providers' => [ ACME\HelloWorld\Providers\HelloWorldServiceProvider::class, ], |
Step 5
Now we need to add our package to ‘composer.json’ file in project’s root directory for autoloading in psr-4.
Goto ‘composer.json’ file and add following line under psr-4
|
1 |
"ACME\\HelloWorld\\": "packages/ACME/HelloWorld/src" |
Step 6
Now we are going to add some routing & views to our package.
For route – create an ‘Http’ folder inside ‘src’ folder of your package & inside this folder (Http) create a file name as ‘routes.php’.
In this file we can create routes of our project & route file name can be according to need. Like: admin-routes.php, shop-routes.php or inside ‘Admin’, ‘Shop’ folder. Now we need to register the route file to the service provider’s boot method. (HelloWorldProvider.php)
|
1 2 3 |
public function boot(){ include __DIR__ . '/../Http/routes.php'; } |
To load routes, you can also use ‘loadRoutesFrom’ method.
Step 7
Now we need to create route & render a view on that route and we are going to do the same. Inside routes.php file create a simple route with a helloworld.blade.php view.
|
1 2 3 |
<?php Route::view('/hello-world', 'helloworld::helloworld.helloworld'); |
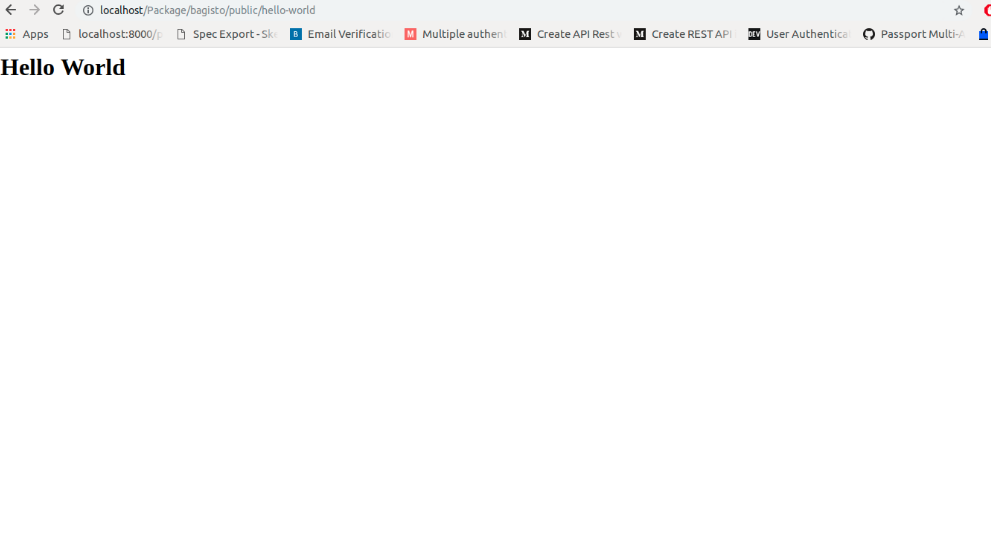
Now, you can enter ‘hello-world’ URL to browser & can see the output.

Step 8
Now we are going to create a language file for our package. For this create a ‘lang’ folder inside ‘Resources’ folder. Inside this lang folder, you can create a different folder for languages like for English folder name ‘en’, for Hindi folder name ‘in’.
Right now we will create a folder named ‘en’ & inside this ‘en’ folder, create a file name as ‘app.php’. Now we need to register this language file to the service provider as we did previously.
|
1 2 3 |
public function boot() { $this->loadTranslationsFrom(__DIR__ . '/../Resources/lang', 'helloworld'); |
Now we can write a translation in this file like below.
|
1 2 3 4 5 6 7 |
<?php return [ 'hello-world' => [ 'name' => 'Jane Doe' ] ]; |
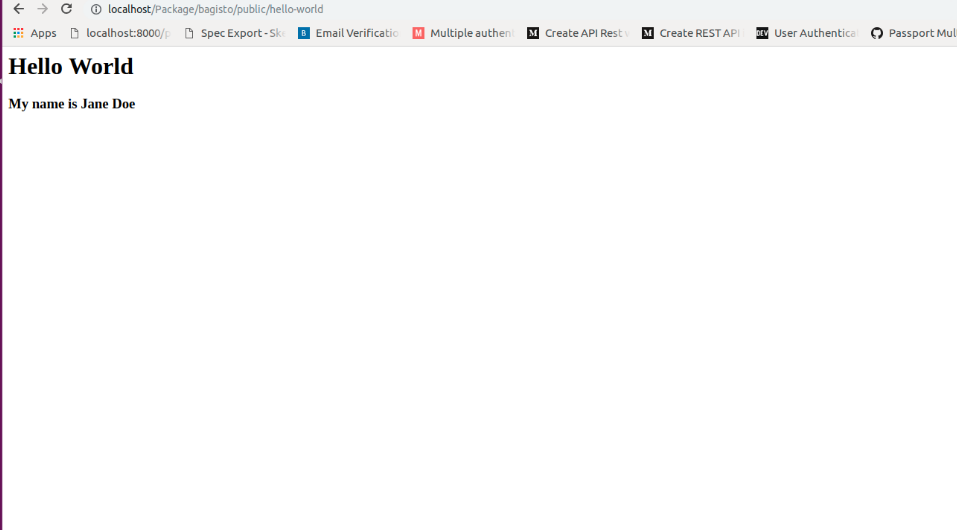
Add {{__(‘helloworld::app.hello-world.name’) }} to your application’s view & it will automatically translate it.

Step 9
For View – Create a ‘Resources’ folder inside the ‘src’ folder of your project.
Inside ‘Resources’ folder create a folder name as ‘views’. Now in this ‘views’ folder, we can create a view for the package.
Right Now we are going to create a folder ‘helloworld’ inside this: packages/ACME/HelloWorld/src/Resources/helloworld/. In this ‘helloworld’ folder we will create a file name as helloworld.blade.php.
Now just like the route file, we also need to register our view folder inside serviceprovider to tell laravel where the views are located.
|
1 2 3 4 |
public function boot() { $this->loadViewsFrom(__DIR__ . '/../Resources/views', 'helloworld'); } |
Now we will add CSS to our package. To add CSS create ‘package.json’ file & ‘webpack.mix.js’ file inside the root of your package.
Create a ‘Resources’ folder inside the ‘src’ folder. Inside ‘Resources’ folder creates a folder name ‘assests’& inside it create ‘sass’ folder & inside it create a folder name ‘app.scss’. This ‘app.scss’ will consist SASS for a package. In ‘package.json’ file, you can mention your npm dependencies. Create a webpack.mix.js file, this will be used for compiling our assets.
Package.json file will consist.
|
1 2 3 4 5 6 7 8 9 10 11 12 13 14 15 16 |
{ "scripts": { "dev": "npm run development", "development": "cross-env NODE_ENV=development node_modules/webpack/bin/webpack.js --progress --hide-modules --config=node_modules/laravel-mix/setup/webpack.config.js", "watch": "cross-env NODE_ENV=development node_modules/webpack/bin/webpack.js --watch --progress --hide-modules --config=node_modules/laravel-mix/setup/webpack.config.js", "watch-poll": "npm run watch -- --watch-poll", "hot": "cross-env NODE_ENV=development node_modules/webpack-dev-server/bin/webpack-dev-server.js --inline --hot --config=node_modules/laravel-mix/setup/webpack.config.js", "prod": "npm run production", "production": "cross-env NODE_ENV=production node_modules/webpack/bin/webpack.js --no-progress --hide-modules --config=node_modules/laravel-mix/setup/webpack.config.js" }, "devDependencies": { "cross-env": "^5.1.4", "laravel-mix": "^2.1", "laravel-mix-merge-manifest": "^0.1.1" } } |
webpack.mix.js consist
|
1 2 3 4 5 6 7 8 9 10 11 12 13 14 15 16 17 18 19 20 21 |
const { mix } = require("laravel-mix"); require("laravel-mix-merge-manifest"); if (mix.inProduction()) { var publicPath = 'publishable/assets'; } else { var publicPath = "../../../public/vendor/acme/helloworld/assets"; } mix.setPublicPath(publicPath).mergeManifest(); mix.disableNotifications(); mix.sass(__dirname + "/src/Resources/assets/sass/app.scss", "css/helloworld.css") .options({ processCssUrls: false }); if (mix.inProduction()) { mix.version(); } |
All dependency can be updated according to need.
After doing this go to the root of your package & run ‘npm install’ which will install all dependencies. After installing dependencies run ‘npm run watch’, which will compile all your CSS & publish it inside public folder according to path mention in webpack.mix.js according to the environment.
In the same way, we can also add images & js. Inside ‘assests’ folder of ‘Resources’, create two folders ‘js’ & ‘images’ in which create ‘app.js’ file for js & inside ‘images’ folder, download images.
Now we need to publish these two also as we did for CSS. We will add this too to our webpack.mix.js.
|
1 2 |
mix.js(__dirname + "/src/Resources/assets/js/app.js", "js/helloworld.js") .copyDirectory( __dirname + '/src/Resources/assets/images', publicPath + '/images') |
Once again, we need to run ‘npm run watch’ to compile assets.
After doing this we need to add an event listener so that admin layouts include our CSS. For this we need to add an Event Listener in service provider & Inside views create a folder called layouts & inside it create a file called ‘style.blade.php’ & mention compiled CSS path inside this file.
|
1 2 3 |
<link rel="stylesheet" href="{{ bagisto_asset('css/helloworld.css') }}"> ( In style.blade.php) |
For Event Listener –
|
1 2 3 4 5 6 |
public function boot() { Event::listen('bagisto.admin.layout.head', function($viewRenderEventManager) { $viewRenderEventManager->addTemplate('helloworld::helloworld.layouts.style'); }); } |
Now we need to extend admin::layouts.master as @extends(‘admin::layouts.master’) to packages/acme/HelloWorld/src/Resources & we can write CSS for our packages. If you don’t want to include this one then you need to create your own master file which includes your packages CSS & js.
Step 10
Now we will add Database to our package. Create a ‘Database’ folder inside the ‘src’ folder & inside ‘Database’ create ‘Migrations’ & ‘Seeders’ folder. In Migrations create a table for package & in Seeders create seeder. Now we need to add migrations to our Provider to load them.
|
1 2 3 4 |
public function boot() { $this->loadMigrationsFrom(__DIR__ .'/../Database/Migrations'); } |
These are the basic steps of package development in bagisto.
Step 11
For controllers, we can create Controllers folder inside Http folder with a controller called Controller.php & can create controllers inside this folder.
|
1 2 3 4 5 6 7 8 9 10 11 12 13 |
<?php namespace ACME\HelloWorld\Http\Controllers; use Illuminate\Foundation\Bus\DispatchesJobs; use Illuminate\Routing\Controller as BaseController; use Illuminate\Foundation\Validation\ValidatesRequests; use Illuminate\Foundation\Auth\Access\AuthorizesRequests; class Controller extends BaseController { use AuthorizesRequests, DispatchesJobs, ValidatesRequests; } |
Step 12
Now we will add a menu in admin login. For this one, we need to create a ‘Config’ folder inside ‘src’. Inside this src folder create a file name a menu.php.
|
1 2 3 4 5 6 7 8 9 10 11 |
<?php return [ [ 'key' => 'helloworld', 'name' => 'Hello World', 'route' => 'helloworld.index', 'sort' => 9, 'icon-class' => 'dashboard-icon', ] ]; |
In this file, we Provide the name of the menu, its route & its icon. Now for that route, we need to create a controller. So inside Controllers, we will create HelloWorldController.php
|
1 2 3 4 5 6 7 8 9 10 11 12 13 14 15 16 17 18 19 20 21 22 23 24 |
<?php namespace ACME\HelloWorld\Http\Controllers; class HelloWorldController extends Controller { protected $_config; public function __construct() { $this->_config = request('_config'); } /** * Display a listing of the resource. * * @return \Illuminate\Http\Response */ public function index() { return view($this->_config['view']); } } |
For the route, we will create a named route as
|
1 2 3 4 |
Route::get('hello-dashboard', 'ACME\HelloWorld\Http\Controllers\HelloWorldController@index')- >defaults('_config', ['view' => 'helloworld::helloworld.index' ])->name('helloworld.index'); |
After creating a controller & route we need to merge this menu.php folder with core menu file. For this purpose, we will use the method ‘mergeConfigFrom’ method.
|
1 2 3 4 5 6 |
public function register() { $this->mergeConfigFrom( dirname(__DIR__) . '/Config/menu.php', 'menu.admin' ); } |
Now, this menu will come in admin login. You can change an icon according to your need.

That’s all for module development in Bagisto. Stay tuned for more updates on package development. If you have any issue feel free to raise a ticket at https://bagisto.uvdesk.com/en/


21 comments
Tnx
Greetings for the day!!
Thank you so much for your valuable feedback. It really means a lot to us. We are working day by day to enhance and improve Bagisto’s feature.
I am facing a problem
Product images are not loading
Greetings for the day!!
Please inspect the product page and share the screenshot so we can check the error.
Please once put the query on our forum so the dev can see to it and assist you: https://forums.bagisto.com/
Please once put the query on our forum so the dev can see to it and assist you: https://forums.bagisto.com/
Please put the query on our forum so the dev can help you: https://forums.bagisto.com/
www.bagisto.uvdesk.com
https://bagisto.uvdesk.com/en/