In this doc, we will see ” How to Create CNAME Record for Laravel eCommerce Multi-Tenant SaaS Module”.
What is a CNAME Record?
A Canonical Name or CNAME record is one of the different types of DNS records that maps an alias name to a true or canonical domain name. CNAME records are typically used to map a subdomain such as www or mail to the domain hosting that subdomain’s content.
For example, a CNAME record can map the web address www.example.com to the actual web site for the domain example.com.
- CNAME record must always point to another domain name and never directly to an IP address.
- A CNAME record cannot co-exist with another record for the same name.
- A CNAME record can point to another CNAME record but this is not a recommended configuration due to performance issues.
- Canonical Name or CNAME record can be used to create a wildcard DNS record.
What is Laravel eCommerce Multi-Tenant SaaS Module?
Laravel eCommerce multi-tenant SaaS module is an eCommerce virtual mall, where multiple-vendor can sign-up and create their own e-commerce store with their domain name.
Bagisto is an online e-commerce platform that helps anyone to start their e-commerce store within few minutes without any technical requirement.
The merchant doesn’t need to add any plugin to create their store, it is the full end to end integration. You have to just signup then you can start your business.
Need to create CNAME record for this module
When a new company registers in your module, they have to enter a unique username. After successful registration, a new sub-domain will be created having the username and root domain name.
For example: If a user Alan registers himself in your module with username ‘alan‘ and your site domain name is bagistotest.com then a subdomain ‘alan.bagistotest.com‘ will be created for him.
Similar to this, multiple numbers of companies can register on your site for creating their store and every company should need a unique domain name.
So, to enable this functionality we first need to create a wildcard DNS record which will allow the creation of any sub-domain. We can create a wildcard DNS record either by using A record or CNAME record.
Steps to create a CNAME record
Step-1: Login to your DNS management console
Here, we are using Cloudflare for DNS management. You can use any DNS provider’s service.
If you are managing your DNS through Cloudflare you can log in by clicking this link below:
https://dash.cloudflare.com/login
Step-2: Add a CNAME record
You can add a CNAME record similar to this in the image below:
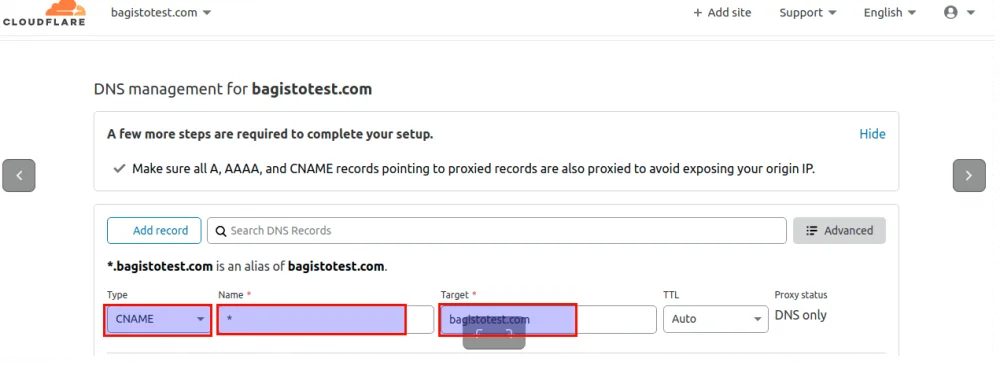
- Type: Choose CNAME.
- Name: Enter an asterisk (*) which allows us to create any subdomain.
- Target: Enter your root domain name.
Step-3: Save the configuration
Click on the Save button. It will save your created record.
Creating a store
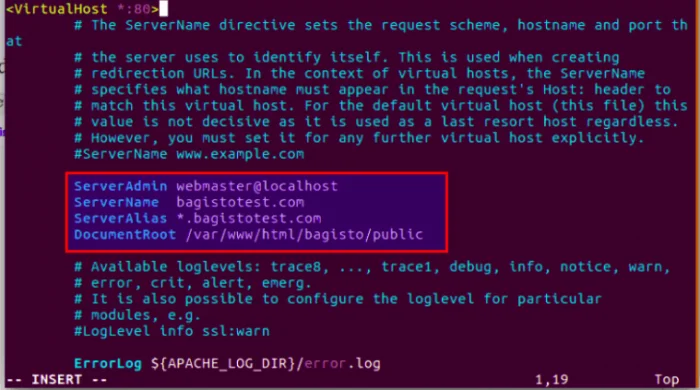
Step-1: Configure Web Server
We first need to configure the web server such that it will work with our module.
Here, we are using apache web server. The only little difference here is that we have to look for server alias and document root path in the apache configuration file.
- Open your apache configuration file:
1nano /etc/apache2/sites-enabled/000-default.conf - Here, our site domain name is bagistotest.com, so the three parameters should be like this below:
ServerName: bagistotest.com
ServerAlias: *.bagistotest.com
DocumentRoot: /var/www/html/bagisto/public
Step-2: Go to site URL
Go to your website yoursite.com/company/register and register a new user.
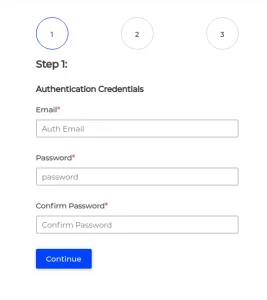
Enter the details and click on continue.
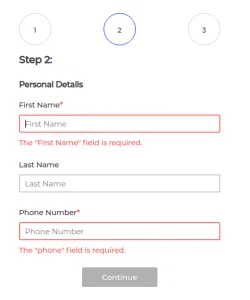
Step-3: Enter Personal Details
Enter your name and phone number.
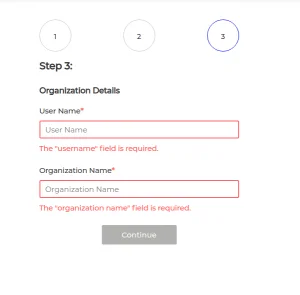
Step-4: Enter your Organization Details
Here, you have to enter your user and organization name.
Note: Your sub-domain will be created from your username, so enter the username accordingly.
Click on continue, and your store will be ready.
In case of any help or query, please contact us or raise a ticket at https://bagisto.uvdesk.com/en/.


Now I have separate domain “www.alan.com” which I want to point to alan.bagisto.com. How I can configure CNAME for this site. Thanks