This guide shows you how to start and set up Bagisto using a ready-made Amazon Machine Image (AMI) on AWS EC2.
Bagisto is a strong, free eCommerce platform made with Laravel, which helps businesses quickly create and run their online shops.
By using this AMI, you can easily launch a Bagisto site that’s ready for business with just a little setup.
The process includes getting your web server ready, making an SSL certificate, and setting up your database—so you can have your Bagisto store up and running in just a few minutes.
1. Initial Setup
Just follow the steps below to get your instance ready, set up your domain, and finish installing Bagisto.
When launching the EC2 instance, you must select or create an SSH key pair to allow secure access to the instance.
It is recommended to choose instance with 2gb ram or higher for bagisto application to run properly.
Open the following ports in your instance’s security group:
22/SSH => 0.0.0.0/0
80/HTTP => 0.0.0.0/0
443/HTTPS => 0.0.0.0/0
After launching an EC2 instance using this AMI, open your browser and navigate to the public IP of the instance:
http://<your-ec2-public-ip>
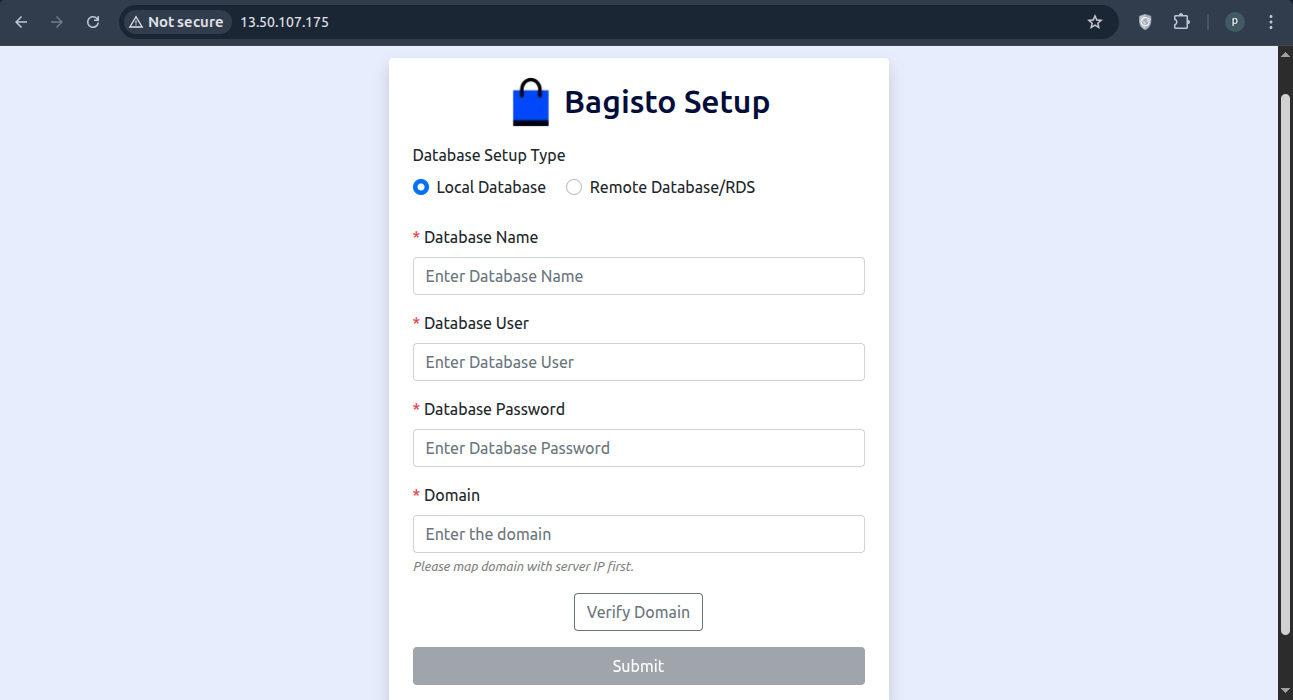
You will see the Bagisto Setup Page.
2. Domain Configuration (Required)
So before proceeding, configure a domain that points to your EC2 instance’s public IP address. This domain will be used for the Bagisto application.
A) Create an A record in your domain’s DNS settings without proxy.
B) Point it to the EC2 instance’s public IPv4 address.
C) The domain is required for SSL setup and to access the final application.
3. Installation Options
The setup page provides two installation options: Local Database and Remote Database/RDS.
Option A: Local Database
This option creates a new local database on the EC2 Instance.
Required Inputs:
A) Database Name
B) Database Username
C) Database Password
D) Domain (mapped to the EC2 IP)
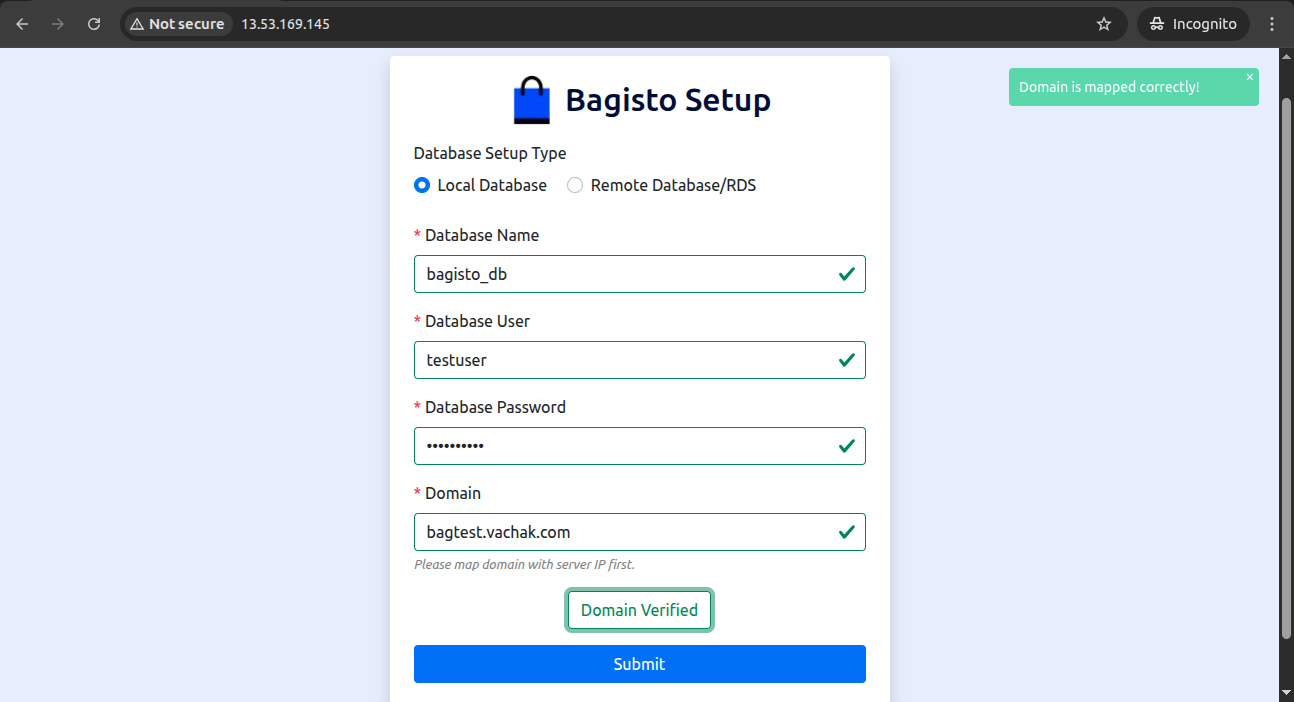
Steps:
- Select Local DB on the setup page.
- So fill in the database credentials and your mapped domain.
- Click Verify to confirm the domain points correctly and credentials are valid.
- So once verification is successful, click Submit to begin installation
Notes:
A) Apache and SSL will be configured automatically.
B) Installation directory: /var/www/html/bagisto.
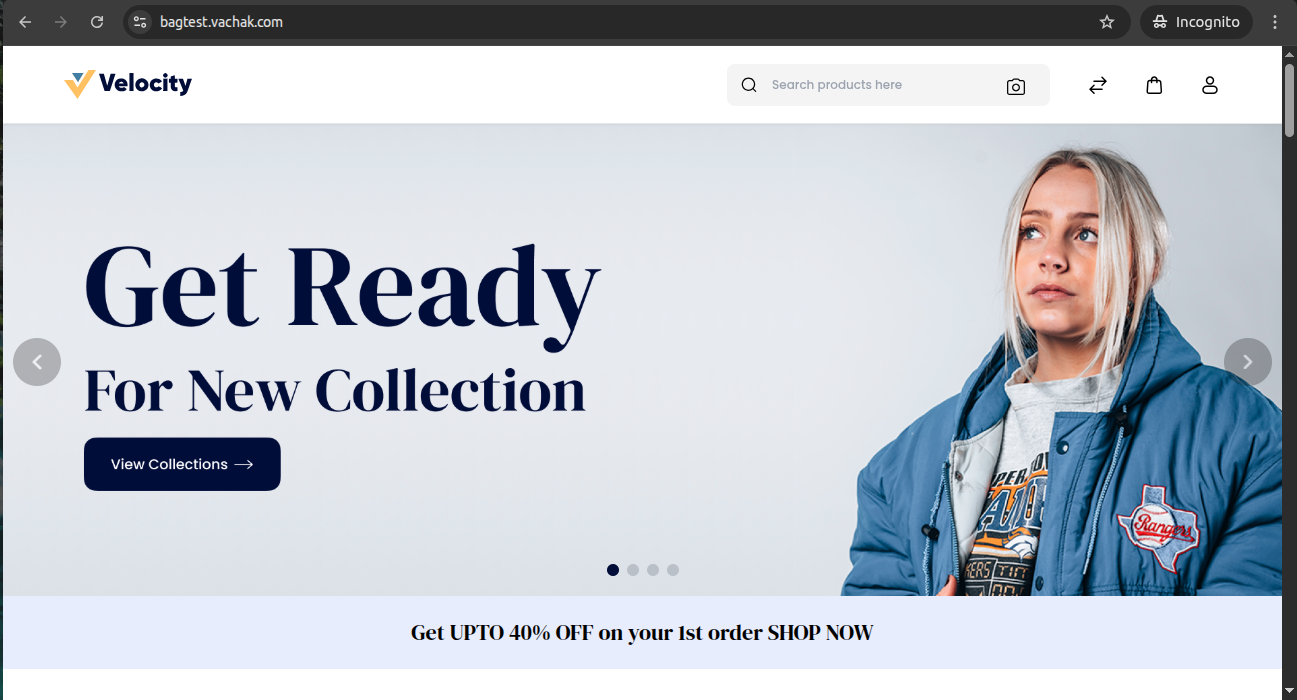
C) So after successful setup, the page will automatically redirect to your domain.
D) Setup page becomes inaccessible after successful installation.
E) Database user should not be root.
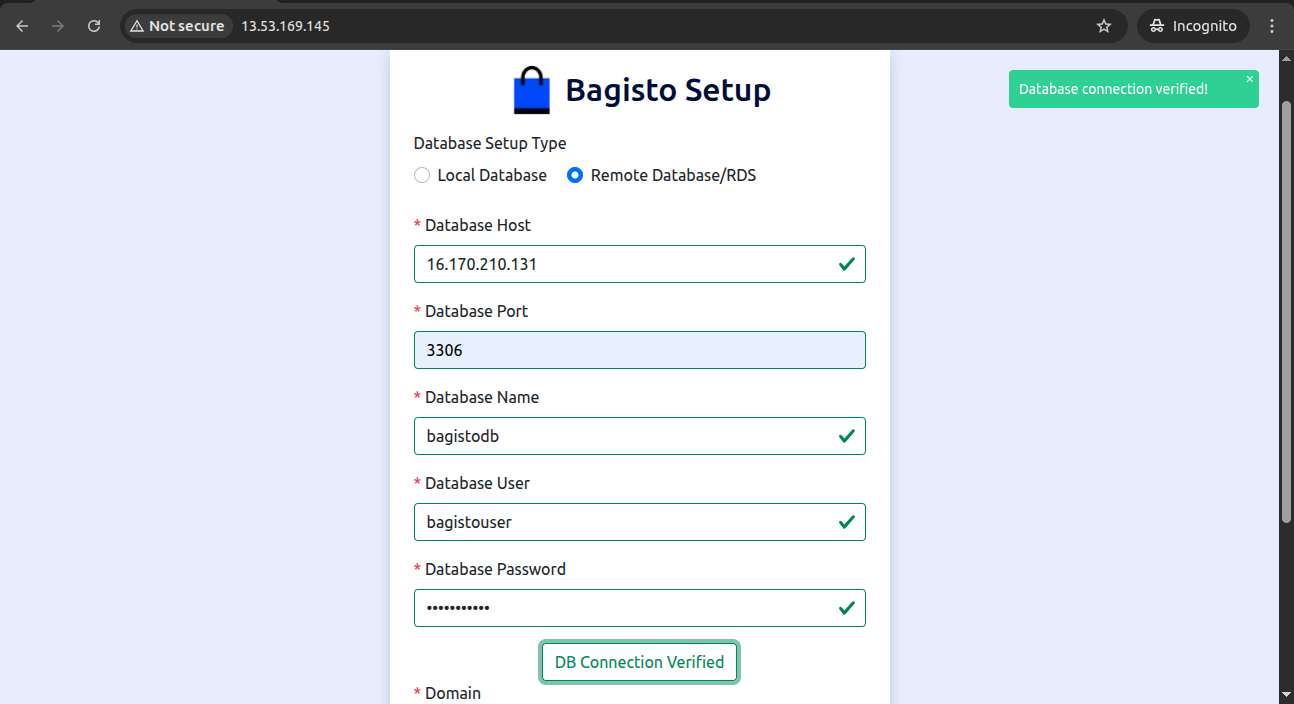
Option B: Remote Database / RDS
This option is for users who already have an external or managed database (e.g., Amazon RDS) prepared.
Required Inputs:
A) Database Host
B) Database Port
C) Database Name
D) Database Username
E) Database Password
Steps:
- Select Remote Database/RDS on the setup page.
- Fill in the database connection details and domain.
- Click Verify DB Connection to check that the database connection is successful.
- Click Verify Domain to check that the domain is correctly mapped.
Once both checks pass, click Submit to install Bagisto.
Notes:
A) So ensure the database and user already exist and have necessary privileges.
B) Apache and SSL will be configured automatically.
C) Installation directory: /var/www/html/bagisto.
D) Setup page becomes inaccessible after successful installation.
E) Database user should not be root.
4. Post-Installation
So application will be accessible at: https://<your-domain>
A) SSL certificate is provided by Let’s Encrypt.
B) The setup page is disabled permanently after the initial configuration. To rerun the setup, launch a new EC2 instance from the AMI.
Accessing the Admin Panel
To log in to the Bagisto Admin Panel: https://<your-domain>/admin
The admin email is always:
How to Retrieve Your Admin Password
To get the generated admin password:
-> pem key should have permission 400
chmod 400 <path-to-pem-key>
-> SSH into your EC2 instance using the .pem key pair selected at launch:
ssh -i <your-pem-key-file.pem> ubuntu@<your-ec2-public-ip>
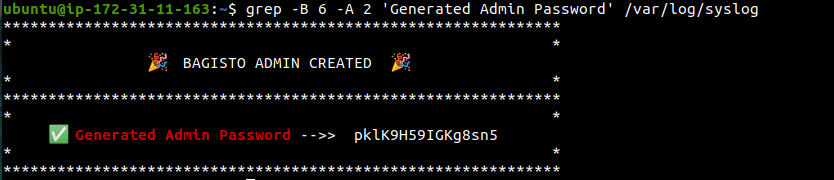
-> Run the following command to retrieve the generated admin password:
|
1 |
grep -B 6 -A 2 'Generated Admin Password' /var/log/syslog |
Change the admin password immediately after the first login.
5. Support
So if you encounter any issues during setup, verify that:
A) Your domain is correctly mapped to the EC2 IP.
B) Security groups allow HTTP (80), HTTPS (443), and SSH(22) ports
C) For Remote DB, ensure network access and permissions are correctly configured.
Hope it will be helpful for you or if you have any issues feel free to raise a ticket at our Support Portal


Be the first to comment.