How to Build Laravel eCommerce Mobile App on Flutter
In this user guide for How to Build Laravel eCommerce Mobile App on Flutter, we will be explaining to you the procedure to install the open-source eCommerce app on the server end and the app end.
You can also check Build Laravel Mobile App the video for a better understanding –
Server End Installation Workflow – Laravel eCommerce Mobile App
Follow the below-mentioned steps in sequence –
1: You need to check on your server that you have installed the latest Bagsito version 2.0.0 which can be downloaded via Git Hub.
You can check the Bagisto Installation User Guide for detailed information.
The Laravel platform, which is open-source and headless, utilizes a GraphQL-based API to provide incredibly fast, dynamic, and customized shopping experiences.
|
1 |
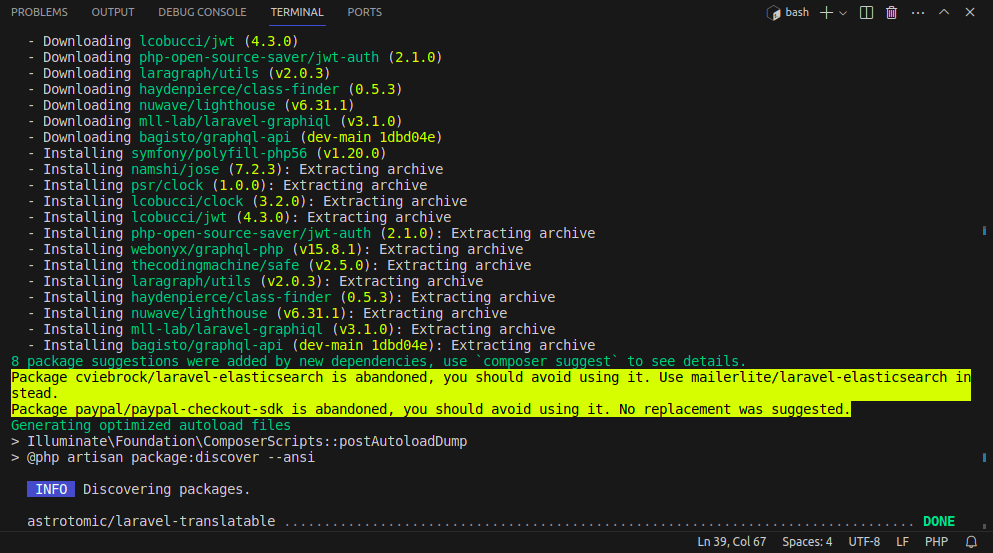
composer require bagisto/graphql-api dev-main |
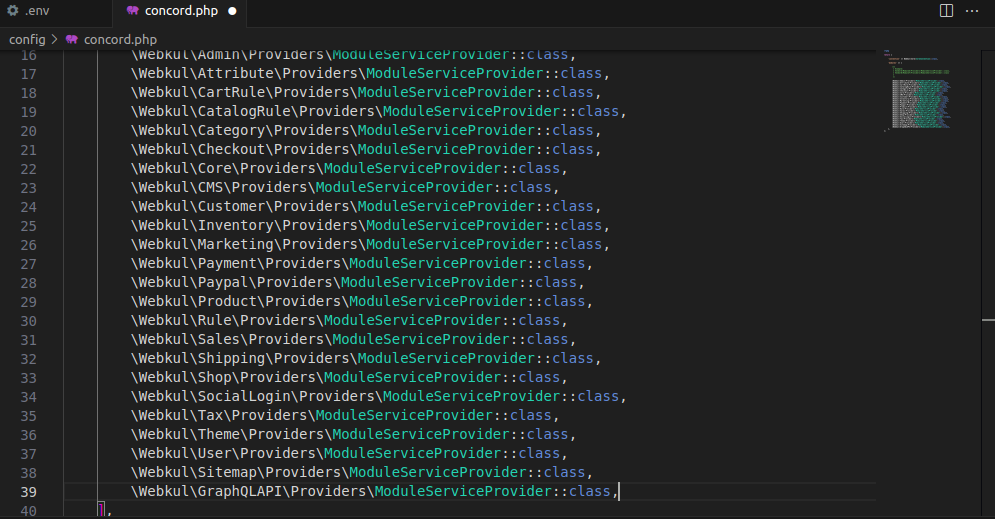
After that, Add the below line inside the modules index in the config/concord.php file
|
1 |
\Webkul\GraphQLAPI\Providers\ModuleServiceProvider::class, |
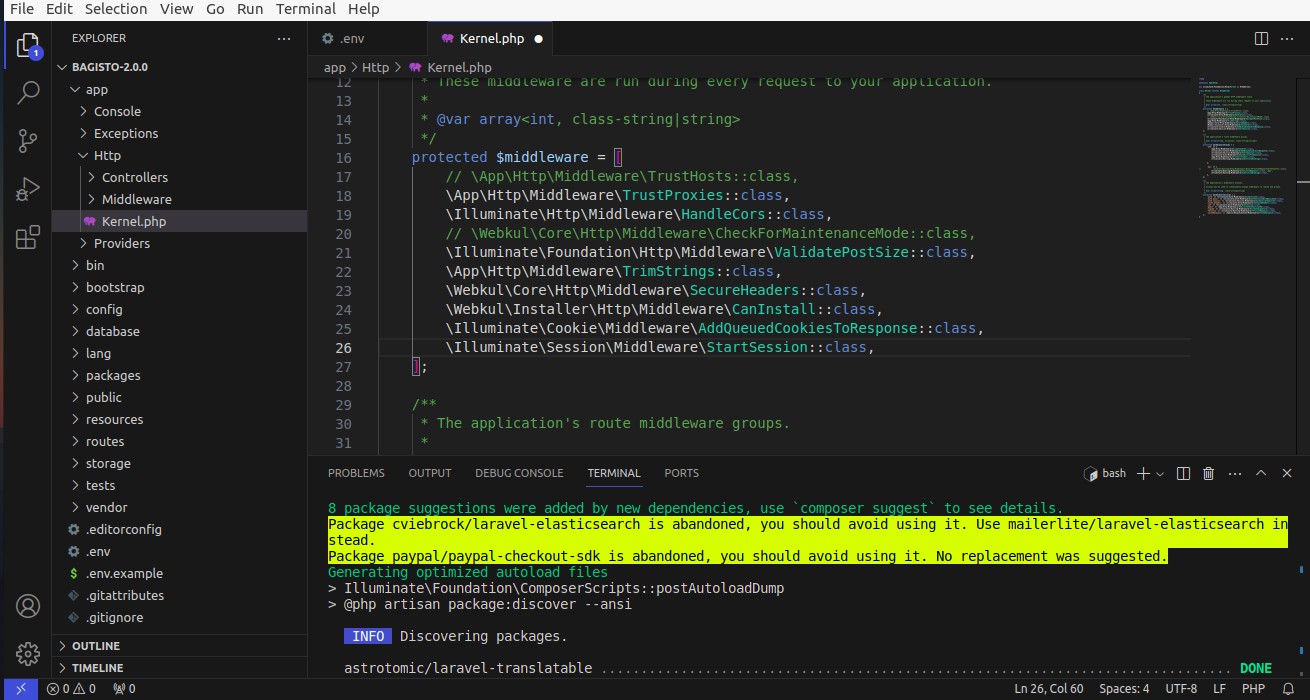
3: Find the file app/Http/Kernel.php from the root and add these two middlewares inside the $middleware array:
|
1 2 |
\Illuminate\Cookie\Middleware\AddQueuedCookiesToResponse::class, \Illuminate\Session\Middleware\StartSession::class, |
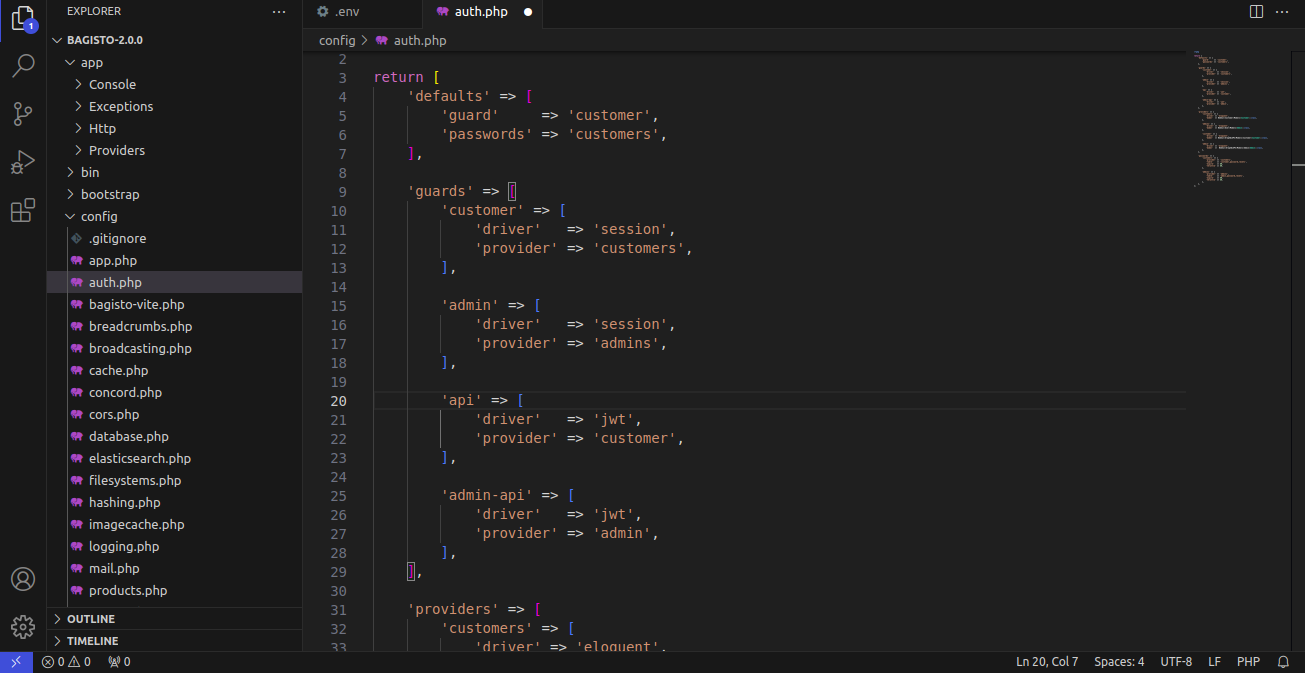
4: Find the file config/auth.php from the root and the below code inside guard:
|
1 2 3 4 5 6 7 8 9 |
'api' => [ 'driver' => 'jwt', 'provider' => 'customer', ], 'admin-api' => [ 'driver' => 'jwt', 'provider' => 'admin', ], |
5: Find a file config/auth.php from root and bellow code inside providers:
|
1 2 3 4 5 6 7 8 9 |
'customer' => [ 'driver' => 'eloquent', 'model' => Webkul\GraphQLAPI\Models\Customer\Customer::class, ], 'admin' => [ 'driver' => 'eloquent', 'model' => Webkul\GraphQLAPI\Models\Admin\Admin::class, ], |
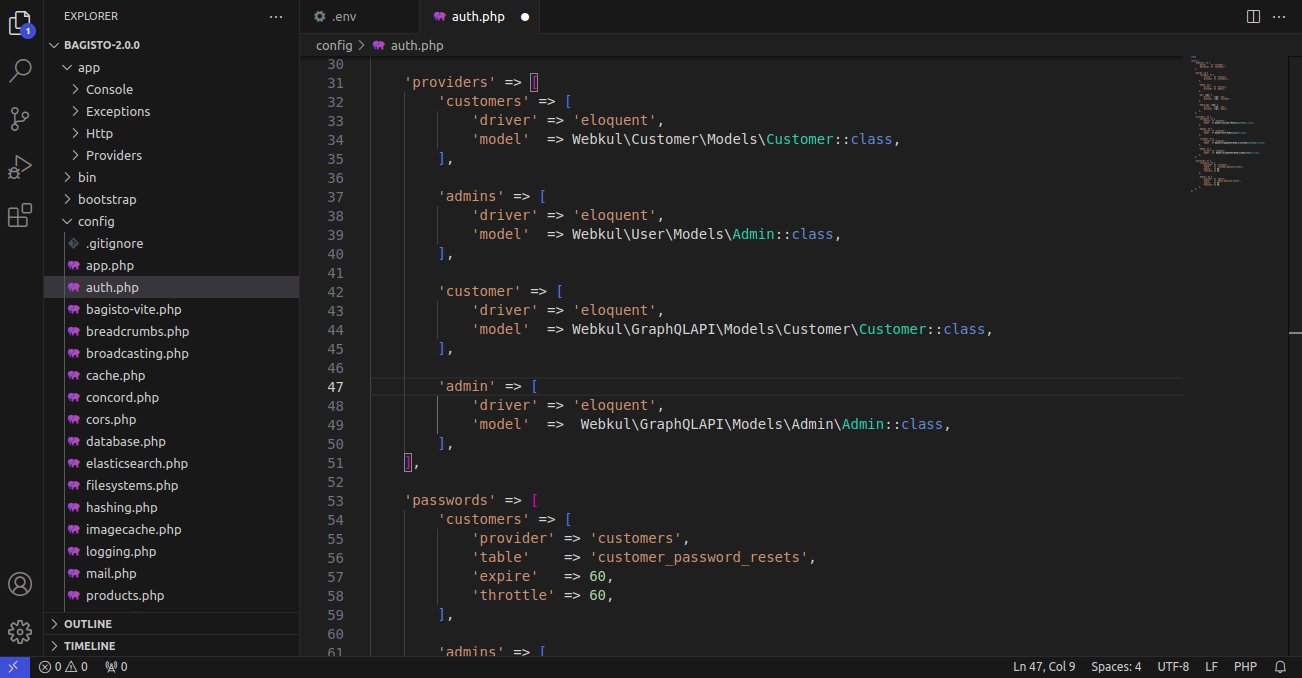
6: Add the JWT_TTL (JWT time to live) & JWT_SHOW_BLACKLIST_EXCEPTION entries in the .env file:
|
1 2 |
JWT_TTL=525600 JWT_SHOW_BLACKLIST_EXCEPTION=true |
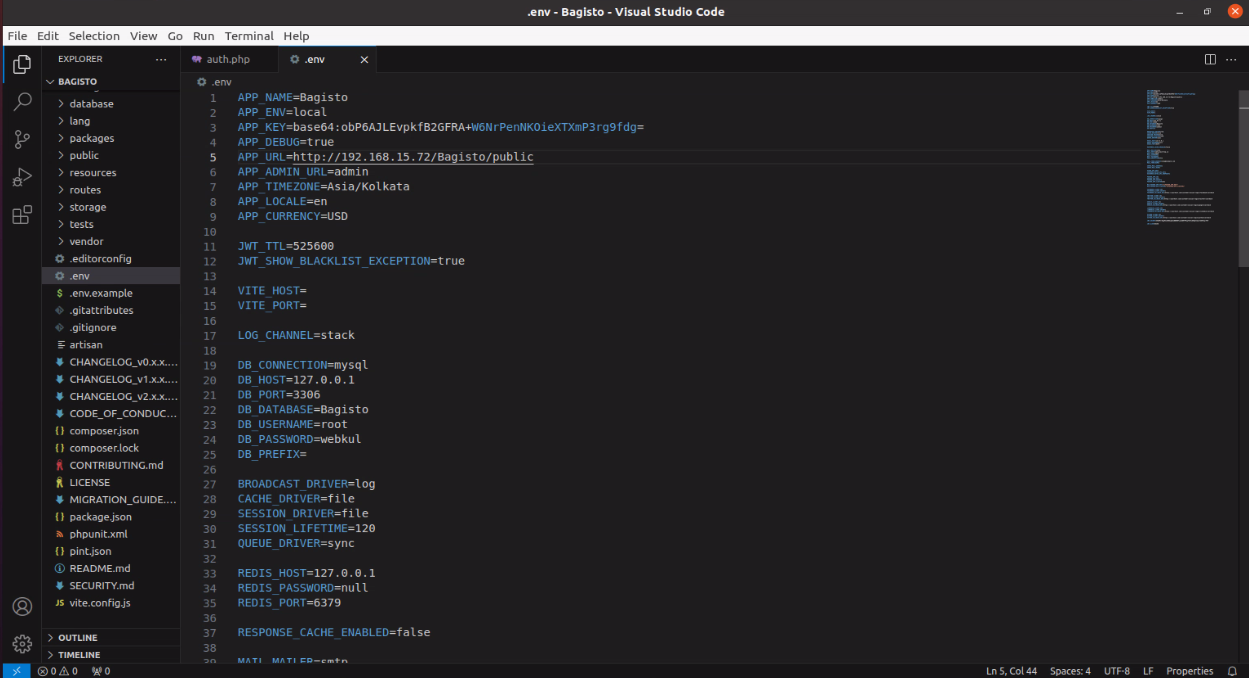
7: To install and publish the assets and configurations, run the below command from the root in the terminal –
|
1 |
php artisan bagisto-graphql:install |
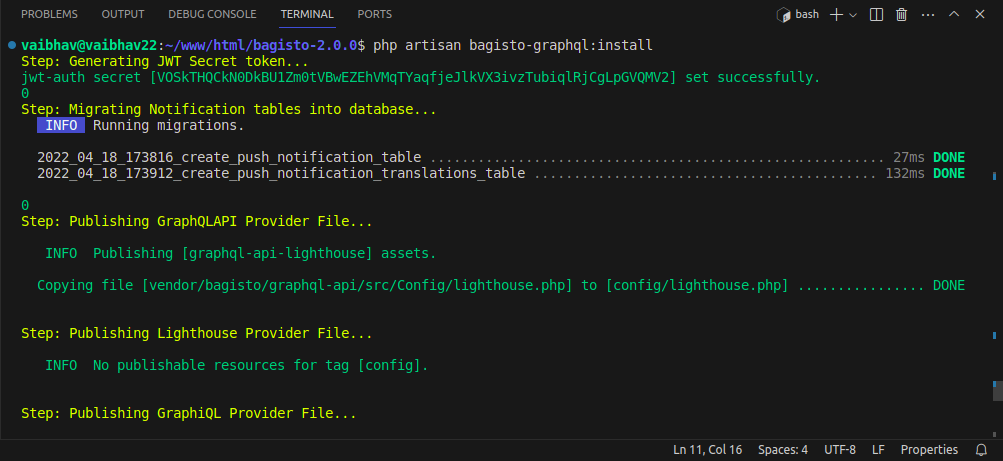
Now to use the graphql-playground for testing the APIs –
|
1 |
http://your-domain.com/graphiql |
You can also use the Postman for testing the APIs:
|
1 |
http://your-domain.com/graphql |
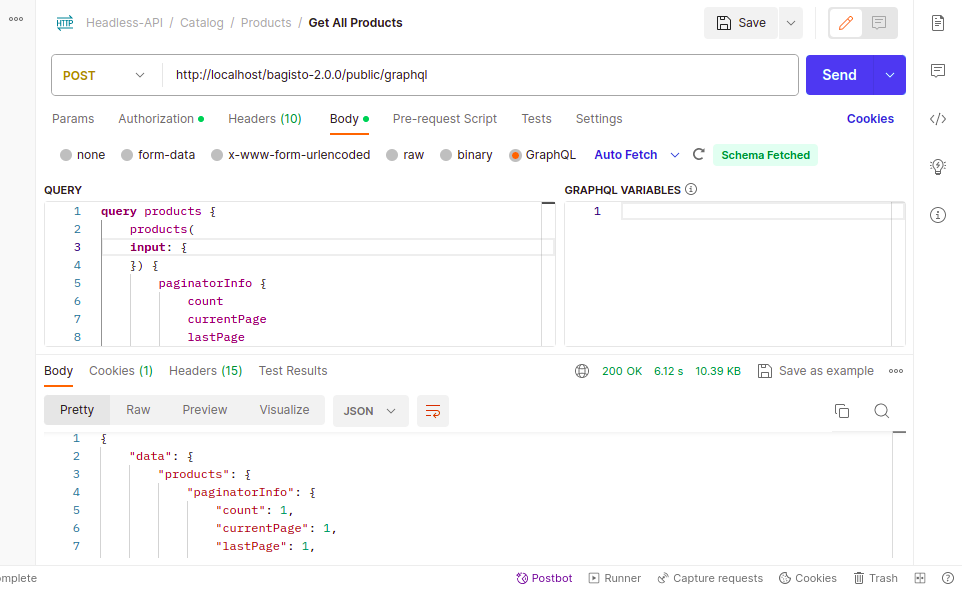
That’s it, now just execute the project on your specified domain.
App End – Installation Workflow
After making the sever end configurations, now we will proceed to the app end installation part.
First of all, you need to make sure that the below-mentioned things are installed –
- Android Studio Version – Flamingo | 2022.2.1
- Flutter Version – 3.10.1
- Dart – 3.0.1
- Xcode – 14.3
- Swift – 5
It is recommended that you run a simple Hello World program in Flutter first before proceeding further so that you are sure that the environment is properly set up.
Configurations – Local Terminal
After going through the above procedures, now on your local system terminal, you have to –
Clone the Repository
- Open your terminal or command prompt
- Navigate to the directory where you want to save the project
- Use the git clone command followed by the repository URL
|
1 |
git clone https://github.com/bagisto/opensource-ecommerce-mobile-app.git |

Install Dependencies
Navigate to the project’s directory and run the below command.
|
1 |
cd <repository-name> |

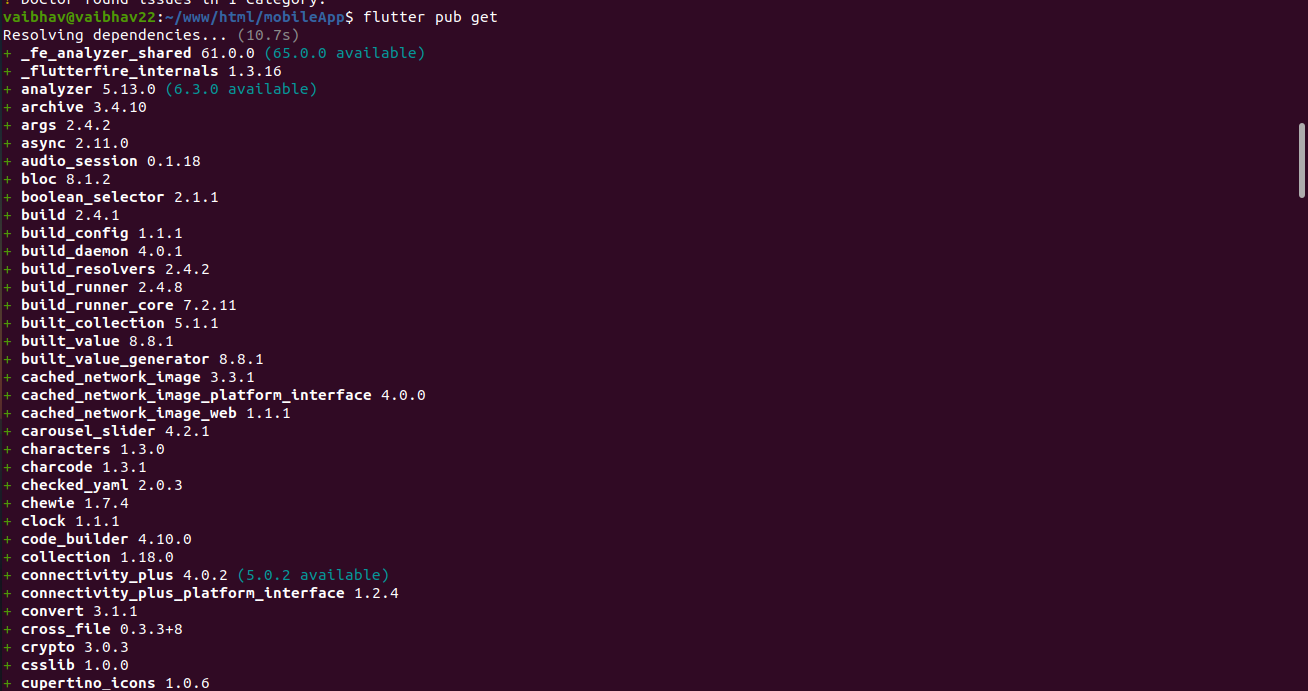
Now, run the following command to install the required packages.
|
1 |
flutter pub get |
Connect a Device or Emulator
Physical Device
- Enable USB debugging on your device
- Connect it to your computer using a USB cable.
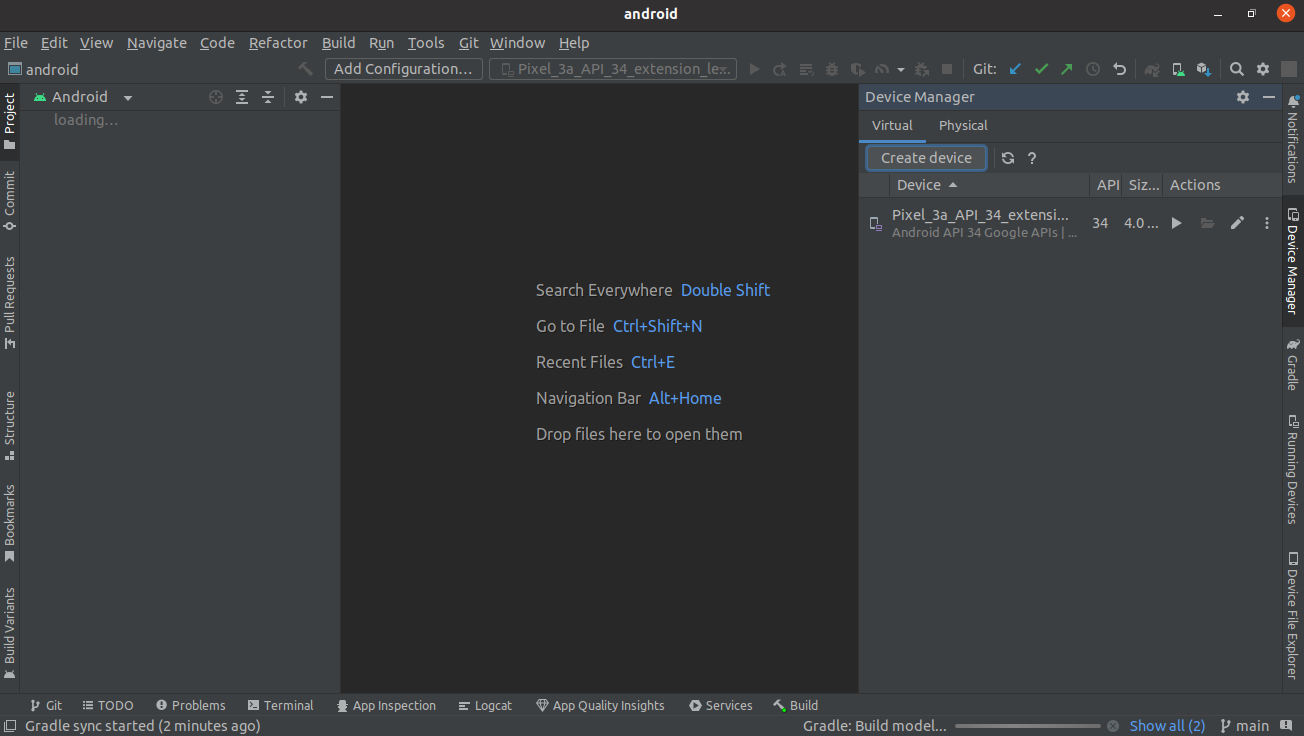
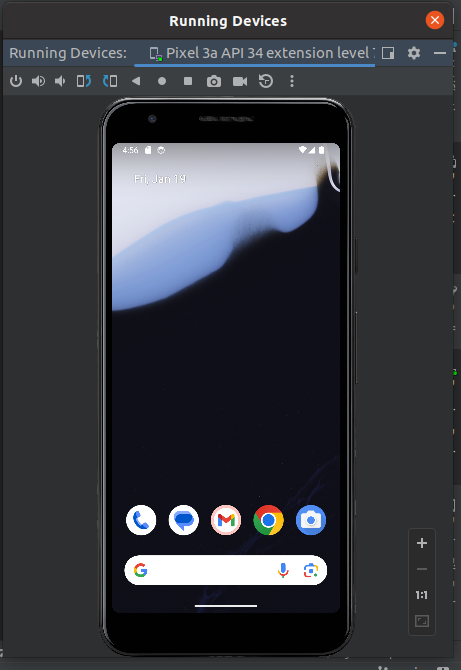
Emulator
- Start an Android emulator using your preferred IDE or tools.
For Setup
Change the base URL as per your store
Path: lib/utils/server_configuration.dart
|
1 |
static const String baseUrl = ‘....’<span class="pl-k">;</span> |
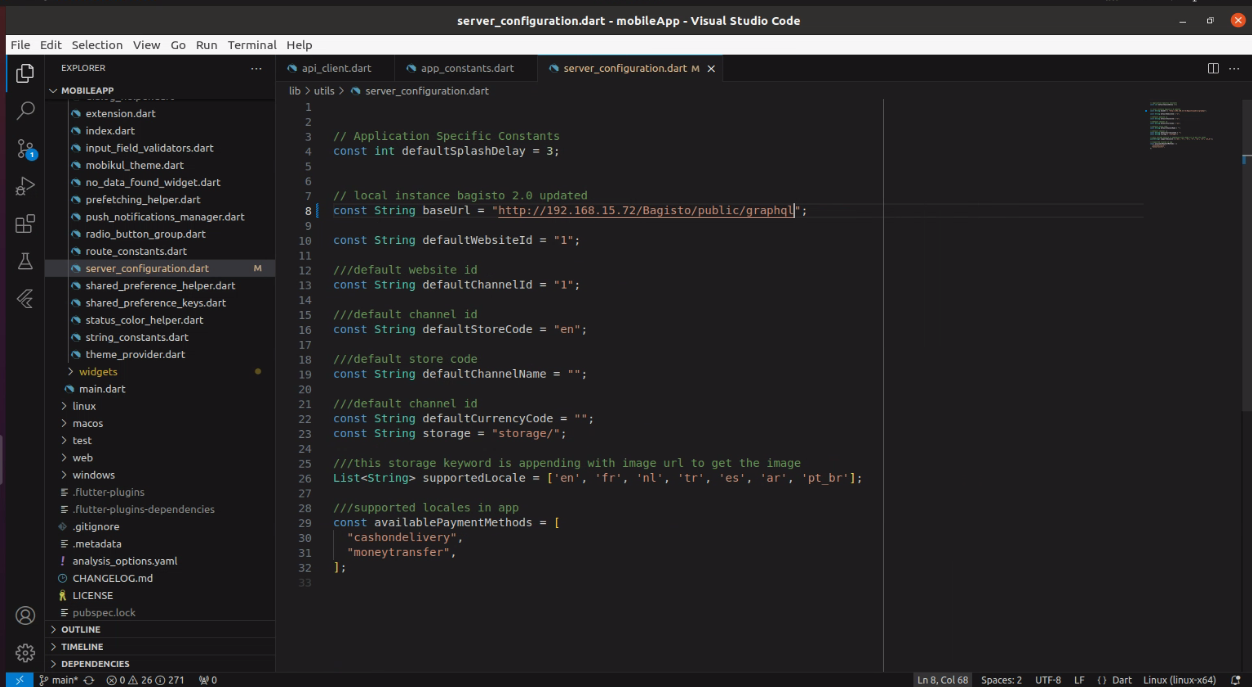
Note: Add the value of the complete URL ending with the GraphQL API endpoint. E.g – https://example.com/graphql
Run the Project
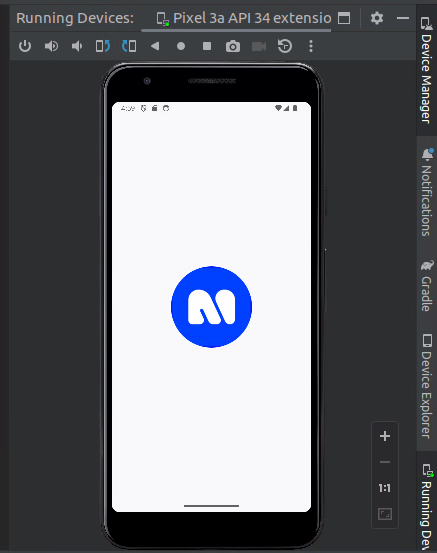
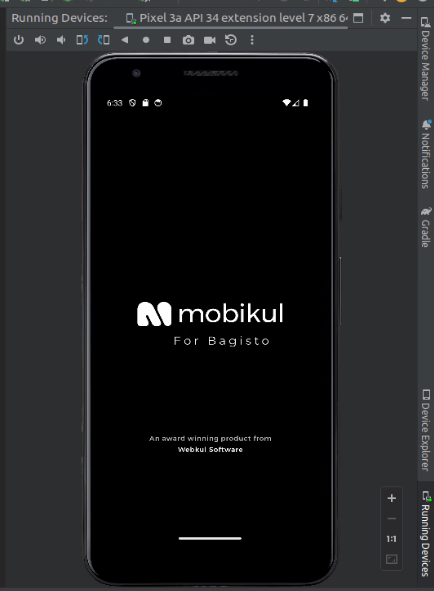
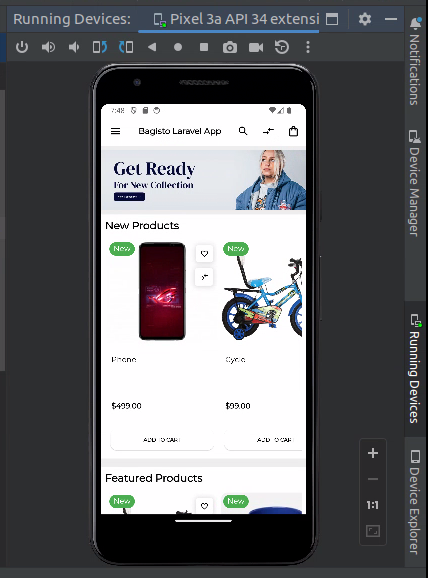
Use the below command to build and run the project.
|
1 |
flutter run |

Minimum Versions
- Android: 21
- iOS: 12
Configurations Steps
Theme
Change the Theme for your app
Path: lib/utils/mobikul_theme.dart
|
1 2 |
static const Color primaryColor = Color(<span class="pl-k">***********</span>)<span class="pl-k">;</span> static const Color accentColor = Color(<span class="pl-k">***********</span>)<span class="pl-k">;</span> |
Push Notification Service
- Android
Replace “google-services.json”.
- iOS
Replace “GoogleService-Info.plist”.
Helpful Articles
Android →Generating Google-Service File To Enable FCM(Firebase Cloud Messaging) In The Android Application.
iOS → Generating A New GoogleService-Info.Plist File For The FCM Based Project For IOS App.
Application Title
-
Android
- Path: android/app/src/main/AndroidManifest.xml
- Change app name: android:label=”***********”
-
iOS
- Go to the general tab and identity change the display name to your app name
For Homepage Header Title – Go to ‘assets/language/en.json’ (Note: Here, “en” in en.json refers to the languages that would be supported within the application)
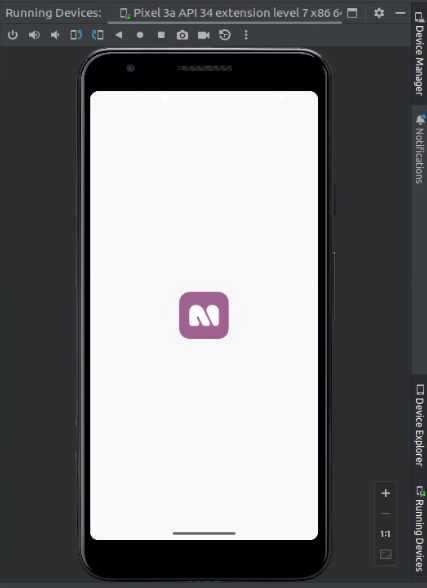
Splash Screen
-
For adding Lottie as Splash Screen
- Path: assets/lottie/splash_screen.json
- After updating the Lottie file, update the ‘splashLottie’ in lib/utils/assets_constants.
|
1 |
static const String splashLottie = <span class="pl-s"><span class="pl-pds">"</span>assets/lottie/splash_screen.json<span class="pl-pds">"</span></span><span class="pl-k">;</span> |
-
To add an Image as a Splash Screen
- Path: assets/images/splash.png
- After updating the Image file, update the ‘splashImage’ in lib/utils/assets_constants.
|
1 |
static const String splashImage = <span class="pl-s"><span class="pl-pds">"</span>assets/images/splash.png<span class="pl-pds">"</span></span><span class="pl-k">;</span> |
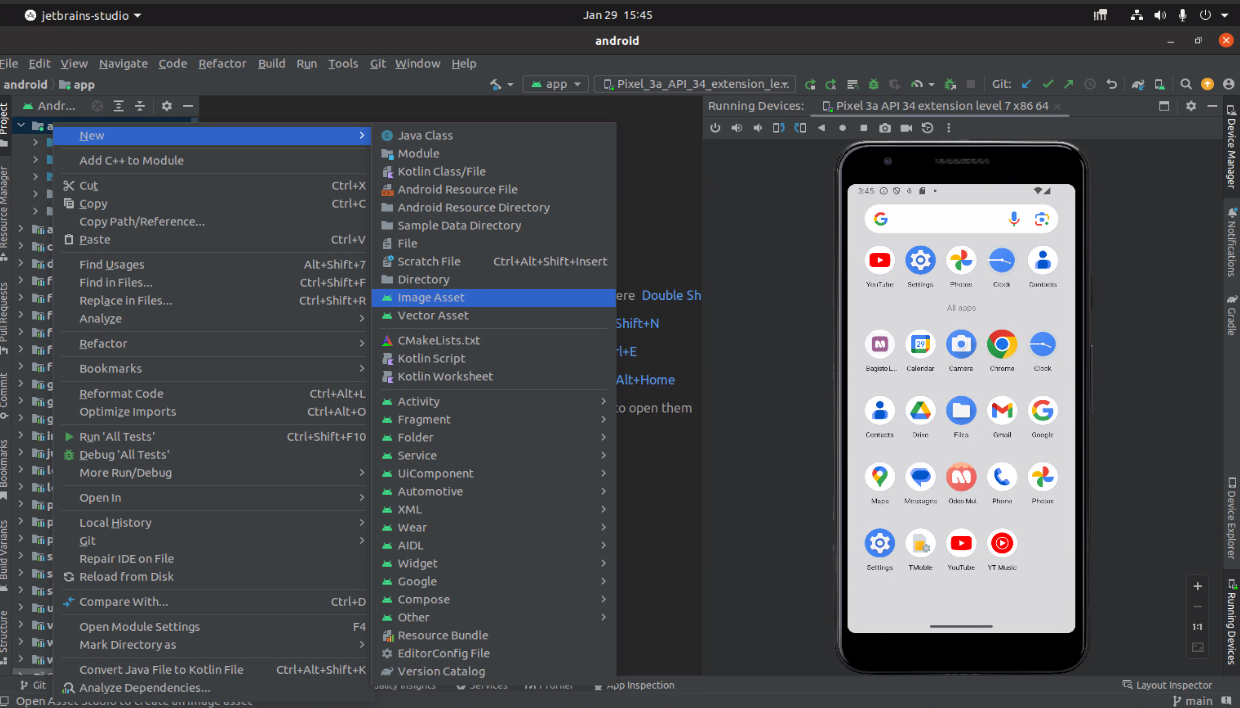
App Icon
- Android: Open the Android folder in Android Studio and then right-click app > new > Image Asset Set Image.
- iOS: Replace the icons over the path > ios/Runner/Assets.xcassets/AppIcon.appiconset
Leave a Comment
3 comments


The app works perfectly fine with the base URL https://demo.bagisto.com/mobikul-common/graphql, but not with my actual project URL. The issues I’m facing include:
1. The home page is not loading.
2. The search option shows an error (null operator used on a null value).
3. The app is displaying products that do not belong to my project, and none of my actual products are visible in the app.
Please provide a solution for these issues as soon as possible.