Bagisto Hosting

How to Create Admin ACL in Bagisto?

Updated 13 July 2026

Blog Version - 2.0
  • Version 1.0
  • Version 2.0

As your eCommerce Business grows, multiple team members may need access to the Bagisto admin panel.

From managing products and orders to handling customers and marketing, each user plays a different role.

To keep store management organized, each team member should have access only to the tools they need.

Bagisto’s Access Control List (ACL) makes this easy by allowing you to create users and define permissions for each role.

This guide explains how to create users and roles in Bagisto and manage admin access efficiently.

Create a User in Bagisto

You can create multiple admin users and assign an appropriate role to each one.

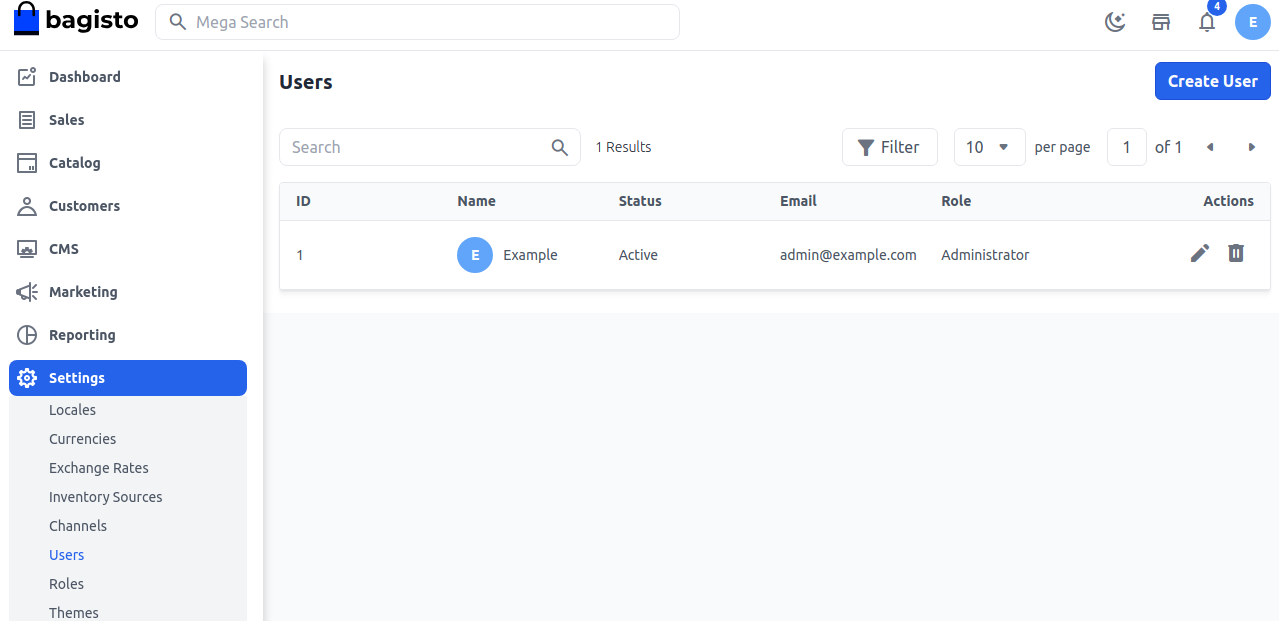
Step 1: Open the Users Section

From the admin panel, navigate to:

Settings → Users. Click Create User.
How to Create Admin ACL in Bagisto?

Step 2: Enter User Details

Fill in the following information:

Click Save User.

How to Create Admin ACL in Bagisto?

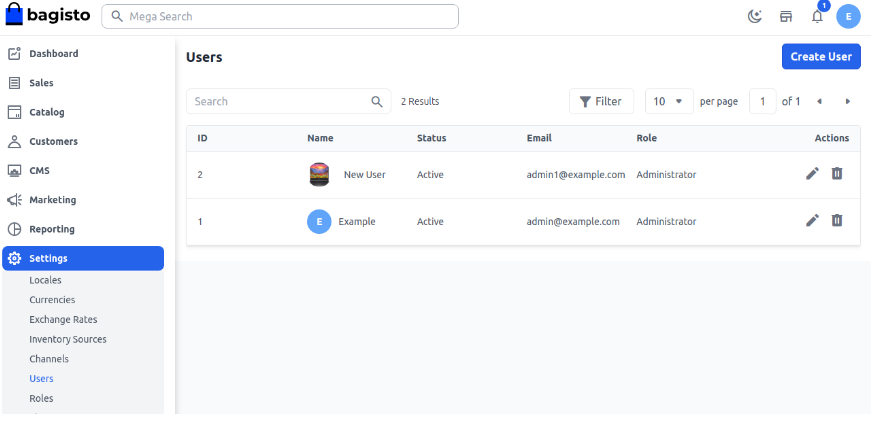
Step 4: Verify the Role

After saving, the new user will appear in the Users list and can log in according to the assigned role.
How to Create Admin ACL in Bagisto?

Create Roles in Bagisto

Roles help you group permissions and assign them to multiple users, making access management easier.

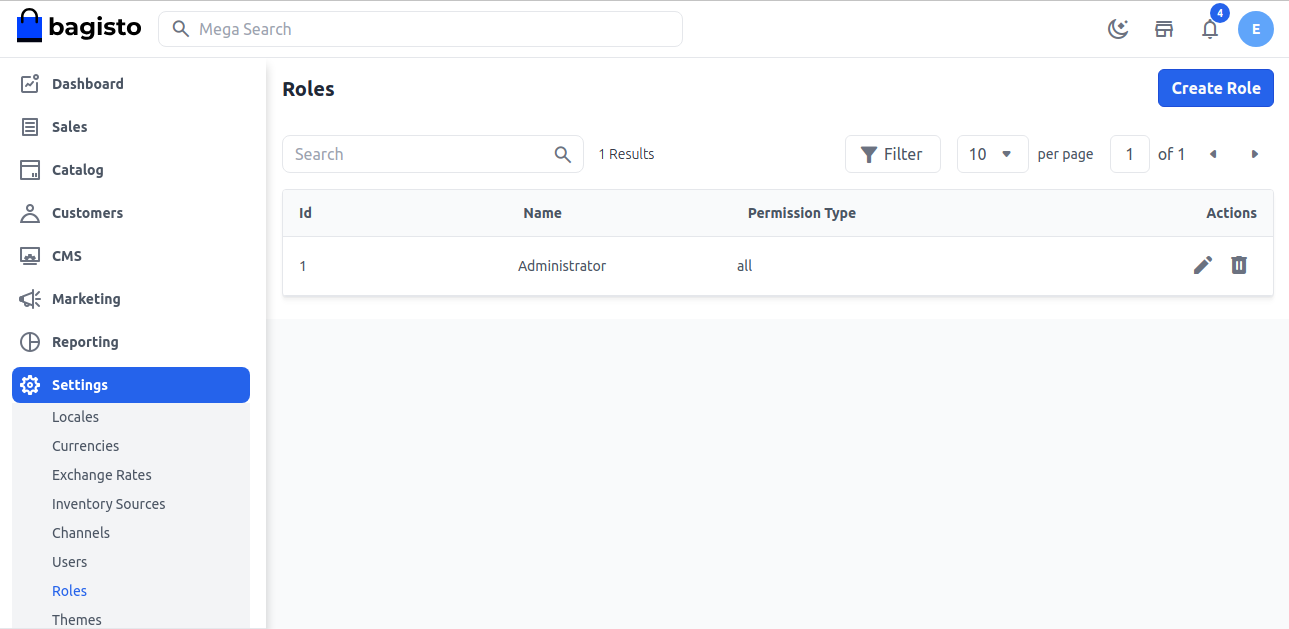
Step 1: Open the Roles Section

From the admin panel, navigate to:

Settings → Roles. Click Create Role.
Bagisto's Access Control List

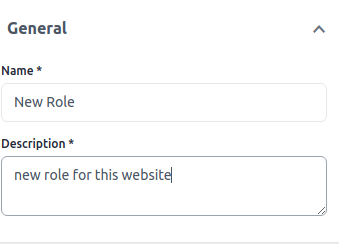
Step 2: Enter Role Information

Provide the following details:

Bagisto's Access Control List

Step 3: Configure Permissions

Select the required Access Control permissions for the role based on what users should be allowed to access.

Click Save Role.

Access Control

Step 4: Verify the Role

The newly created role will appear in the Roles list and can now be assigned to users.
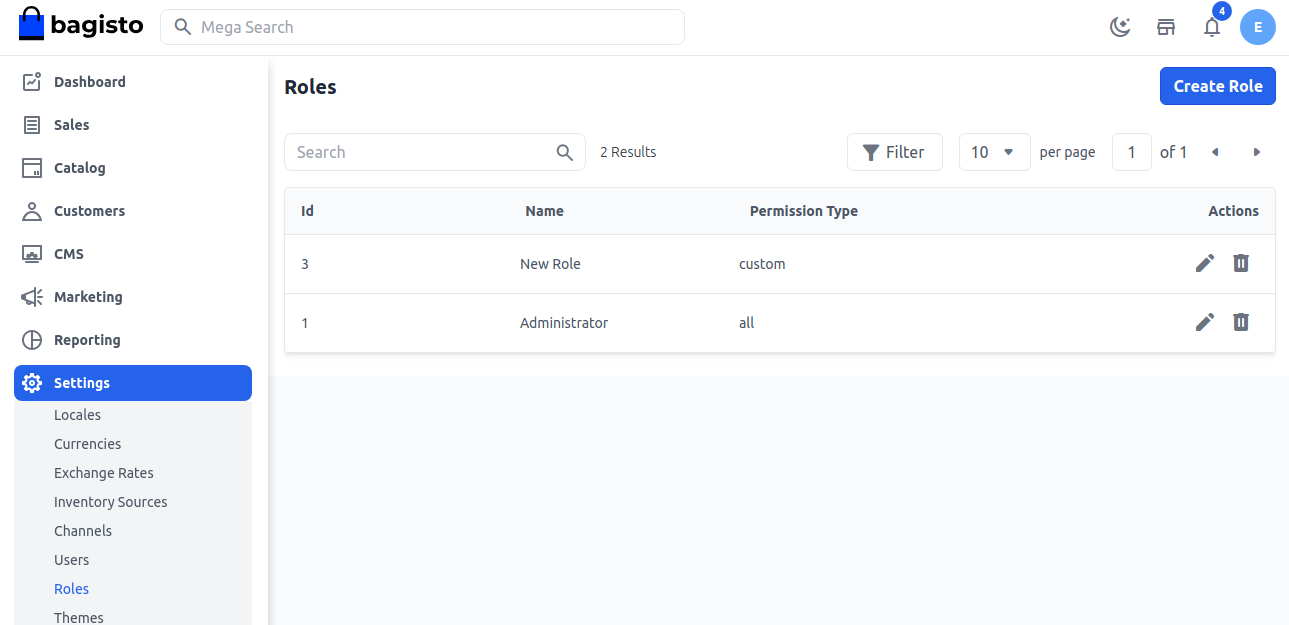
New role

Conclusion

Bagisto’s Access Control List (ACL) makes user management simple and secure.

Create users, assign roles, and set permissions to manage admin access securely and ensure each user can access only the required features.

This improves security, simplifies team management, and ensures every user has access only to the features they need.

Thank you for reading! If you have any questions, leave a comment below or raise a ticket through our Support Portal.

You can also Hire Laravel Developers for your custom projects.

. . .

Leave a Comment

Your email address will not be published. Required fields are marked*


Be the first to comment.

Start a Project


    Message Sent!

    If you have more details or questions, you can reply to the received confirmation email.

    Back to Home