How to Install Bagisto on Laravel Cloud: Step-by-Step Deployment Guide
In this tutorial, we’ll walk through the complete process of How to Install Bagisto version 2.4.8 on Laravel Cloud
Laravel Cloud is designed to simplify application deployment by managing infrastructure, security, and scaling for Laravel-based projects.
Therefore, Laravel Cloud and Bagisto together provide a reliable, scalable platform for modern eCommerce without complex server management
What is Laravel Cloud?
Laravel Cloud is a fully managed hosting platform built specifically for Laravel applications.
It gives developers a production-ready environment to deploy, manage, and scale Laravel apps without server or infrastructure hassles
Key Features of Laravel Cloud
- Git-Based Deployment – Deploy your application directly from GitHub, GitLab, or Bitbucket with automated build and deployment workflows.
- Managed Infrastructure – Laravel Cloud manages servers, updates, and maintenance, eliminating the need for manual configuration.
- Automatic SSL – Free SSL certificates are automatically provisioned and renewed to keep your application secure.
- Managed Databases – Easily create and manage MySQL or PostgreSQL databases from the dashboard.
- Environment Variable Management – Configure application settings through a simple interface without editing server files.
- Scalable Resources – As your business grows, you can easily increase your application’s computing resources to maintain consistent performance during traffic spikes.
- Optimized for Laravel – Purpose-built for Laravel applications, providing excellent performance and a streamlined deployment experience.
What is Bagisto?
Bagisto is a modern, open-source eCommerce platform built on Laravel and Vue.js. It helps businesses create scalable and feature-rich online stores.
Bagisto includes an intuitive admin panel to manage products, inventory, customers, and orders.
It also supports multi-channel selling through a responsive storefront.
It offers multi-language, multi-currency, and multi-warehouse support, making it suitable for global businesses.
Bagisto is secure, flexible, and easy to customize. Developers can quickly integrate payment gateways, shipping methods, and third-party services.
Deploy Bagisto on Laravel Cloud
Step 1: Sign Up for Laravel Cloud
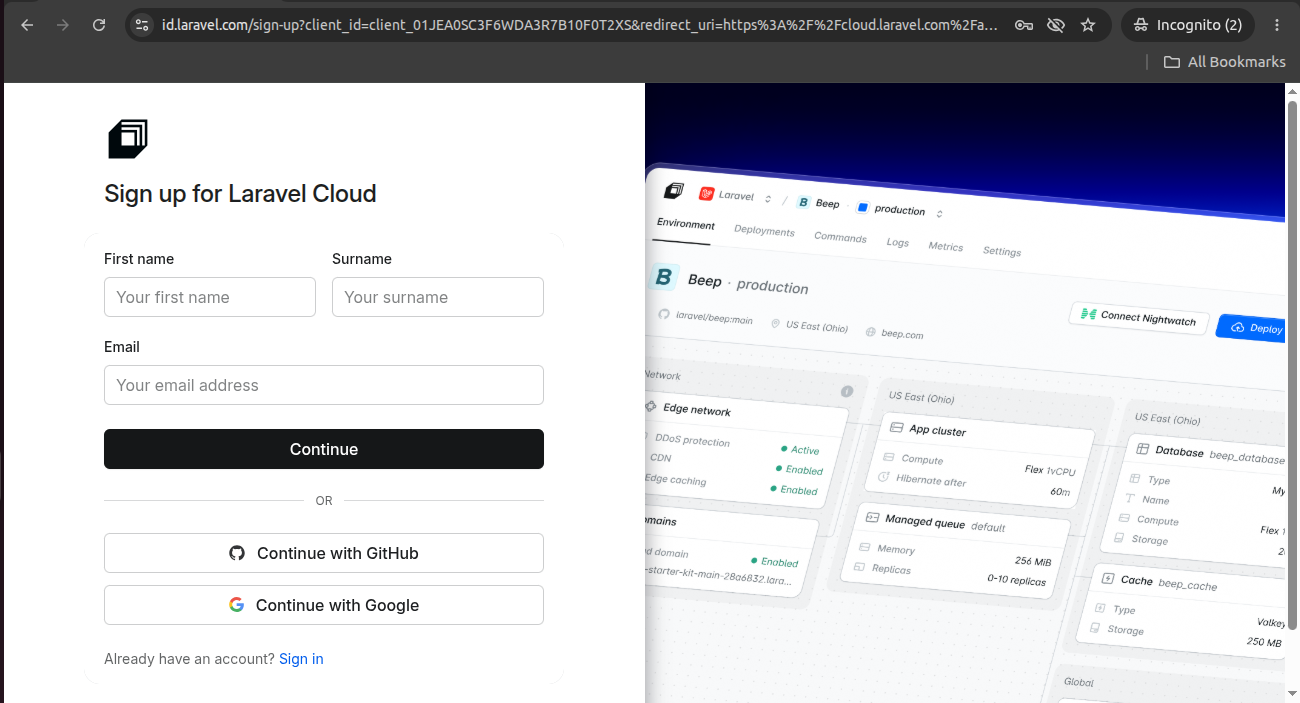
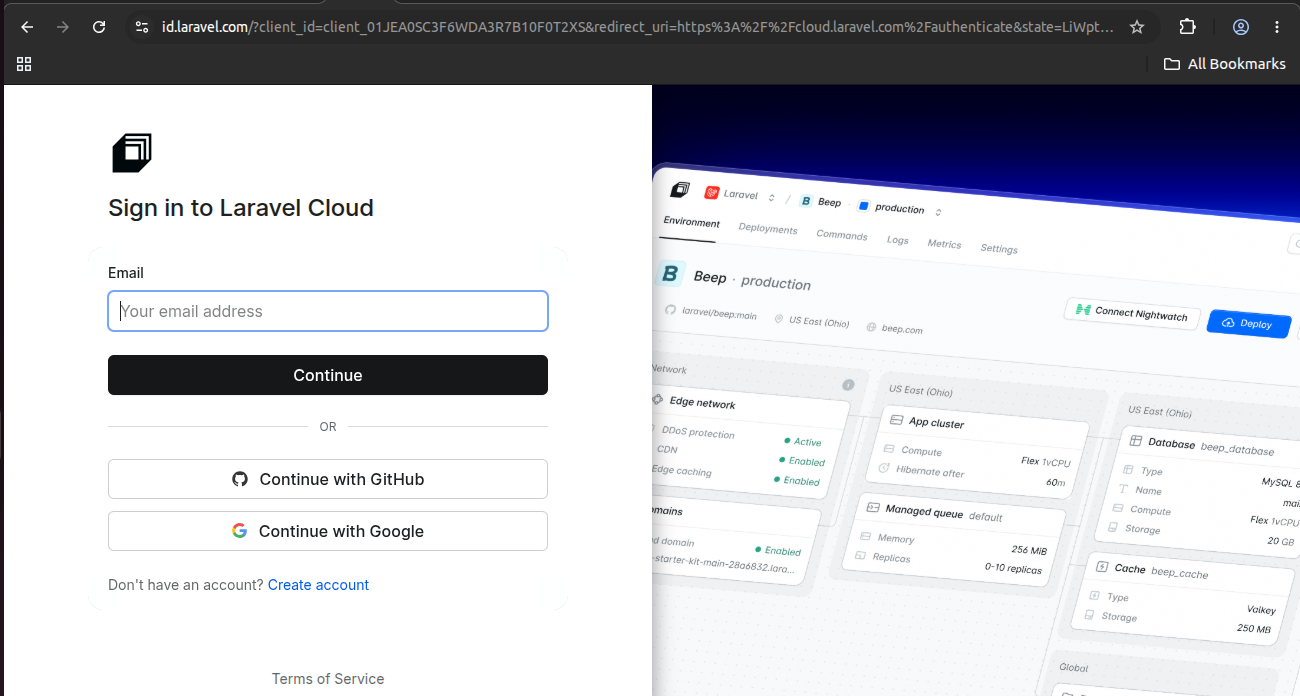
Before deploying Bagisto, sign in to Laravel Cloud. If you don’t have an account, create one. Then, log in and continue with the deployment
Go to the Laravel Cloud sign-up page: https://cloud.laravel.com/sign-up
Go to the Laravel Cloud sign-in page: https://cloud.laravel.com/sign-in
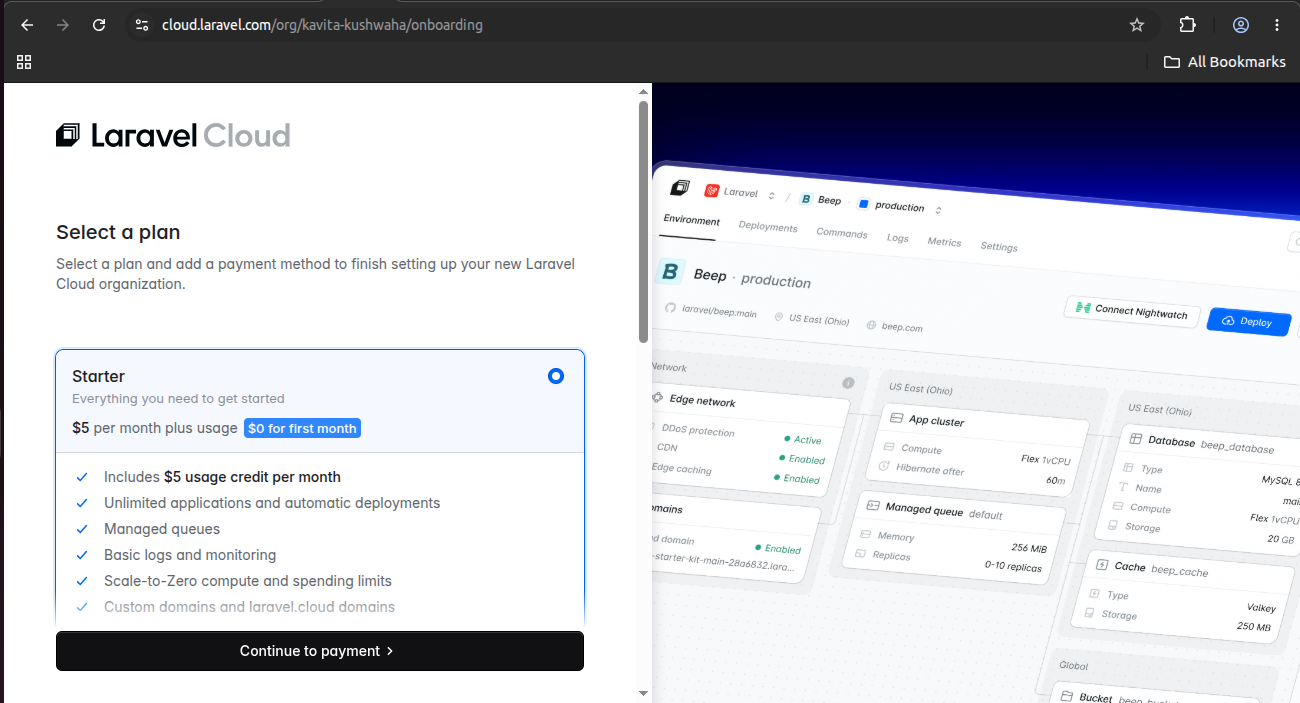
After signing in to Laravel Cloud, you’ll be taken to the Select a Plan page. Here, you need to choose a subscription plan to complete the organization setup.
For beginners, the Starter plan is a good choice. It costs $5 per month plus usage and includes a $5 usage credit every month.
New users also receive the first month free, making it ideal for exploring the platform without an upfront cost
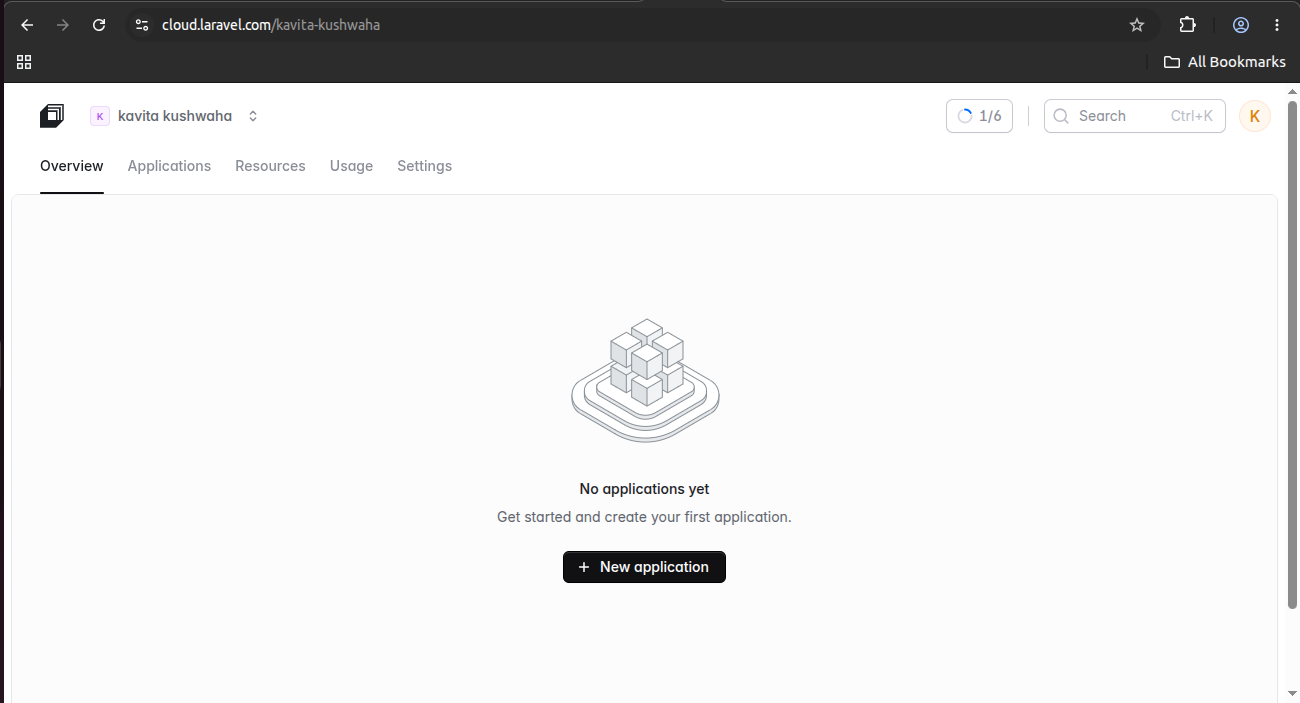
After completing the setup, Laravel Cloud redirects you to the Overview page, indicating that your account is ready.
You can now begin deploying Laravel applications and managing your cloud resources.
Step 2: Set Up a Database for the Bagisto Application
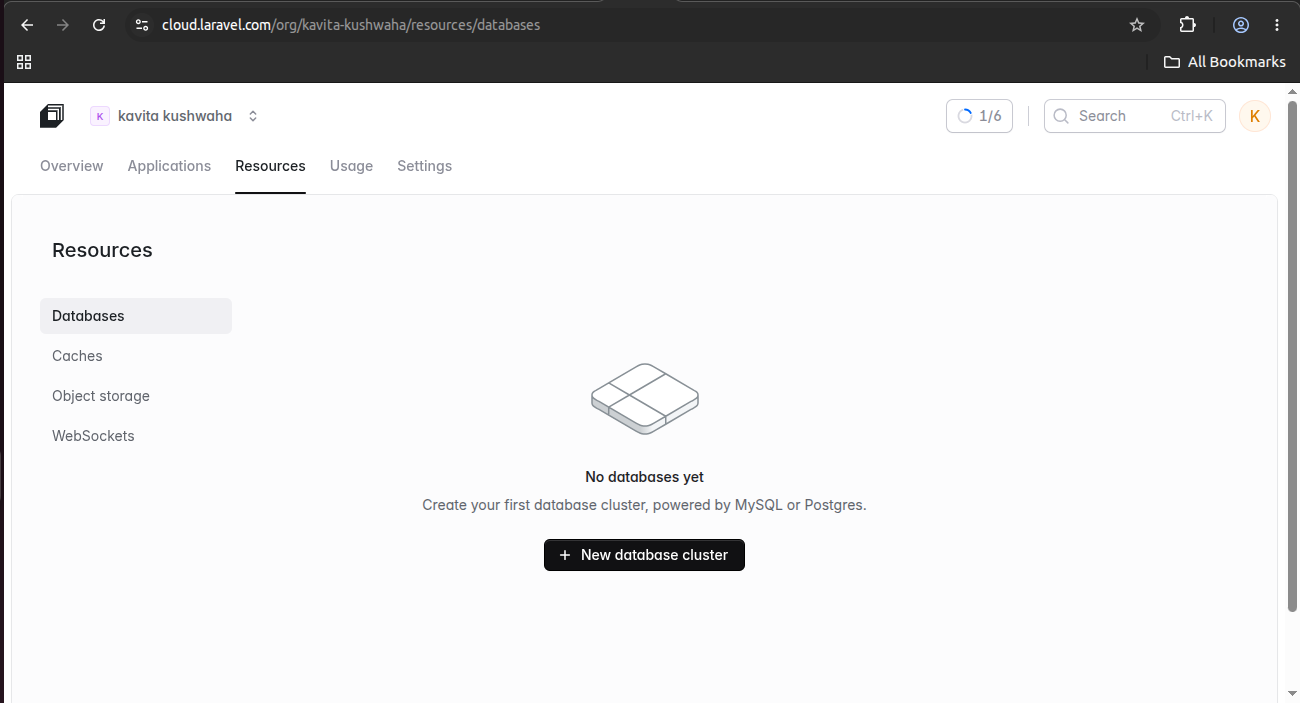
First, open the Resources tab from the Laravel Cloud dashboard and select Databases from the left sidebar.
Next, click the New database cluster button to create a managed database for your Bagisto application.
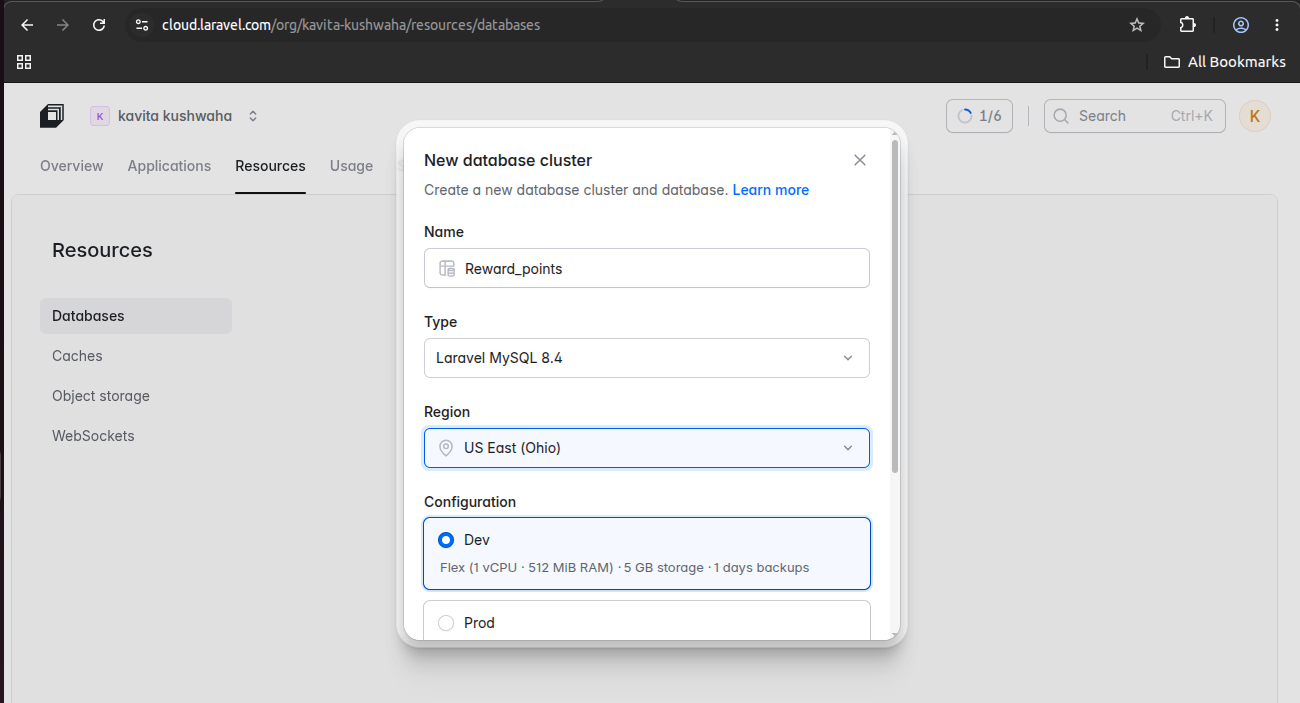
Next, enter the required details, such as the MySQL Database Cluster Name, Database Cluster Type, and Database Cluster Region.
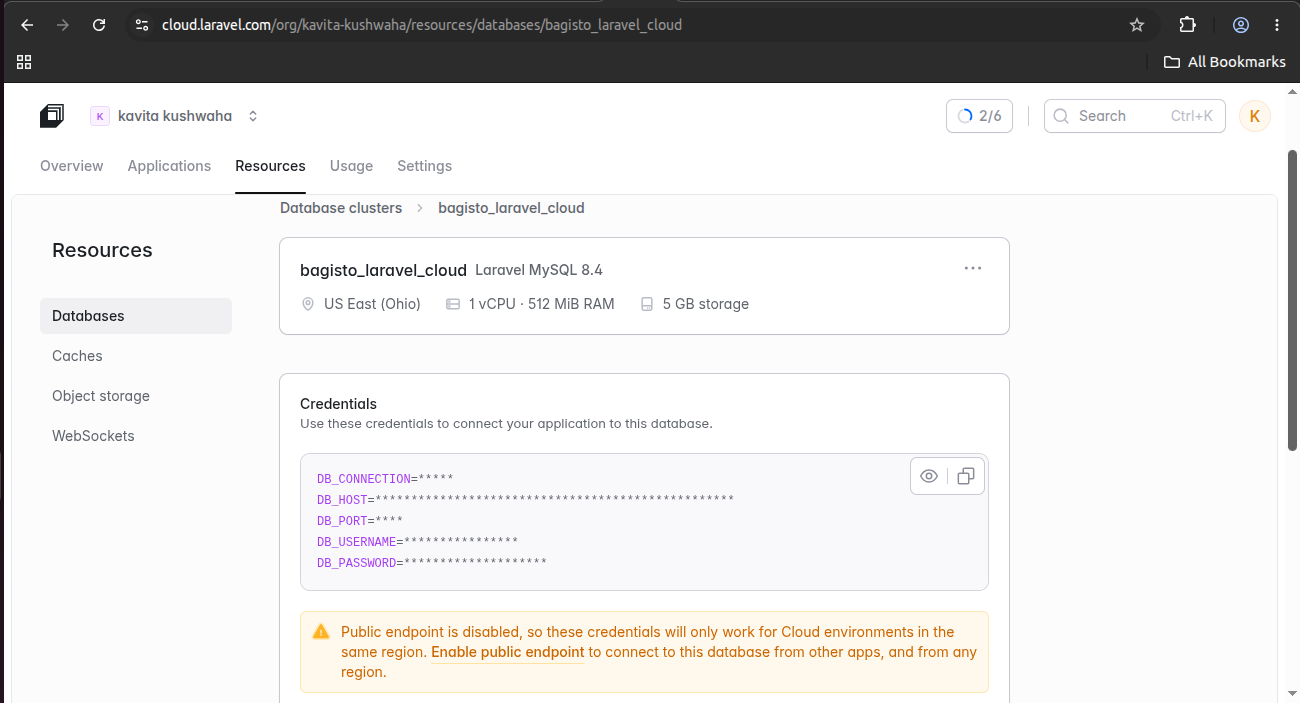
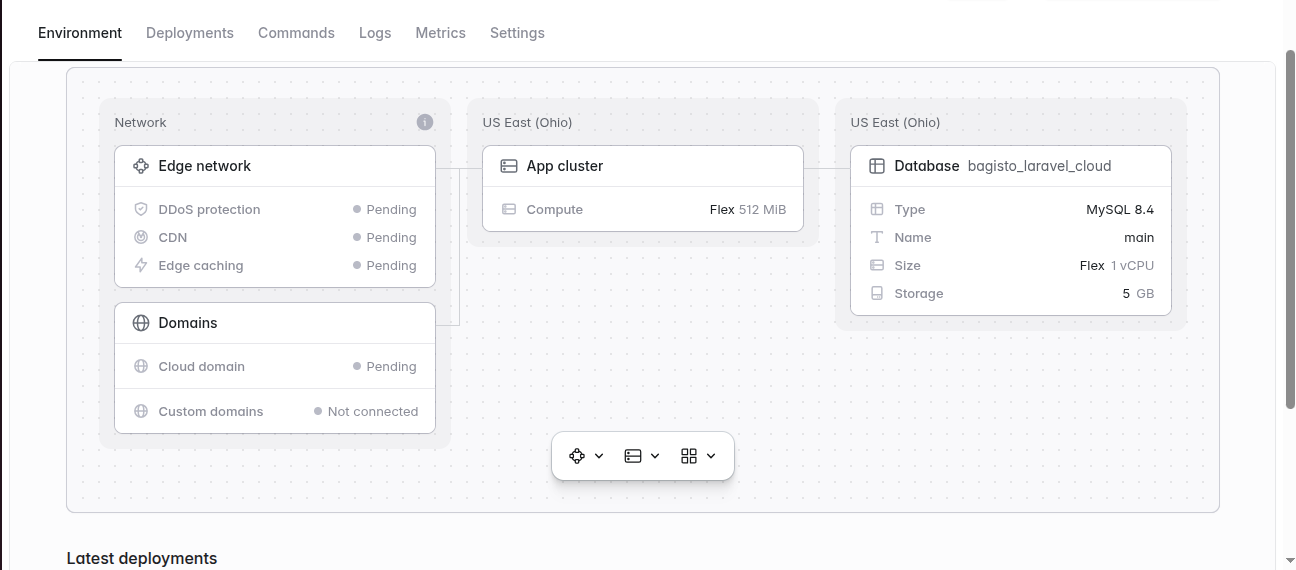
Once the database cluster is ready, Laravel Cloud displays its configuration, including the database name, region, compute resources, and storage.
Copy the database credentials from the Credentials section for later use when connecting your Bagisto application.
Fork the Bagisto Repository
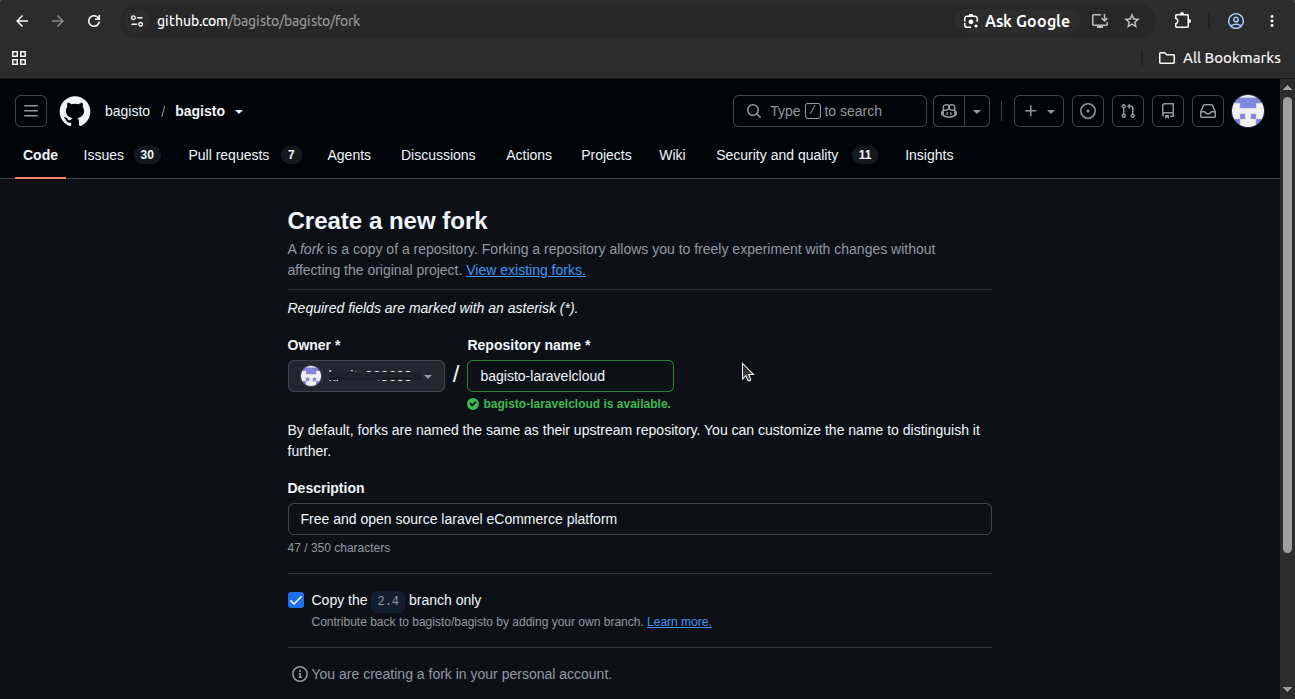
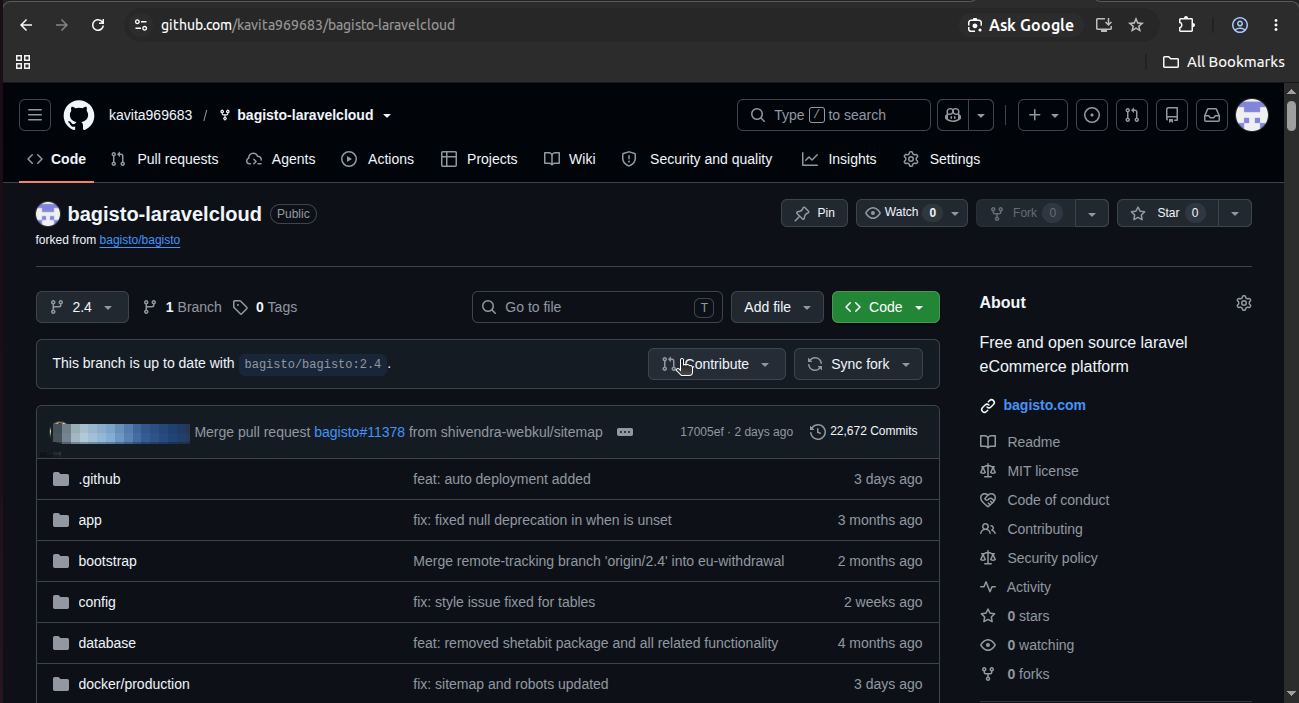
To deploy Bagisto on Laravel Cloud, first fork the official Bagisto repository to your GitHub account.
This creates a copy of the project that you can use for deployment and customization.
Steps:
- Log in to your GitHub account.
- Open the official Bagisto repository.
- Click Fork in the top-right corner.
- Select your GitHub account to create the fork.
Once the fork is complete, you’ll have your own copy of the Bagisto repository, ready to be connected to Laravel Cloud in the next step.
Create a New Application on Laravel Cloud
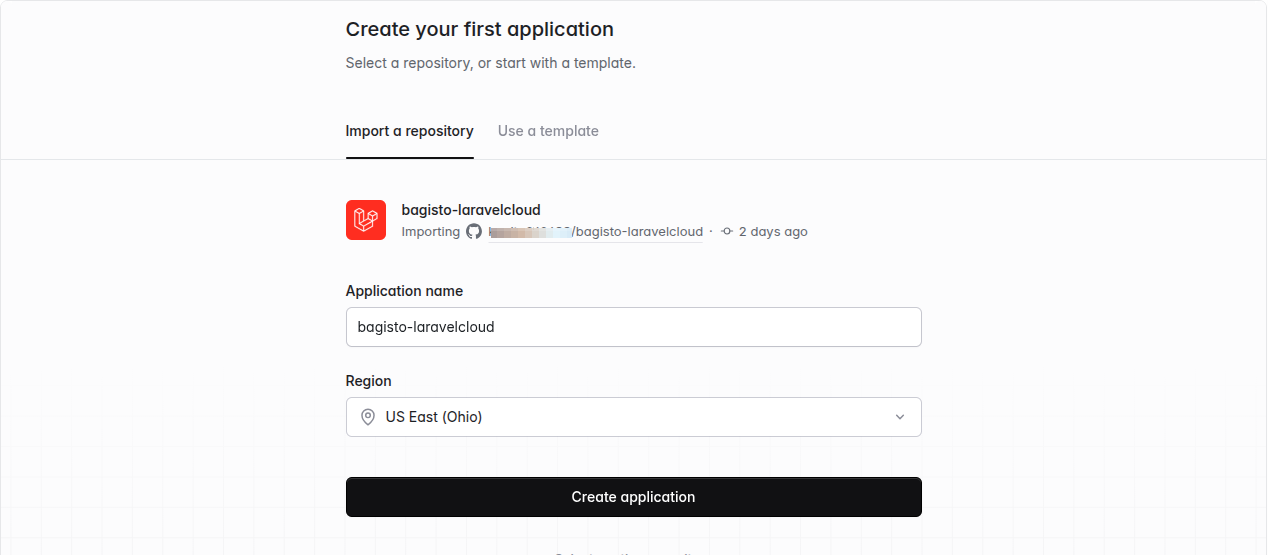
Log in to your Laravel Cloud account and navigate to the Applications section. Click + New Application to start creating a new application.
Import the forked Bagisto repository from your GitHub account. Then, enter an Application Name, choose your preferred Region, and click Create Application.
Your application will be created, and Laravel Cloud will begin preparing the deployment environment for the next steps.
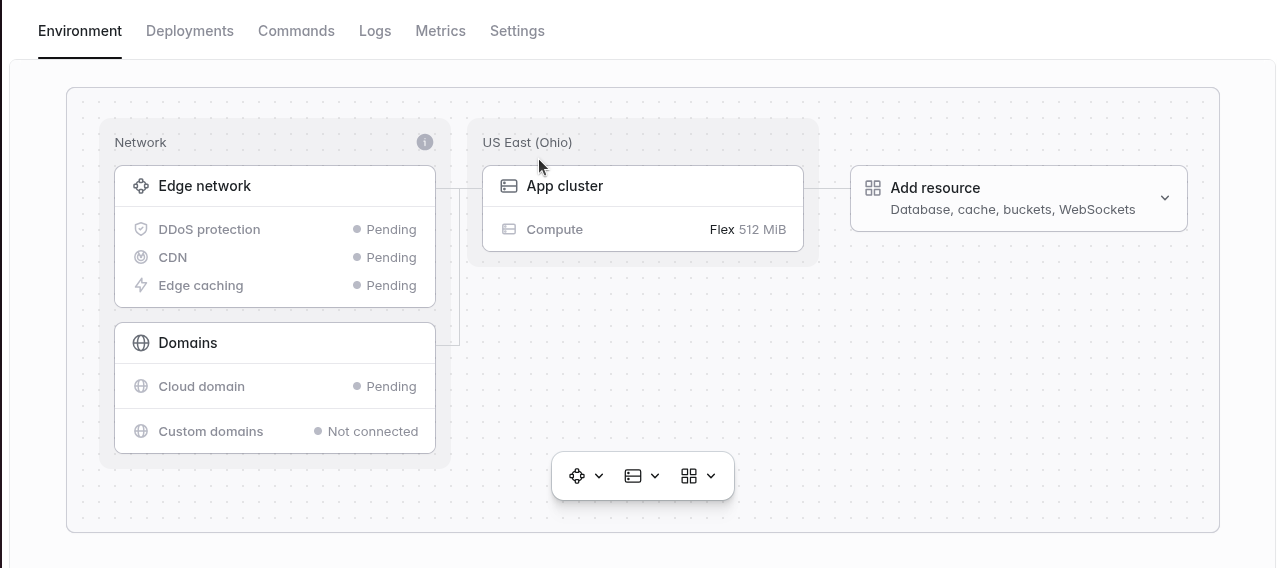
Your environment has been successfully created.
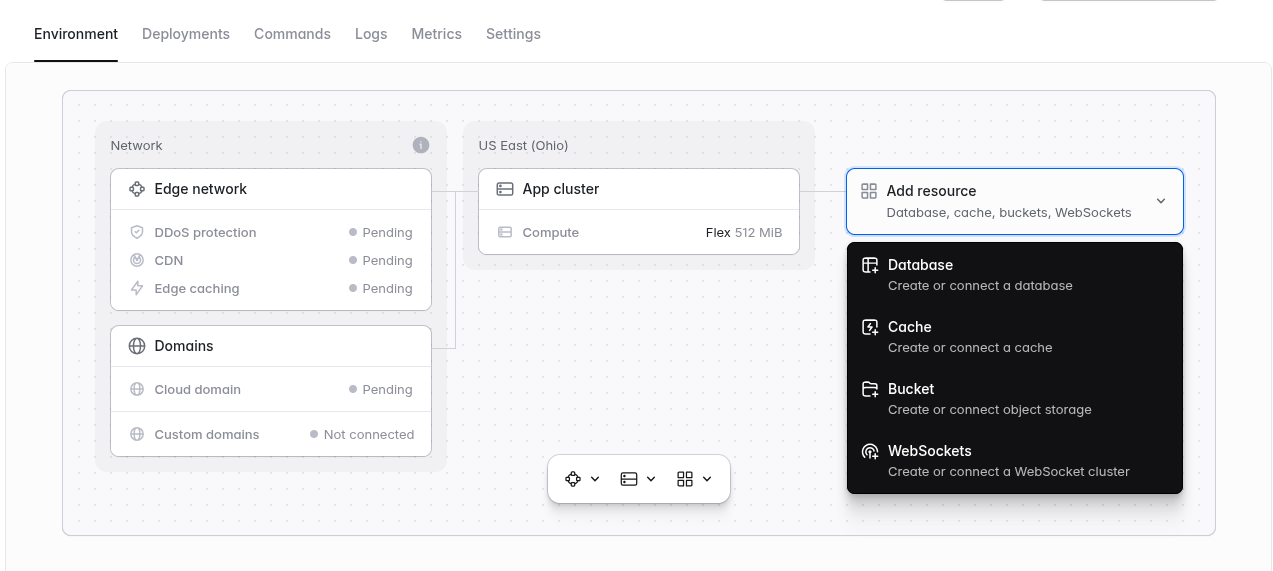
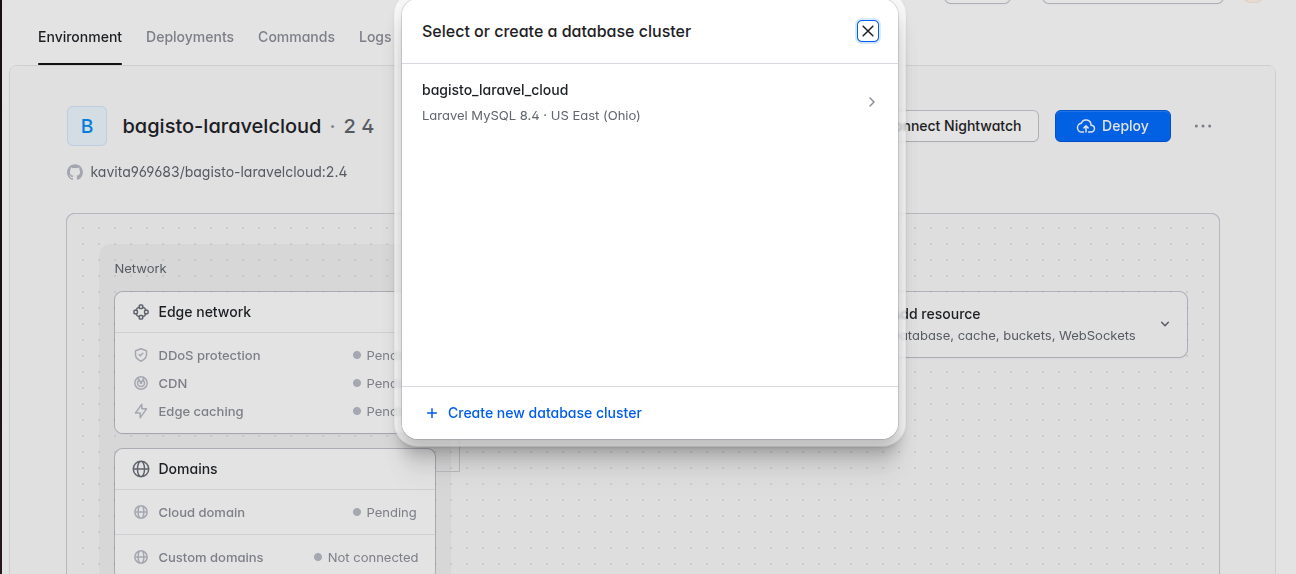
Connect the database to your application.
After creating your application, connect it to the MySQL database you created earlier.
From the Environment page, click Add Resource, then select Database. Choose your existing MySQL Database from the list and attach it to the application.
Once connected, Laravel Cloud automatically configures the required database environment variables.
Your Bagisto application can then communicate with the database without any manual configuration.
Configure the PHP Version
After creating the application, navigate to the Settings tab and scroll to the Environment section.
From the PHP Version dropdown, select the version compatible with your Bagisto installation.
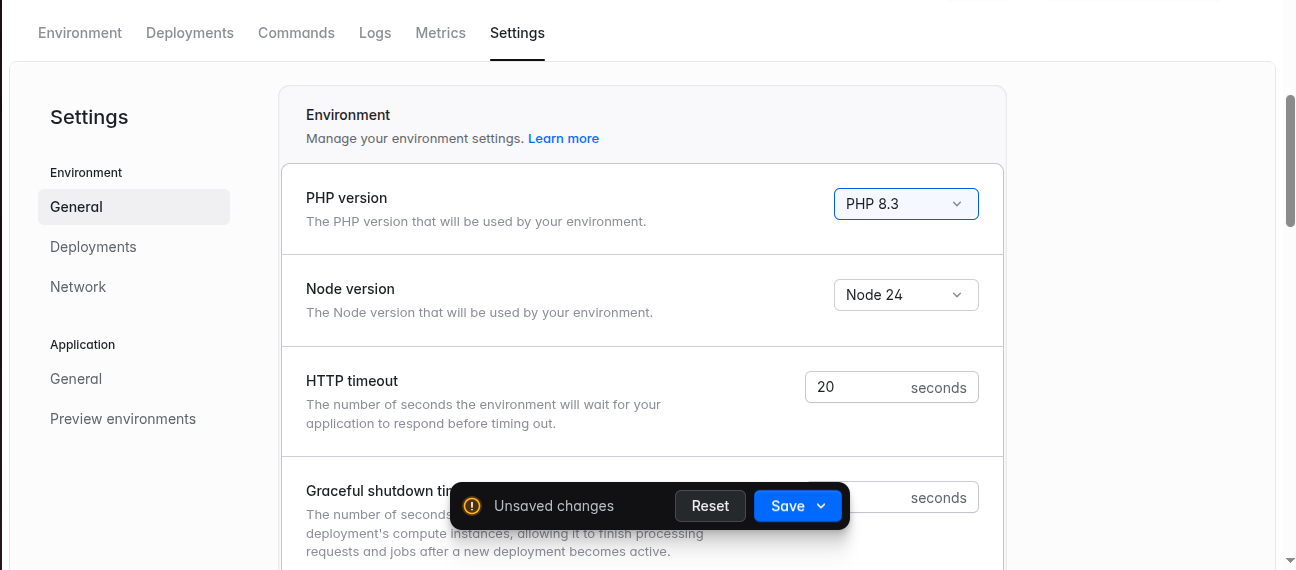
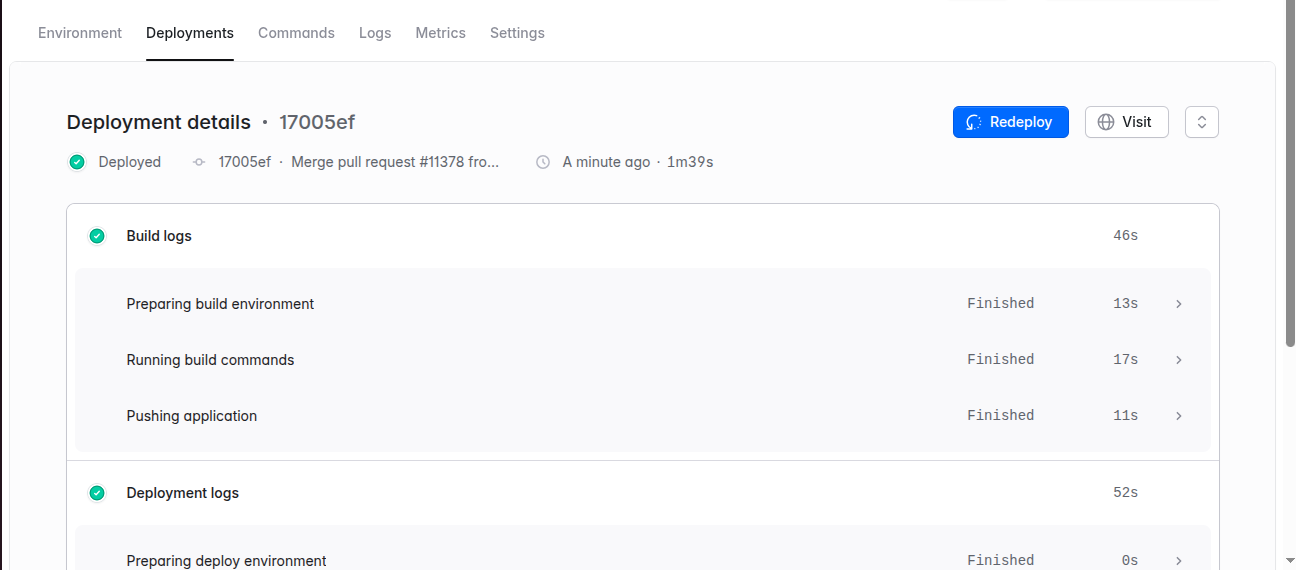
Click Save and Deploy to apply the changes.
Configure the Environment Variables
Navigate to Settings and scroll down to the Custom Environment Variables section.
Copy the contents of the .env.example file from your forked Bagisto repository and paste them into the Custom Environment Variables field.
Next, update the database configuration using the credentials created earlier.
You do not need to configure APP_URL or APP_KEY, as Laravel Cloud automatically generates and manages these values for your application.
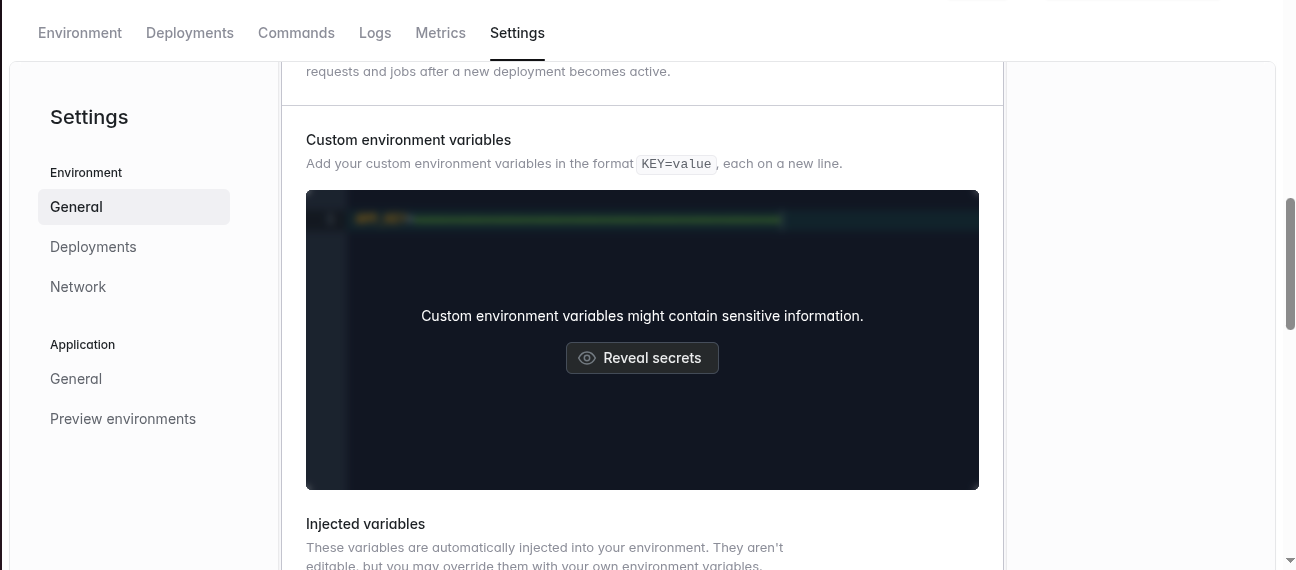
Click Save and Deploy to apply the changes.
Install Bagisto
After configuring your application, navigate to the Commands tab in the Laravel Cloud dashboard and run the following command to install Bagisto:
|
1 |
php artisan bagisto:install -n |
The -n (--no-interaction) flag performs the installation without requiring any user input.
It automatically skips the environment check, creates the default admin user, and bypasses the cloud prompt, making it suitable for Laravel Cloud deployments.
The --skip-* installation options have been deprecated and will be removed in a future release.
Use the global --no-interaction (-n) flag instead, as it provides the combined behavior of all deprecated options.
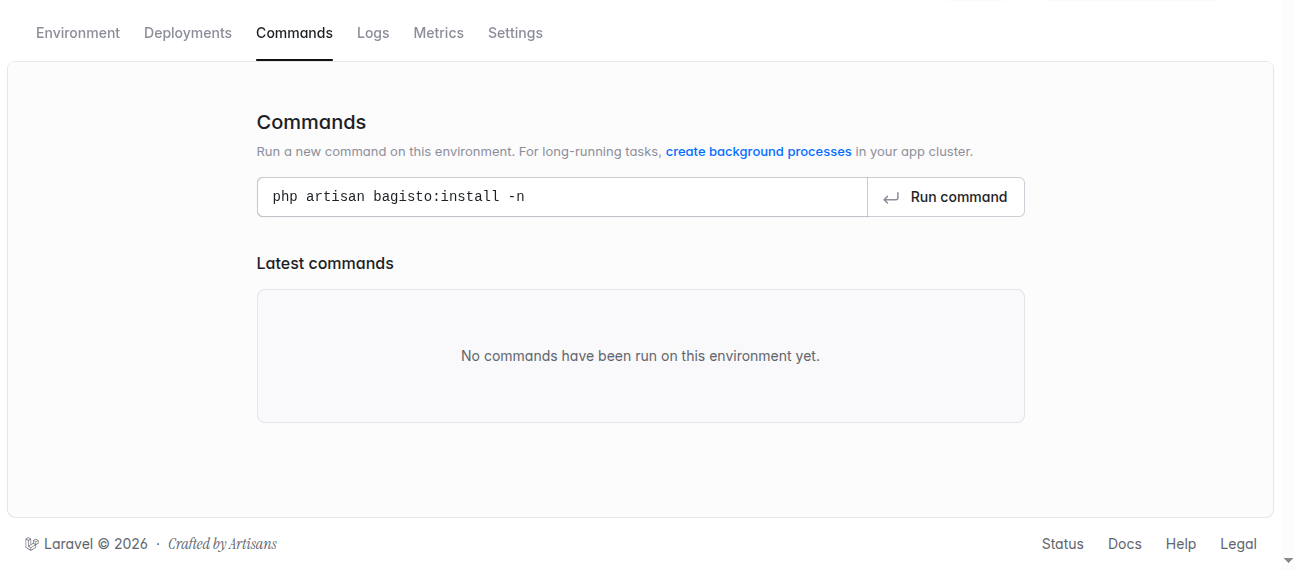
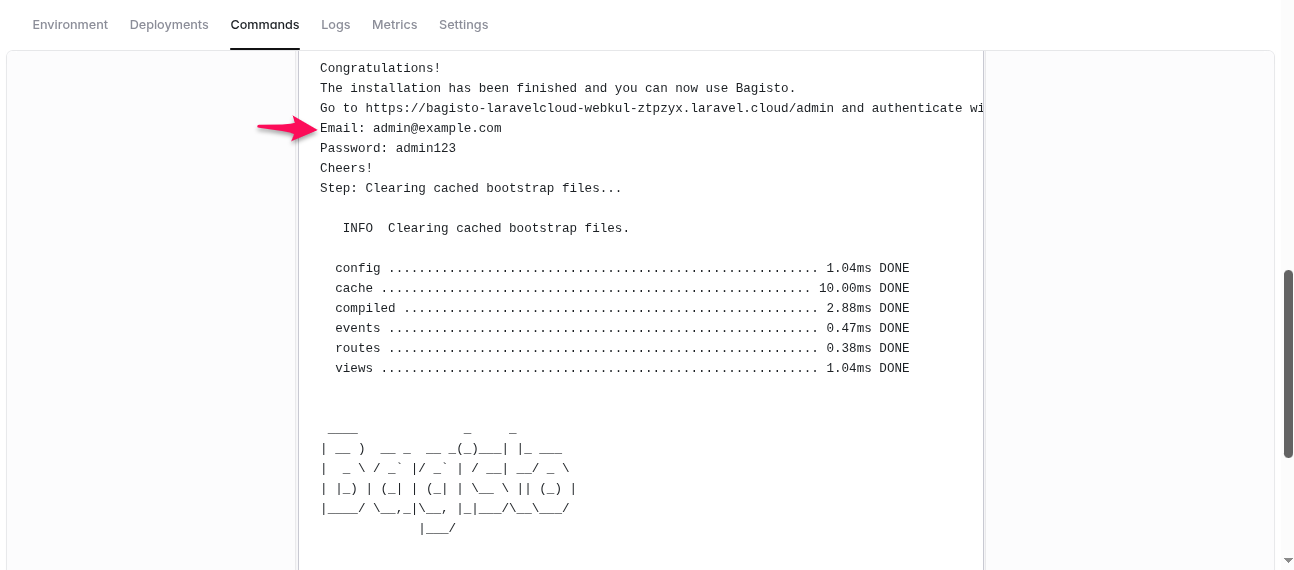
The installation process may take a few moments to complete. Once finished, Laravel Cloud displays the installation output.
The output includes the default Admin Email and Password. Save these credentials, as they will be required to log in to the Bagisto admin panel.
Launch Your Bagisto Application
Once the deployment is complete, open the Environment section in Laravel Cloud and navigate to the Domains tab.
Click the generated application URL to access your Bagisto storefront.
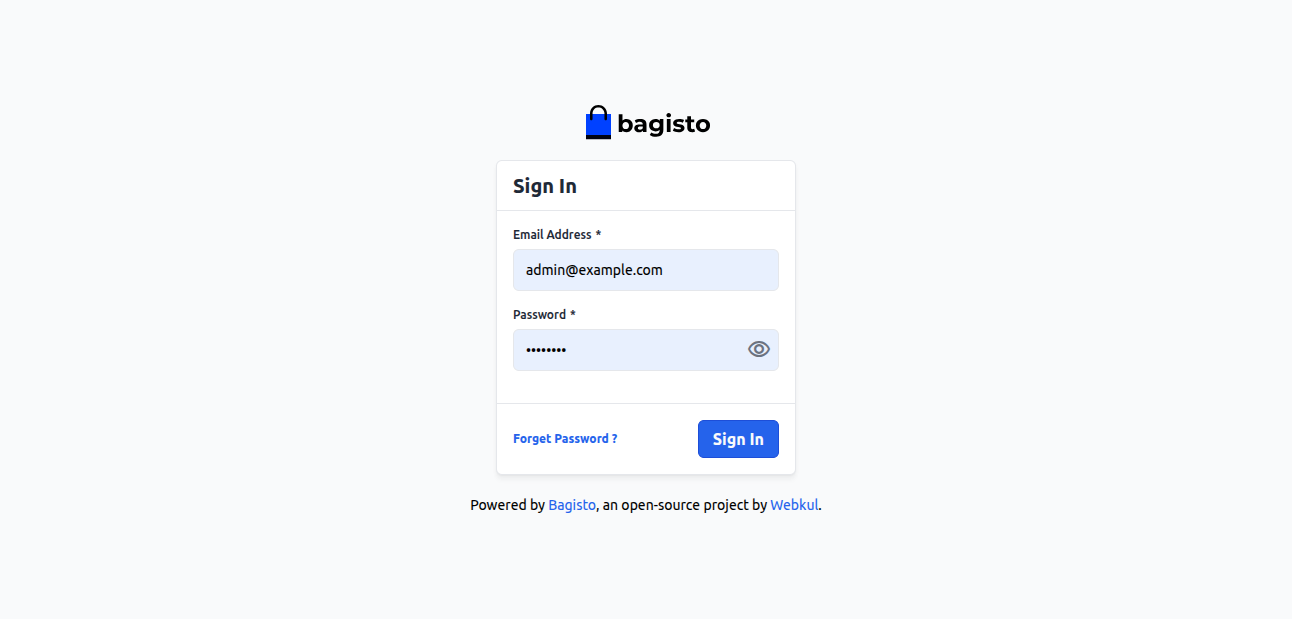
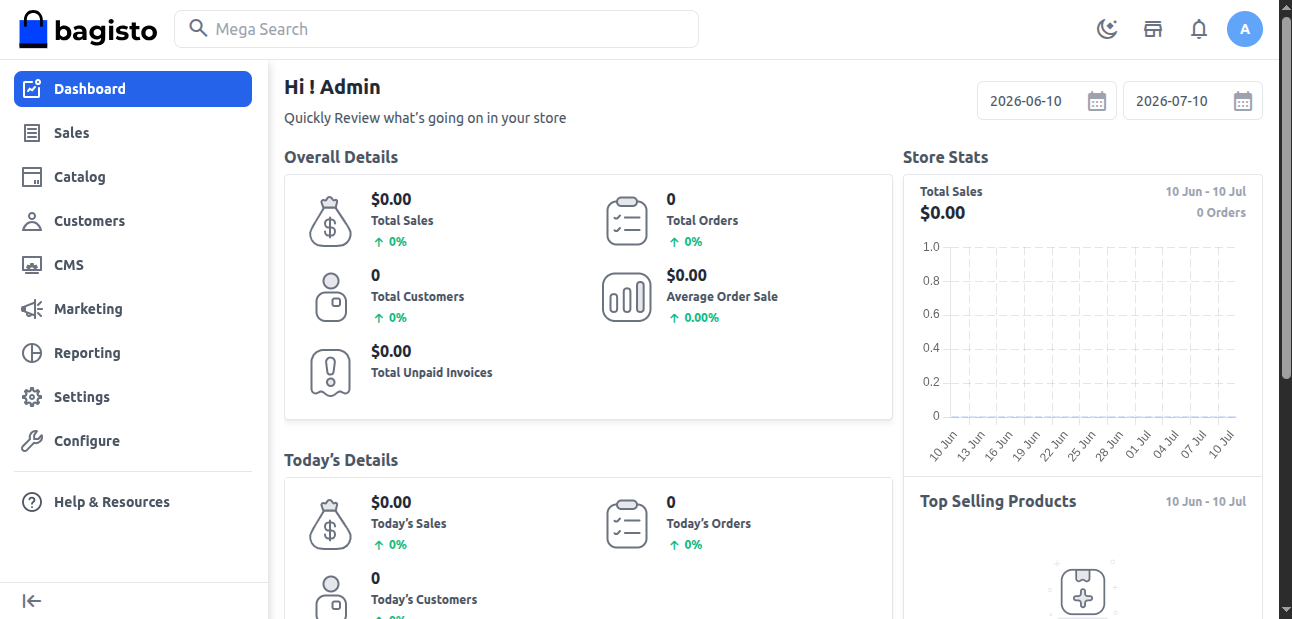
To open the admin panel, append /admin to the URL and sign in using the Admin Email and Password created during installation.
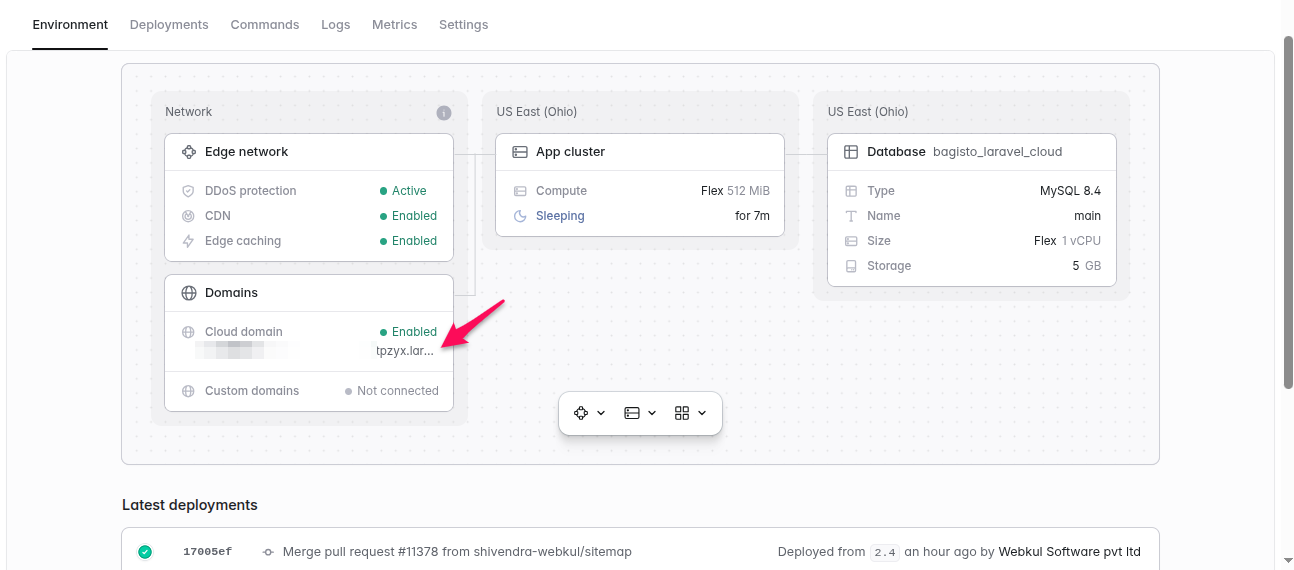
Enter the Application URL in your browser to verify that Bagisto has been installed successfully.

Configure a Custom Domain
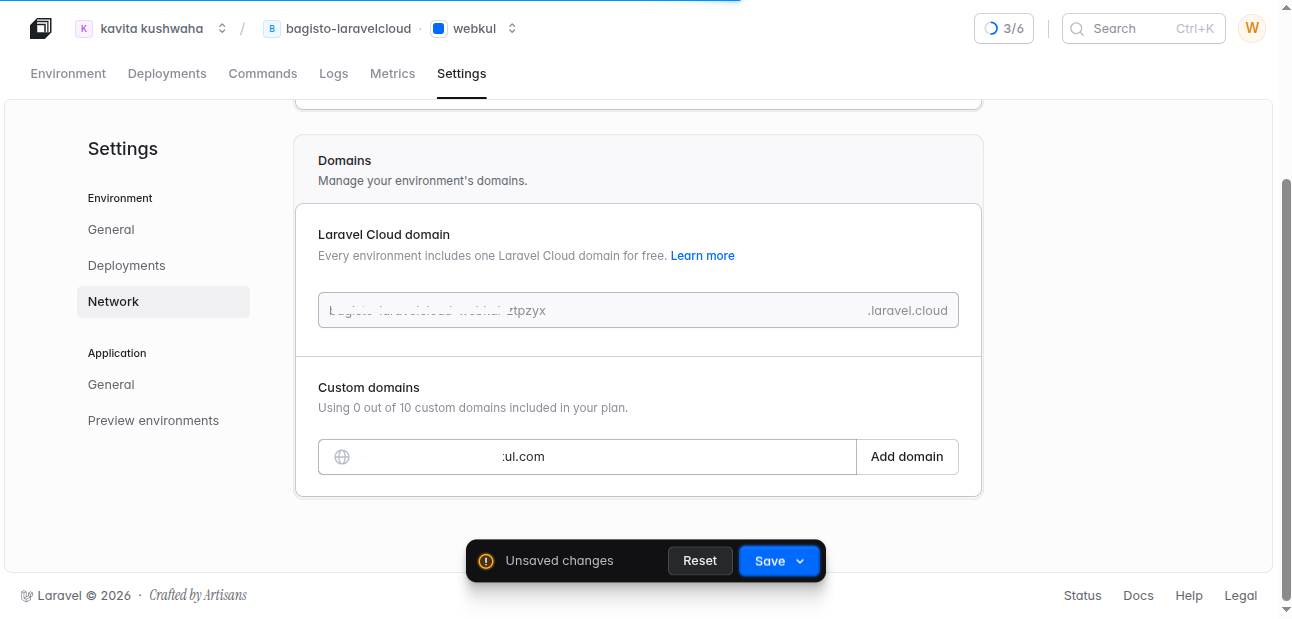
To use your own domain with the Bagisto application, navigate to Settings and select Network from the left-hand menu.
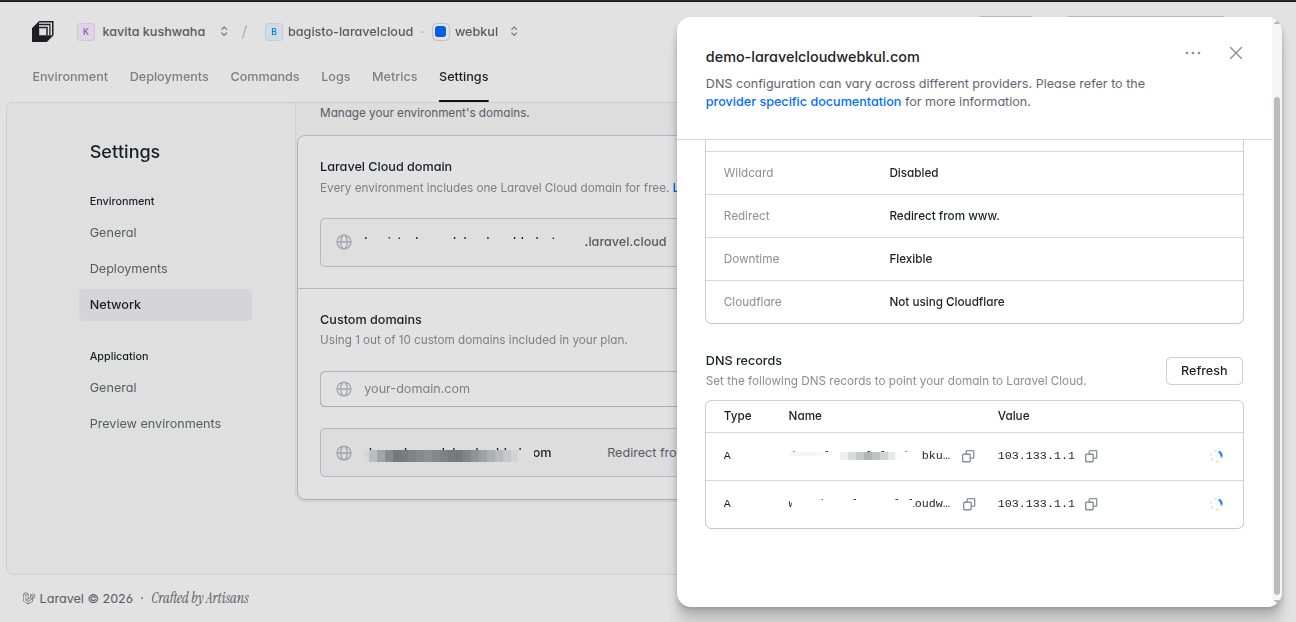
Next, enter your custom domain in the Custom domains field and click Add domain. Then, update the required DNS records with your domain provider.
Once the changes propagate, access your Bagisto store using your custom domain.
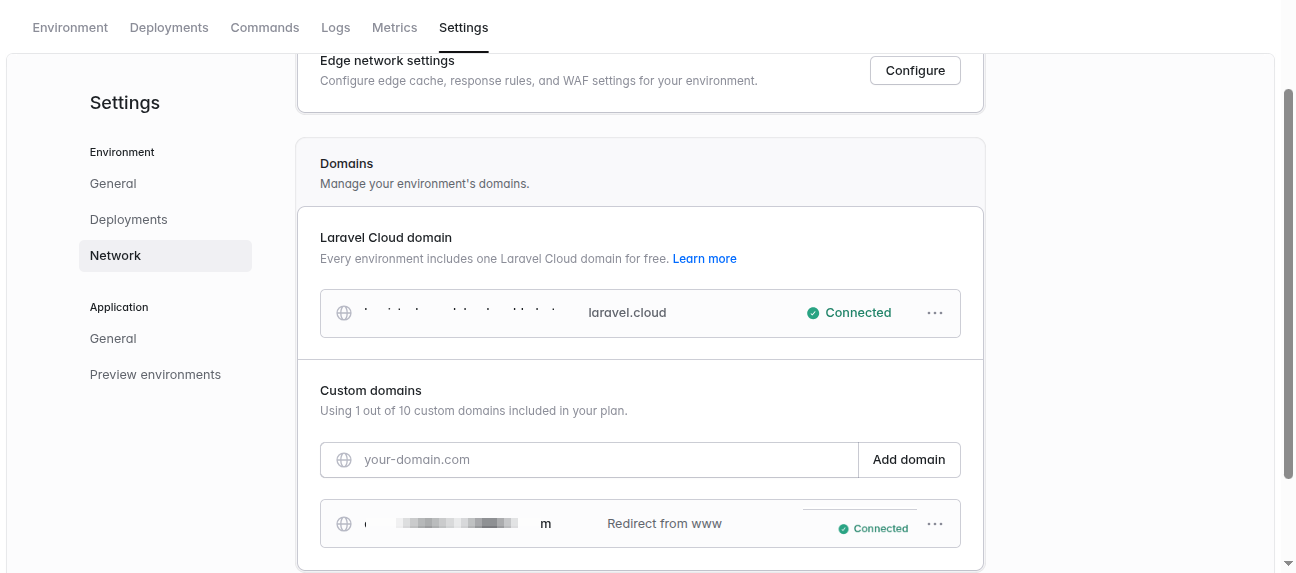
After that, we will be able to access the site using our custom domain.

Also you can hire laravel developers to customize this feature for your business needs.
Kindly explore our extensions.


Be the first to comment.