How to Add Currency in Bagisto?
Before you start selling online, your store needs the right currency configuration.
Is your Bagisto store ready to display prices in the currency your customers expect?
Set the right currency before launching your Bagisto store to ensure accurate pricing across products, orders, invoices, and payments.
As your business expands, you can add multiple currencies to support customers in different regions.
That’s why How to Add Currency in Bagisto is an essential part of your store configuration.
This guide explains how to add a currency and enable it for your sales channel.
Add Currency in Bagisto
Follow these steps to create a new currency in your Bagisto store.
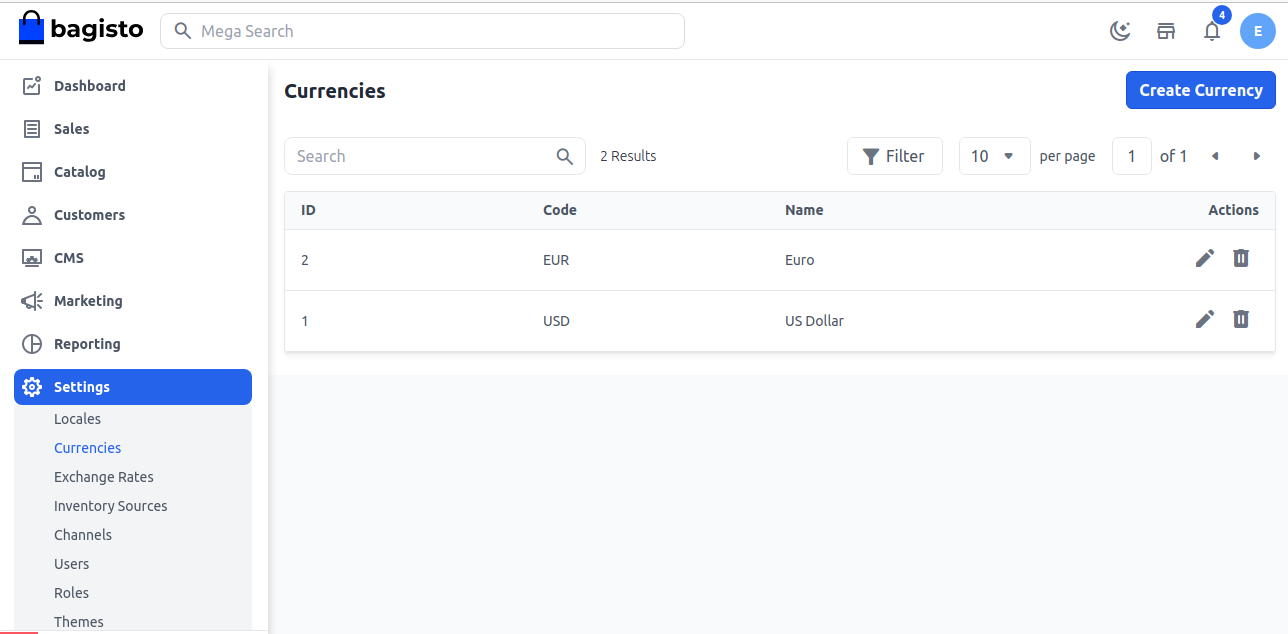
Step 1: Open the Currency Settings
From the Bagisto Admin Panel, navigate to:
Settings → Currencies → Create Currency
This page allows you to add a new currency to your store.
Step 2: Enter Currency Details
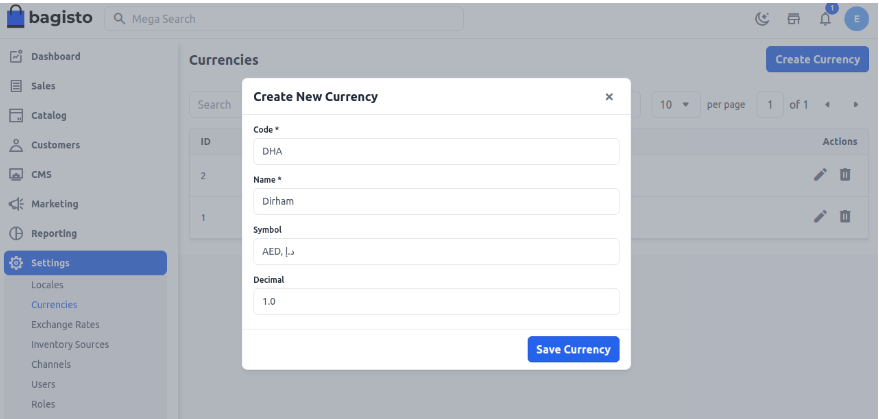
Fill in the required fields:
- Code (for example, AED)
- Name (for example, Dirham)
- Symbol (for example, د.إ)
- Decimal
After entering the details, click Save Currency.
Step 3: Verify the Currency
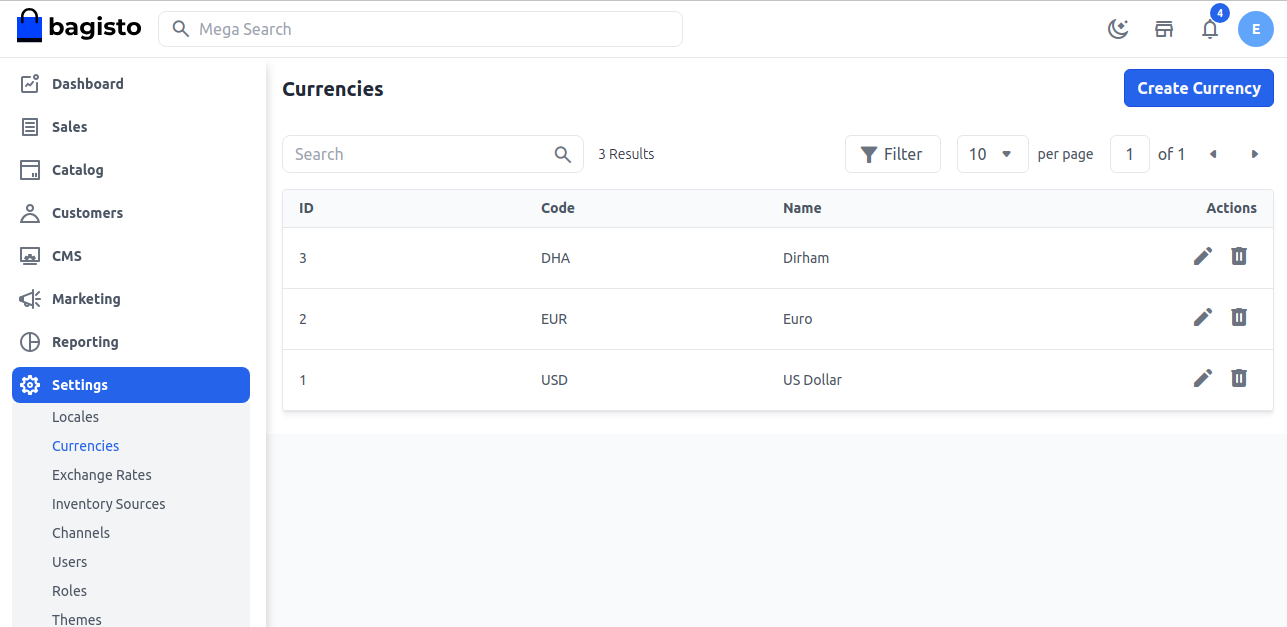
Once saved, the new currency will appear in the currency list. For example, if you add Dirham, it will now be available in your store.
Assign the Currency to a Channel
After creating the currency, you need to enable it for your sales channel.
Go to: Settings → Channels
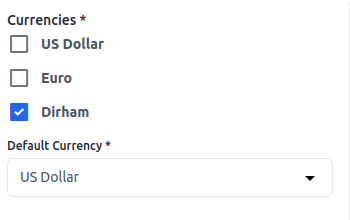
Under the Currencies section:
- Select the newly created currency.
- Save the channel configuration by clicking Save Channel.
Your selected currency is now available for the storefront.


Be the first to comment.