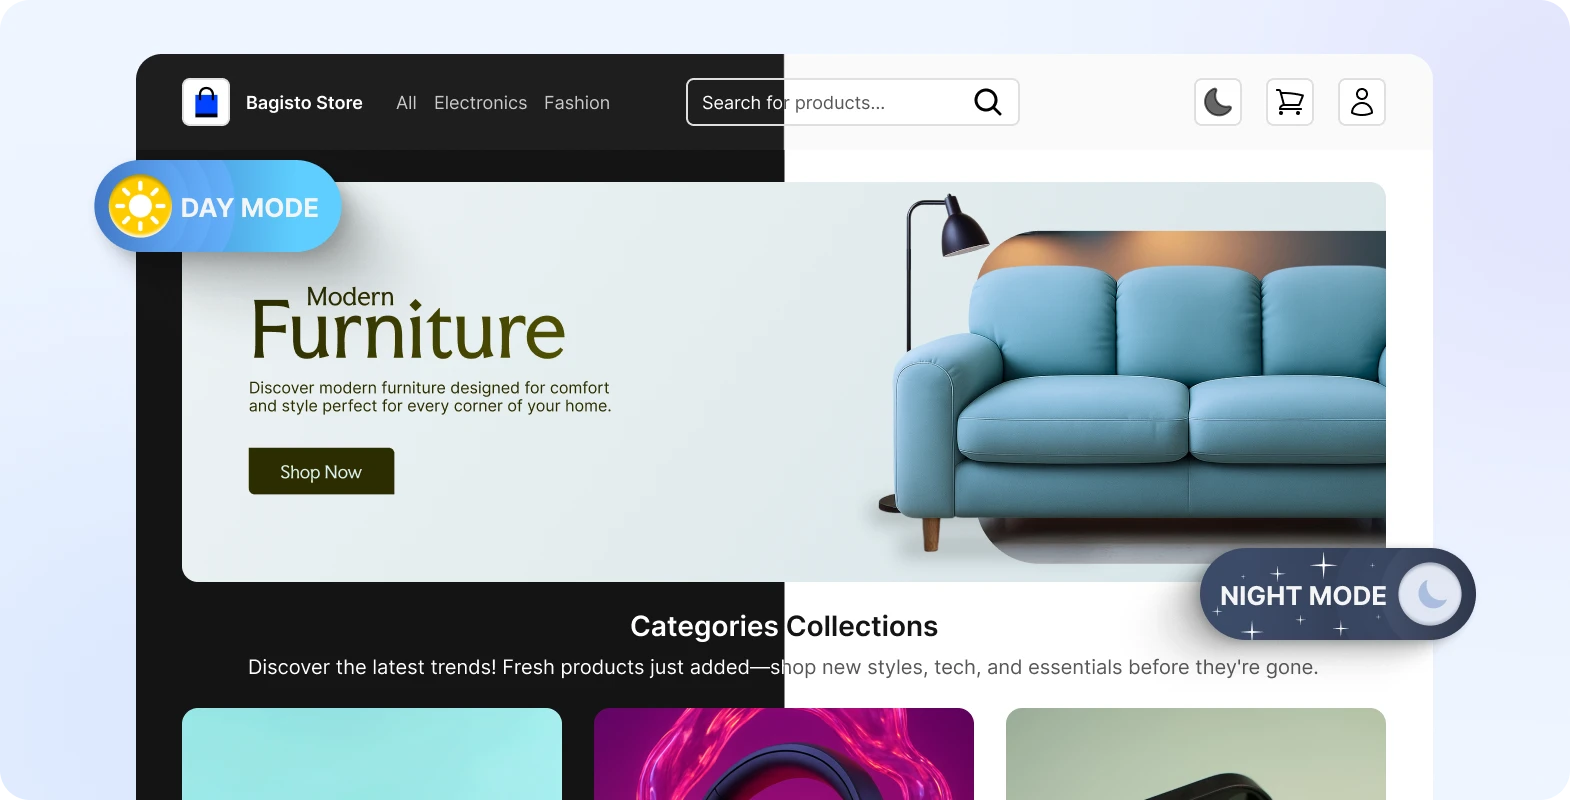
Do you want to launch an open source headless eCommerce platform? Bagisto Headless Platform lets you set up a Complete Working Open Source Headless eCommerce in just 5 minutes.
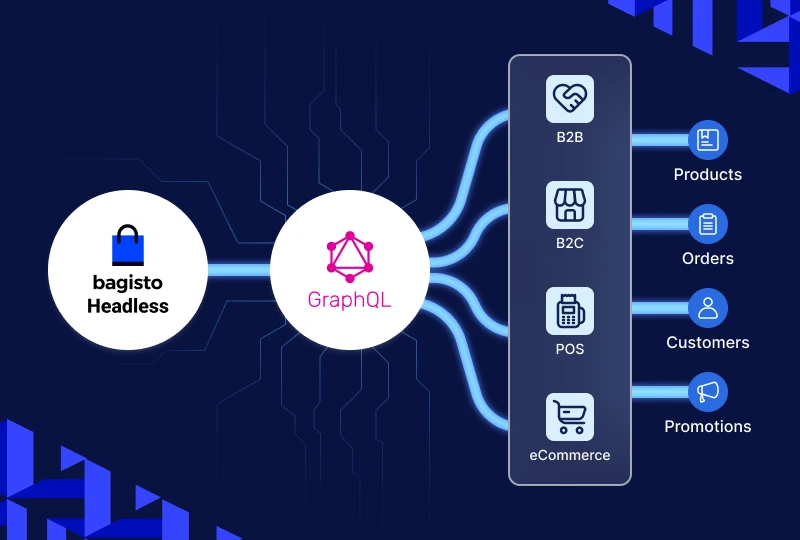
Bagisto Headless Commerce is more than a backend. It is a full eCommerce platform to manage products, orders, and customers easily using its modular API system.
You can also build custom frontends using React and Next.js
Why Bagisto Headless Commerce Stands Out
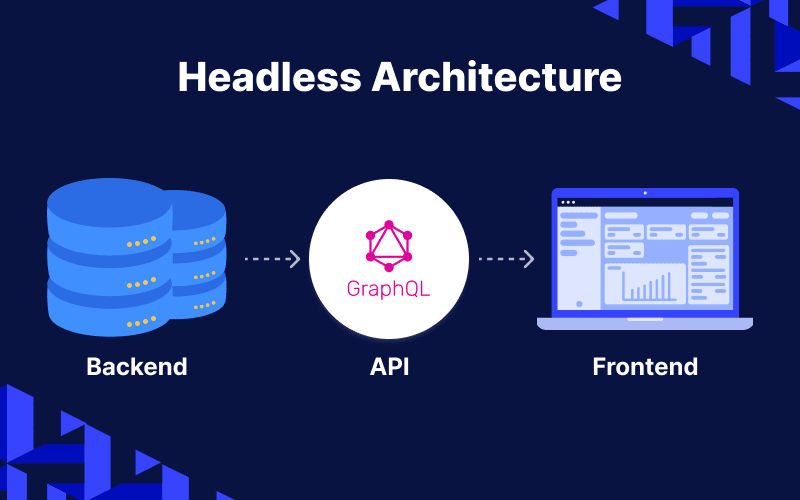
Bagisto Headless Commerce is designed for flexibility, speed, and scalability.
The admin panel is built on Laravel, giving you a robust backend to manage products, orders, customers, and promotions.
At the same time, the frontend is fully decoupled and built on Next.js. Any client — web app, mobile app — can interact with the platform via GraphQL or REST APIs.
Key benefits include:
-
Frontend-agnostic: Works with any framework or device, including React and Next.js.
-
API-driven platform: Access all backend data and operations via GraphQL and REST.
-
Modular & extensible: Easily add or modify functionality without changing frontend code.
-
High performance: Decoupled architecture ensures fast, responsive pages.
-
Ultra-fast storefront: Achieve a 100/100 Core Web Vitals score.
-
Layered caching: Optimized for API responses and page rendering.
-
Fully responsive design: Mobile-friendly and adaptive to any screen size.
-
SEO optimized: Includes meta tags, OpenGraph, and Twitter cards.
-
Secure authentication: Powered by NextAuth.js.
-
Robust commerce functionality: Driven by Bagisto GraphQL APIs.
-
Incremental Static Regeneration (ISR): Keeps content fresh and fast.
-
Full control: Admin and frontend both interact with the same API-first platform.
- As an open source commerce CMS, Bagisto Headless Commerce allows developers to customize the entire stack without vendor lock-in.
Prerequisites
Before deploying Bagisto Open Source Headless eCommerce:
-
A server with PHP 8+, MySQL 8+, and Composer.
-
Node.js and npm/yarn for frontend.
-
Basic knowledge of Laravel and API-driven architectures.
Note: Even though the admin panel runs on Laravel, all frontend clients work headlessly via APIs. This makes Bagisto a complete open source headless eCommerce platform.
Step 1: Install Bagisto
To set up Bagisto on your server, follow the Bagisto official installation guide.
It will walk you step by step so you can get your Bagisto Open Source Headless platform up and running quickly.
Step 2: Enable Headless APIs
Once Bagisto is installed, add the Bagisto Headless Extension.
This will make all the necessary APIs available for your frontend to connect and fetch data.
Your headless platform endpoints are now available at:
|
1 |
http://localhost/graphql |
Step 3: Connect Any Frontend or App
Bagisto Headless is not tied to any specific frontend framework. You can connect any web framework — whether it’s Next.js, React or others.
To make things even easier, Bagisto provides a starter pack to help you get your frontend running quickly.
-
GitHub repository: Bagisto Headless eCommerce Starter Pack
-
Live demo: Bagisto Headless Demo
With this Baisto headless commerce, you can quickly fetch products, categories, and other eCommerce data from your Bagisto backend and render it in your frontend.
Example: Fetching Bagisto Products Filters via GraphQL
|
1 2 3 4 5 6 7 8 9 10 11 12 13 14 15 16 17 18 19 20 |
query GetFilterAttribute($categorySlug: String!) { getFilterAttribute(categorySlug: $categorySlug) { minPrice maxPrice filterAttributes { id adminName type options { id adminName } } sortOrders { key title value } } } |
Your frontend or app can consume data from Bagisto without limitations.
Step 4: Test Your Headless Platform
After connecting your frontend, it’s important to test core functionalities through the APIs and ensure everything works with Bagisto Headless.
Key Functionalities to Test:
-
Product catalog: Verify that all products are fetched correctly.
-
Categories and filters: Ensure categories, subcategories, and filters return correct results.
-
Customer accounts: Test login, registration, and profile updates via API.
-
Orders and shipping: Place test orders, check order status, and validate shipping options.
Testing Tips:
-
Check API endpoints via tools like Postman or GraphQL Playground to confirm the backend is responding correctly.
-
Verify frontend integration: After building your Next.js app, ensure the product data, categories, and checkout flow display correctly.
Step 5: Go Live
Once your Bagisto admin and Storefront are ready, it’s time to deploy to production. You can either use a server (VPS or cloud) or Vercel for the frontend.
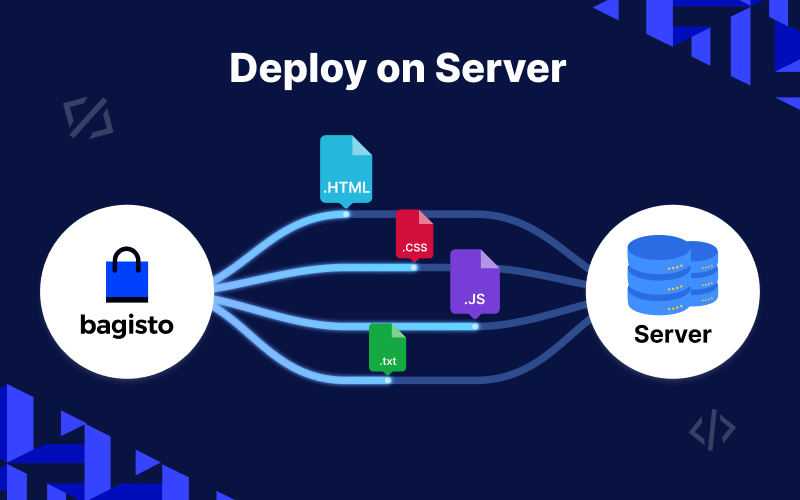
Option 1: Deploy on Server
A: Bagisto Deployment
Before setting up the frontend, ensure that the Bagisto backend is installed and configured. For detailed instructions, refer to the official Bagisto deployment guides:
- You can use the Bagisto AMI for quick installation on AWS
B: Set Up the Bagisto Headless Storefront
-
Clone the Bagisto Headless eCommerce Repository
-
Install Dependencies
-
Configure Environment Variables
Create a
.env.localfile in the root directory and add the following variables: -
Run the Development Server and Load Products
-
Start the Next.js development server
-
Open your browser
-
Check product listings
-
The frontend will automatically fetch data from your Bagisto backend via GraphQL.
-
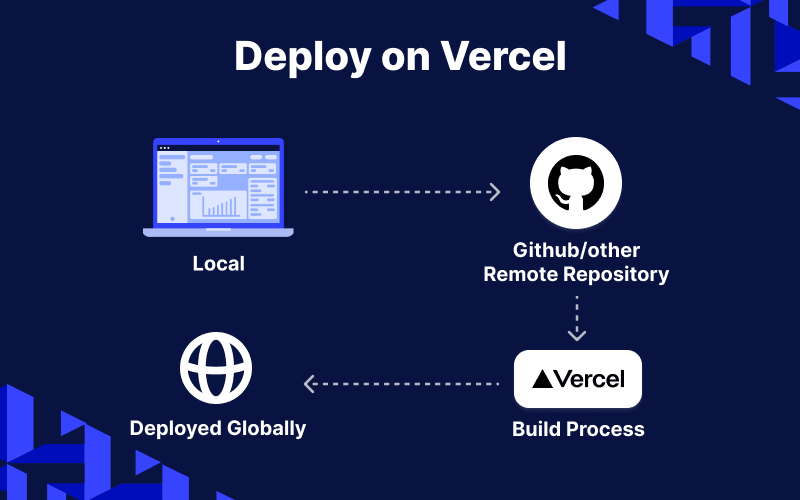
Option 2: Deploy Frontend on Vercel
Bagisto Headless backend runs on your server, but your Next.js frontend can be deployed to Vercel for automatic builds and fast CDN delivery.
-
Connect Repository:
-
Push your frontend code to GitHub.
-
Connect it to Vercel. You can check the official doc.
-
-
Set Environment Variables on Vercel, as mentioned above.
-
Build & Deploy:
-
Vercel automatically builds the frontend.
-
Your Next.js app is served globally via Vercel CDN.
-
-
Test Live Platform:
-
Verify products, categories, checkout, and filters are working correctly.
-
Make sure the frontend fetches data from your Bagisto Headless API.
-
Conclusion
By following the steps above, you can deploy your Headless Commerce platform in just minutes and get started with a powerful open source headless Commerce setup.
Bagisto Headless is a complete solution. In less than 5 minutes, you’ll have a fast, API-driven store ready for any frontend and simple to customize for your needs.


Be the first to comment.