Laravel Marketplace Paypal Commerce Payment Gateway module facilitates the admin of a store to integrate PayPal Payment Method for their customers. This module includes both Instant and Delayed disbursement modes, also referred to as PayPal Commerce
Even the sellers can integrate PayPal for their customers only after completing the authentication process with PayPal. The admin can process the refunds for the customers on their respective panels.
Note: Please note that this module is an extension of the Marketplace Module. To use it, you must first have installed the first Laravel Marketplace Module.
Note: PayPal Commerce Payments is now a limited release product. It is limited to approved partners for specific use cases and should not be used for new integrations without guidance from PayPal. You can check it on PayPal.
Features of Laravel Marketplace Paypal Commerce Payment Gateway
- The admin enables the PayPal payment method for customers to make payments.
- The client ID and secret key need to be retrieved to configure the PayPal payment method.
- The admin receives a commission based on the sellers’ transactions.
- The module supports two payment disbursement modes: Instant Payment and Delayed Payment (PayPal Commerce).
- To enable PayPal services, sellers must authenticate with PayPal.
- PayPal Commerce Marketplace Plugin supports Multi-Seller Purchases, allowing customers to purchase from multiple sellers in a single transaction.
- The payment gets split into the seller and the admin.
Installation of the module
Customers will get a zip folder after purchasing the extension, unzip the extension zip and then merge the “packages” folder into the project root directory.
- Goto config/app.php file and add the following line under ‘providers’
|
1 |
Webkul\PaypalCommerce\Providers\PaypalCommerceServiceProvider::class |
- Goto composer.json file and add the following line under ‘psr-4’
|
1 |
"Webkul\\PaypalCommerce\\": "packages/Webkul/PaypalCommerce/src" |
- Run these commands below to complete the setup
|
1 |
composer dump-autoload |
|
1 |
php artisan optimize |
|
1 |
<span id="LC1" class="line" lang="plaintext">php artisan migrate</span> |
|
1 |
php artisan route:cache |
|
1 |
composer require firebase/php-jwt:6.4 |
|
1 |
php artisan vendor:publish --provider="Webkul\PaypalCommerce\Providers\PaypalCommerceServiceProvider" --force |
Steps to register in PayPal
Visit the PayPal website (https://www.paypal.com/in/business/getting-started).


Click on “Sign up” button. Once the Verification is done, then login to your PayPal account.
How to generate the API for PayPal
After this, click on the “API Credentials” button to see API Credentials.
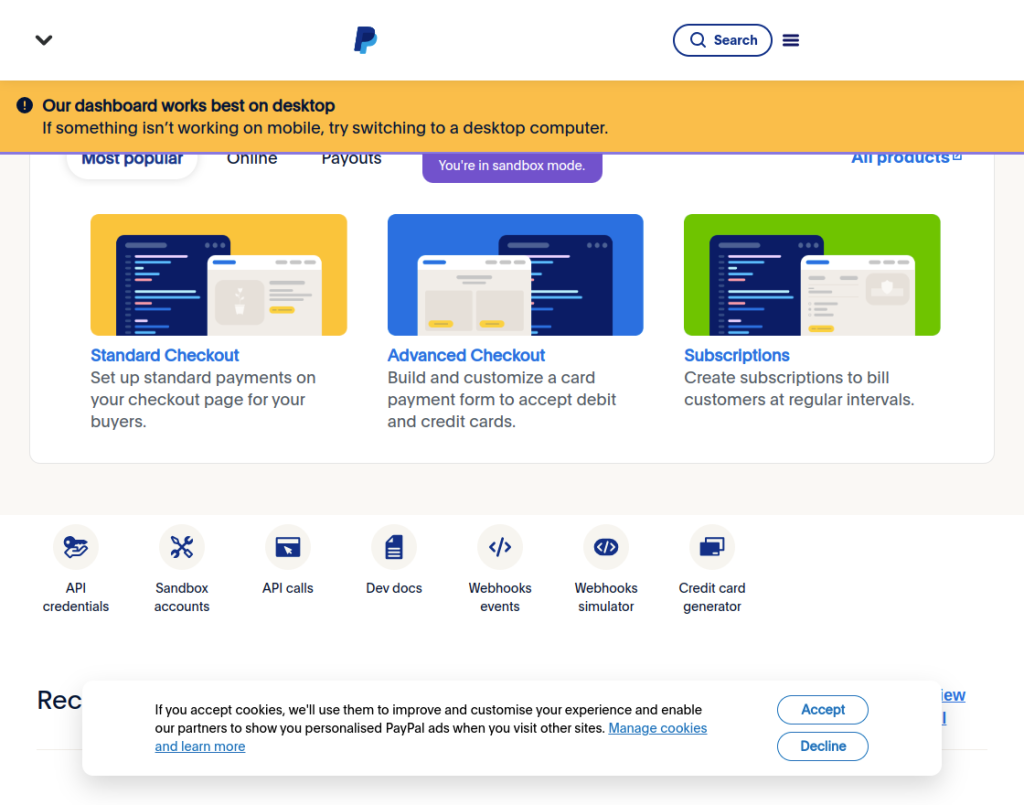
And gets the credentials there

Admin configuration of the module
After the successful installation of the module, the admin can also see the option of PayPal Commerce Payment Method under Configure>>Payment method where the admin can configure the settings regarding the module.
The admin is required to fill in several fields.
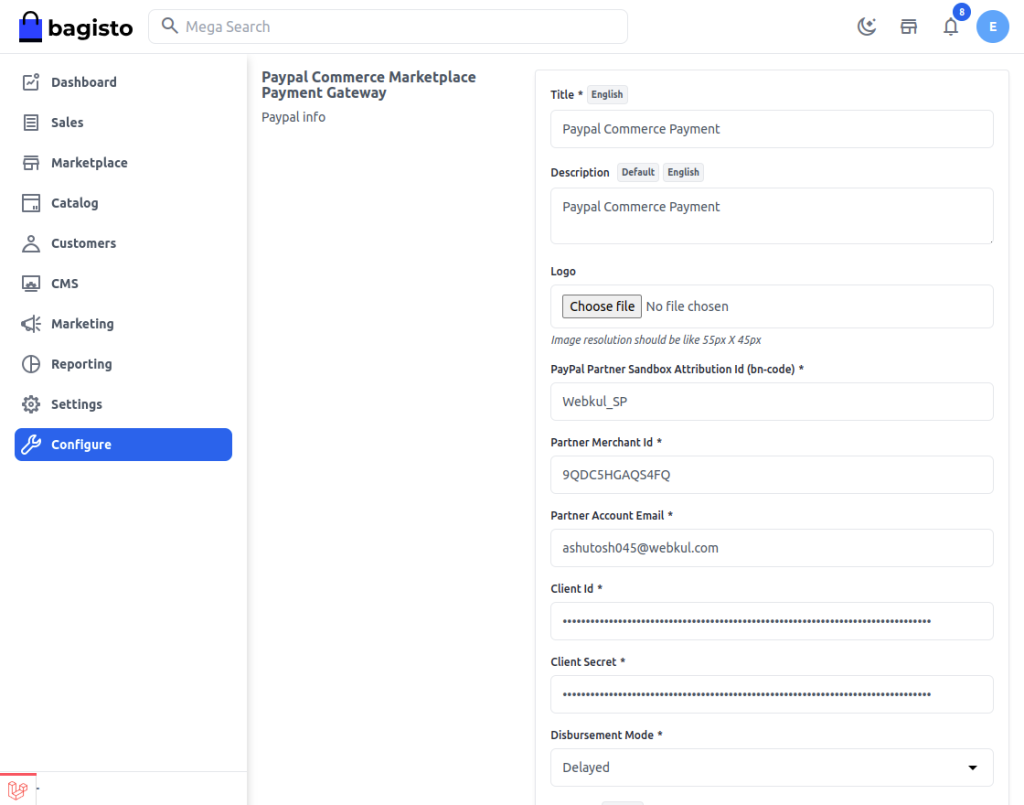
Title:- Admin can enable or disable this module.
Description:- Admin can enter the description which they want to show on the checkout page.
Logo:- Admin can add the logo that is visible at the time of the checkout page.
PayPal Partner Sandbox Attribution Id (bn-code):- Admin can enter the PayPal Partner Sandbox Attribution Id.
Partner Merchant Id:- Admin can enter the Partner Merchant Id.
Partner Account Email:- Admin can enter the Partner Account Email.
Client ID:- Set Client ID provided by Paypal Commerce Payment Gateway, this is required to connect the seller with the PayPal Commerce account.
Client Secret:- Set Client Secret Id provided by PayPal Commerce Payment Gateway.
Disbursement Mode:- The admin can also select between the Instant and Delayed
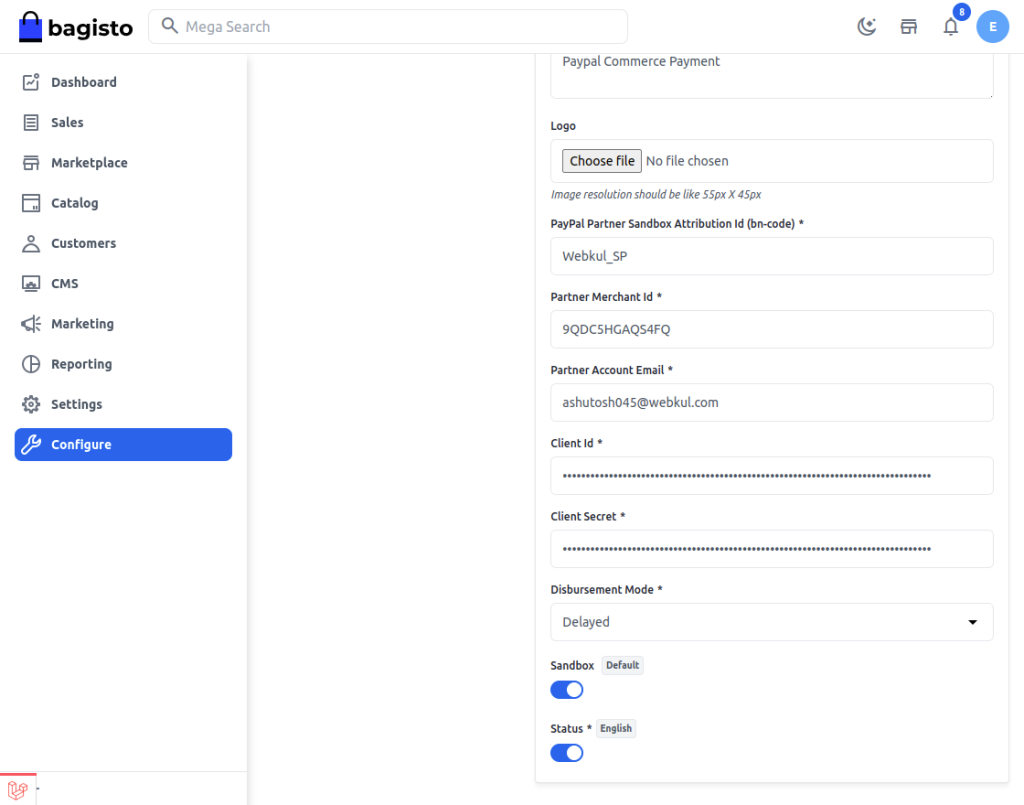
Sandbox:- Admin can enable or disable the sandbox status from this field.
Status :- The admin can enable or disable the module from this field.
Seller End
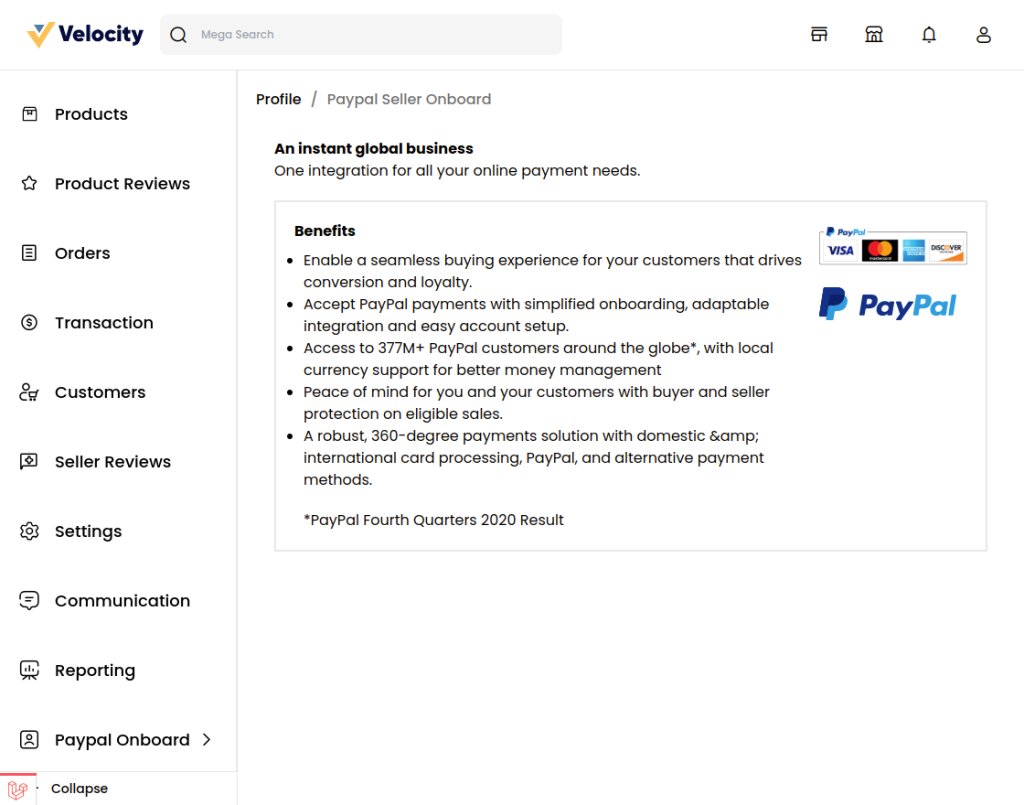
Once the installation of the PayPal commerce multi-vendor payment gateway in Laravel, sellers will find the menu “PayPal Onboard” tab in the seller panel as per the below snapshot:
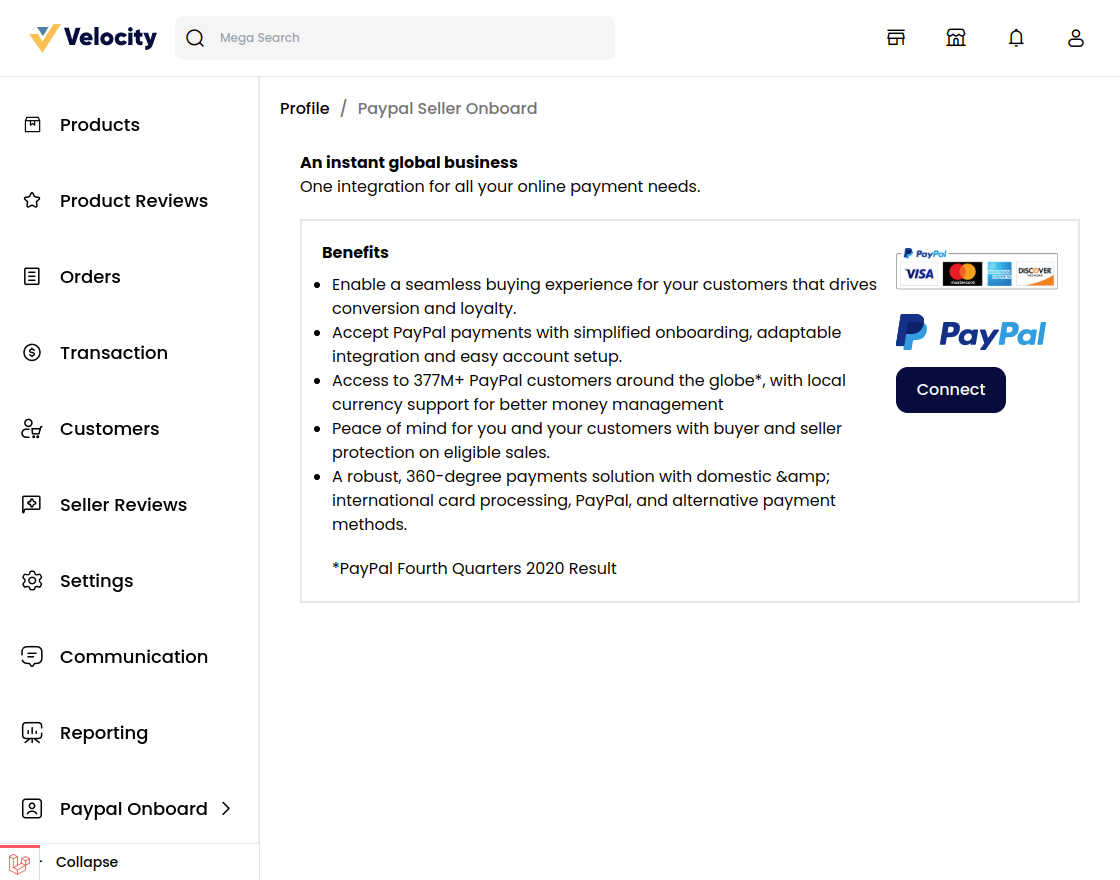

After clicking on the Connect button, the seller will be redirected to the PayPal Commerce website to connect with PayPal.
Once it is connected, the seller will be redirected back to their account section.
Customer End
At the time of checkout, the customer can select the payment method as Paypal Commerce Payment Gateway, to pay.
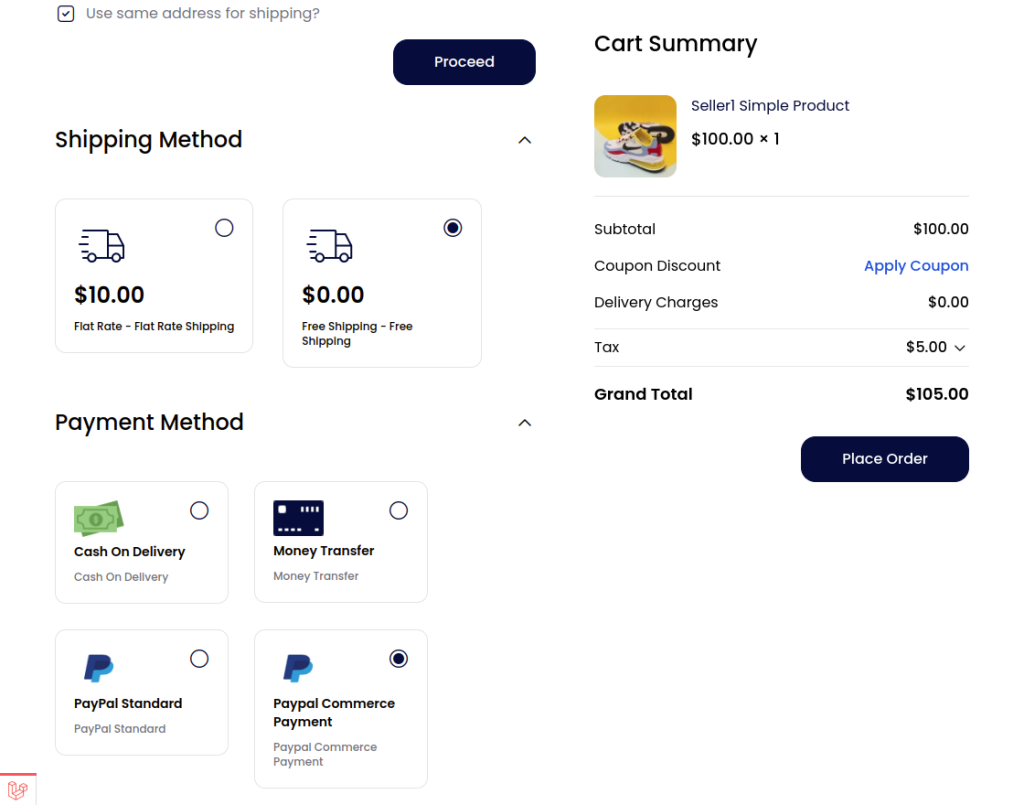
After selecting the PayPal Commerce Payment Method, the customer can click on the place order button to make the payment.
Then the customer will be redirected to the PayPal payment page, here they have to fill card details and click on Pay Now.
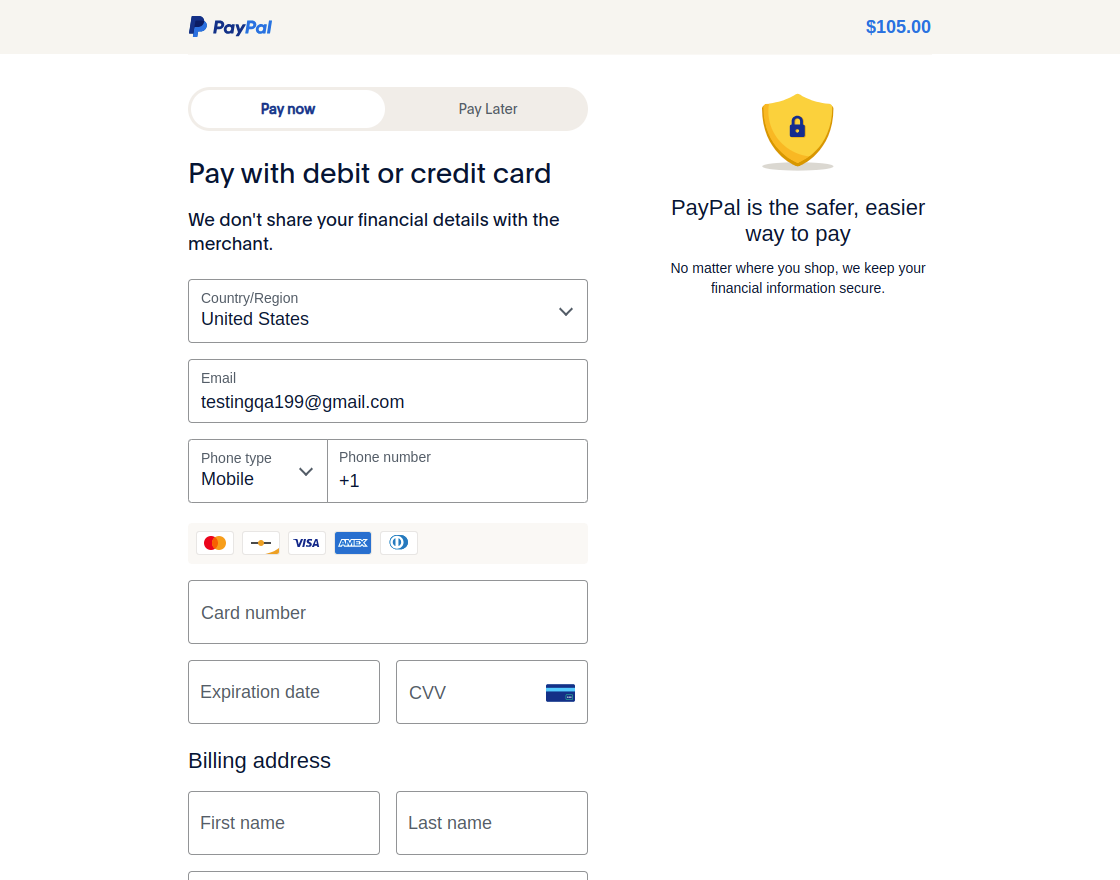
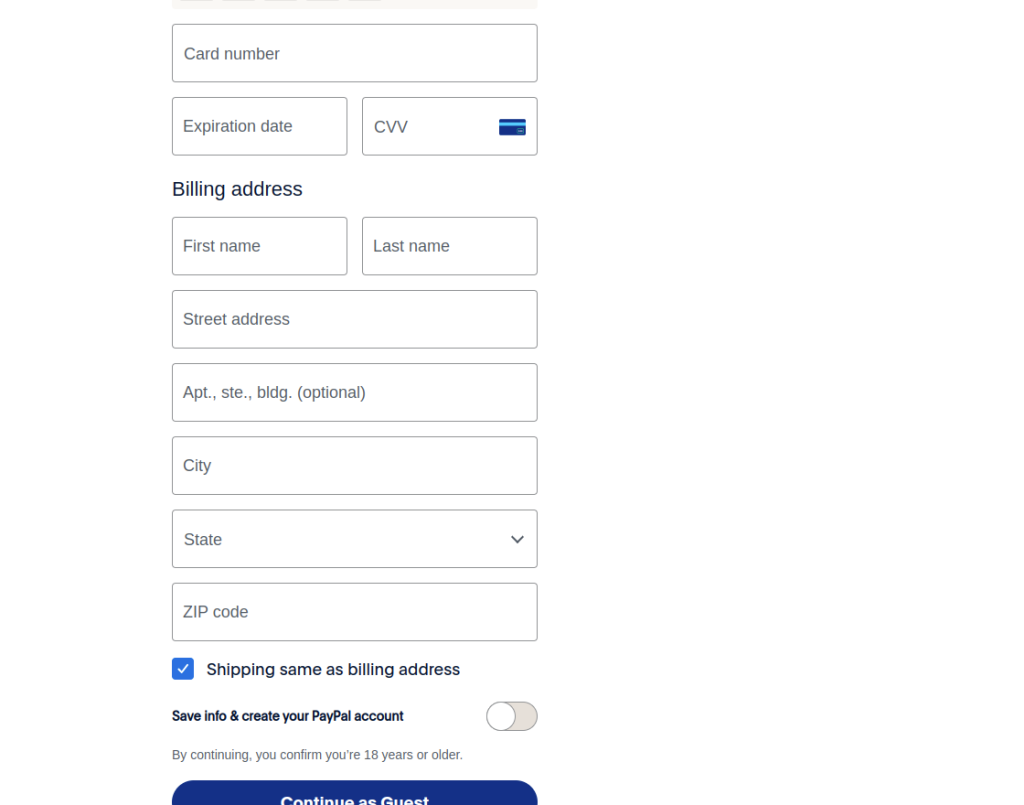
Once the customers can make payments with cards. After successful payment, they will get the order ID.
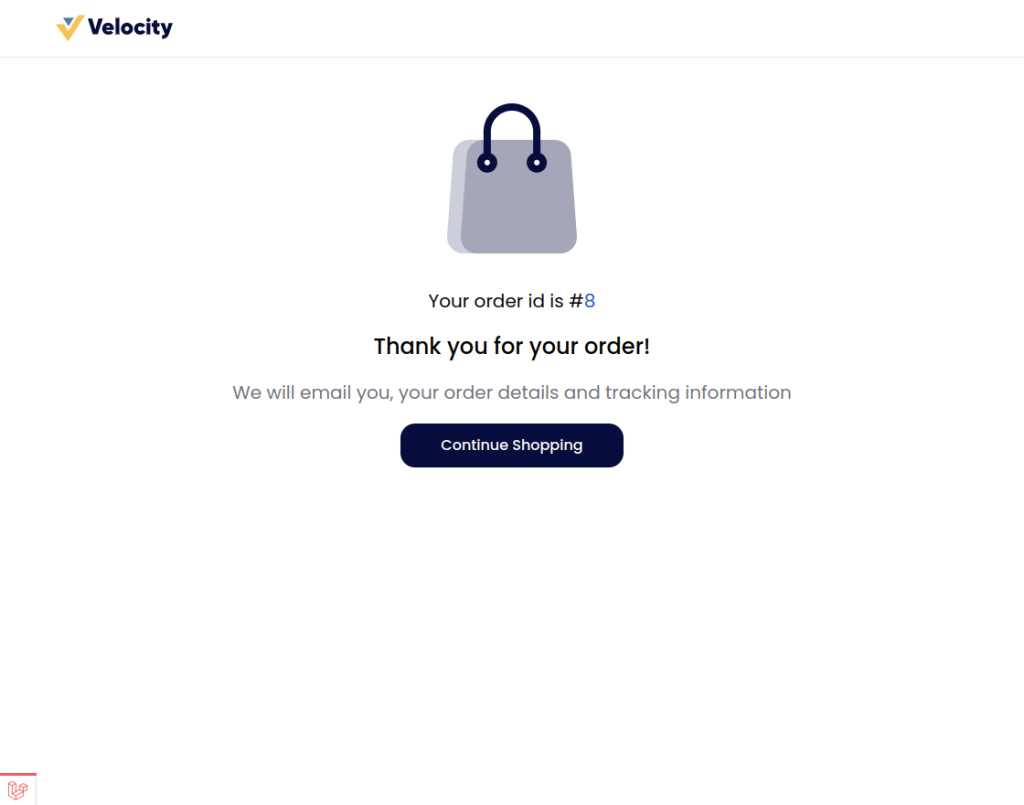
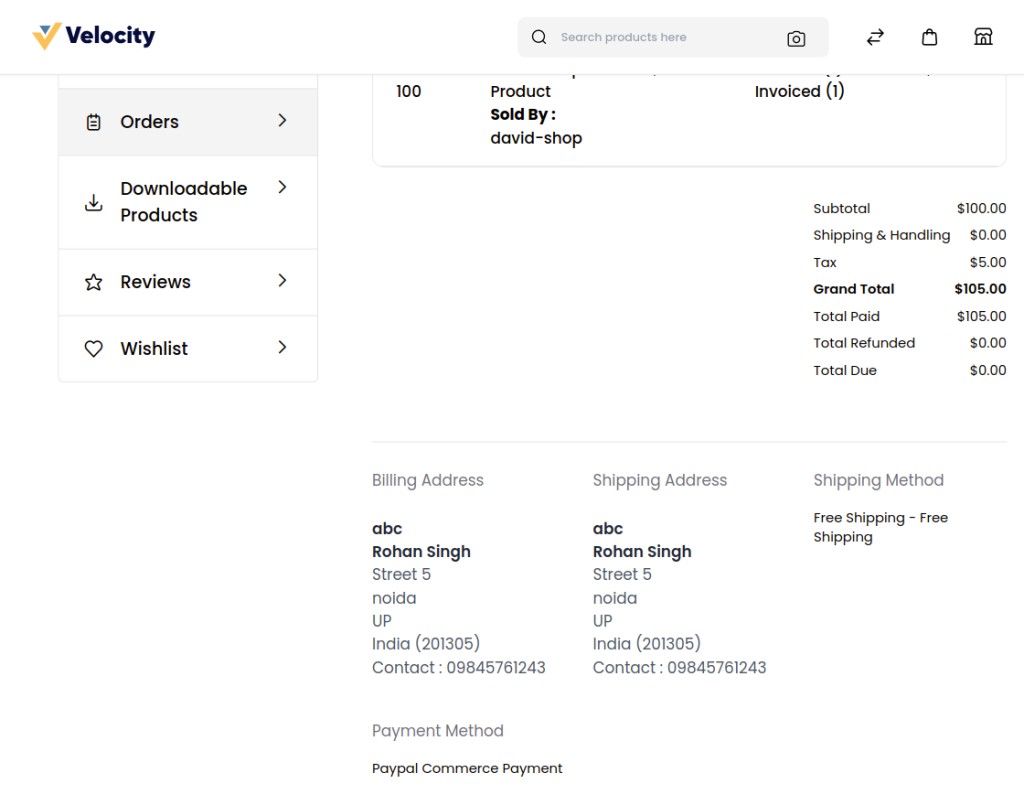
They can check the order status and details in their order history.
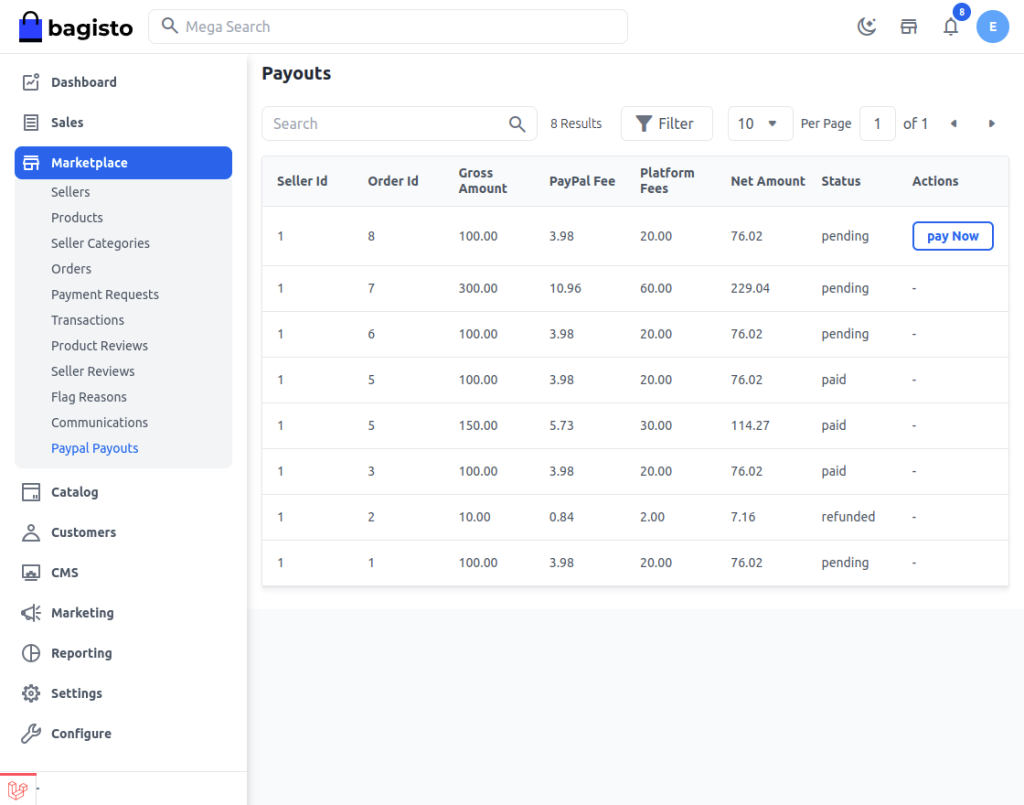
Paypal Commerce Payment Paypal Payout | Marketplace Admin
The store admin can view the payment requests and generate a payout payment under the option Marketplace>Paypal Payout
The store admin can generate the Payment from the Paypal Payout section under the option Marketplace> Paypal Payout
Seller Transaction Page
After a successful transaction via the Multi-Vendor Paypal Commerce Payment Gateway, the seller can view the transaction details for the order.
These details pertain to payments processed using the Paypal Commerce Payment Gateway.
![]()
Hope it will be helpful for you, or if you have any issue, feel free to raise a ticket at https://bagisto.uvdesk.com/en/
Current Product Version – 2.2.2
Supported Framework Version – Bagisto v2.2.2

