In this blog, we will see how we can Install bagisto on a Bitnami server in the AWS cloud.
Prerequisites:-
- A Bitnami account
- An AWS free tier account
Now firstly you need to add your AWS account on the bitnami, for that log in into your AWS account , go to
IAM -> Policies and create a new JSON policy & place the following JSON content init.
|
1 2 3 4 5 6 7 8 9 10 11 12 13 14 15 16 17 |
{ "Version": "2012-10-17", "Statement": [ { "Effect": "Allow", "Action": [ "sts:GetFederationToken", "ec2:*", "cloudwatch:GetMetricStatistics", "cloudformation:*" ], "Resource": [ "*" ] } ] } |
Save the policy.
Now create a new User, choose Programmatic Access and attach your newly created policy with that user and download the credentials for your user which will Include Access key ID & Secret Access Key.
Now use these credentials to connect your AWS account with your bitnami account.
For more help regarding connecting your AWS account with bitnami click here.
Now we are ready to go!!
Go to Applications and search for LAMP. Choose the Bitnami LAMP stack.
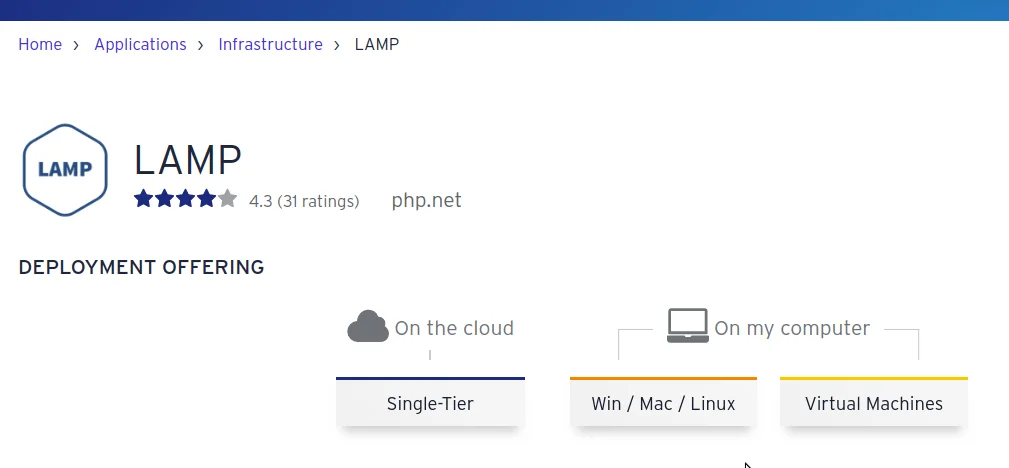

Choose Single-Tier and select AWS and click on Launch the application. Make sure your configuration looks like this
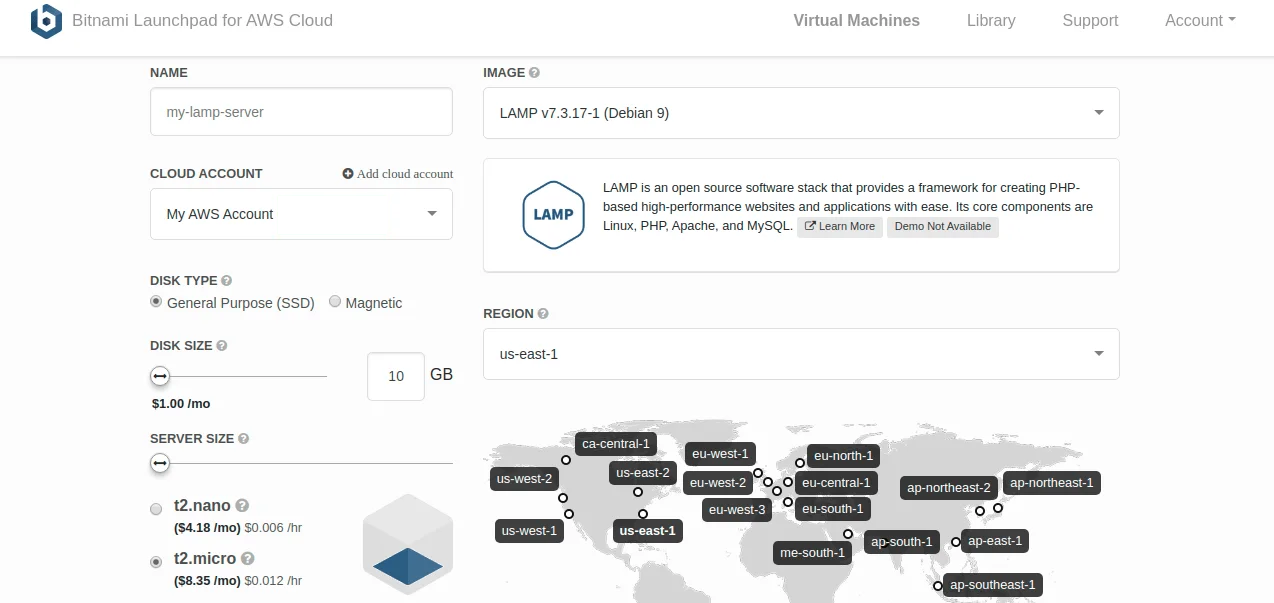

Now this will launch a t2.micro server on your AWS, containing :-
|
1 2 3 |
apache 2.4 php 7.3 mysql 8.0.0 |
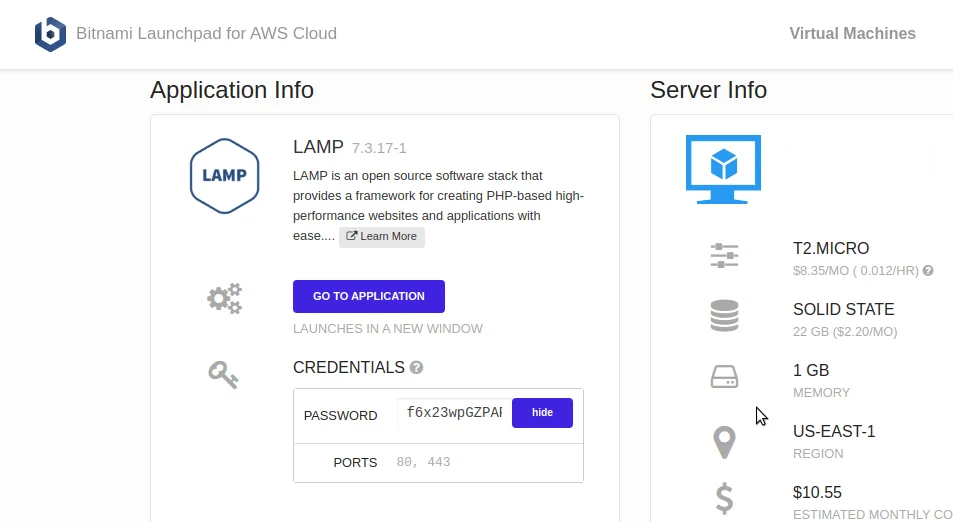
Make sure to download the pem file and
you will see a Credentials section that contains a hidden password. Click on show, this is the default root user password for your Mysql application.

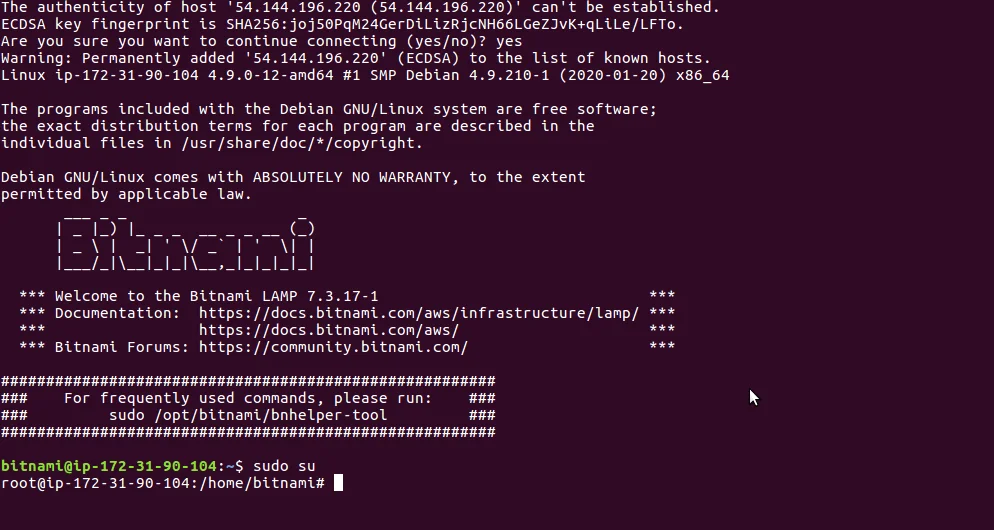
Now SSH into your machine, using the bitnami user and the pem file and download the bagisto latest version here.

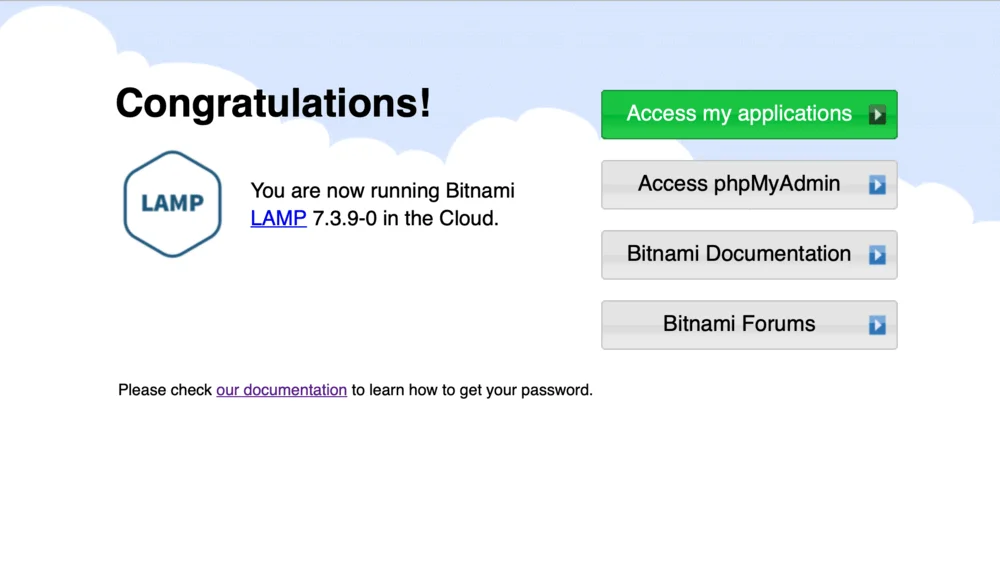
Go to your Instance IP and you will see the LAMP stack successfull Installation page:-

Now create a database for the bagisto on your locally installed MySQL by log in as “root” user :-
|
1 2 3 4 5 |
create database "YOUR-DB-NAME"; grant all on "YOUR-DB-NAME".* to "Username"@"%" identified by "password"; flush privilges; |
Now create a directory bagisto inside /opt/bitnami/apps/ .
Inside the bagisto create 2 more directories: –
- conf
- htdocs
Now untar all the bagisto files inside htdocs directory, and create a file httpd-vhosts.conf inside /opt/bitnami/apps/bagisto/conf/ and paste the following content inside it :-
|
1 2 3 4 5 6 7 8 9 10 11 12 13 14 15 16 17 18 19 20 21 22 |
<VirtualHost *:80> ServerName Your-EC2-Server-IP DocumentRoot "/opt/bitnami/apps/bagsito/htdocs/bagisto/public" <Directory "/opt/bitnami/apps/bagsito/htdocs/bagisto/public"> Options Indexes FollowSymlinks AllowOverride all Require all granted </Directory> </VirtualHost> <VirtualHost *:443> ServerName Your-EC2-Server-IP DocumentRoot "/opt/bitnami/apps/bagsito/htdocs/bagisto/public" SSLEngine on SSLCertificateFile "/etc/ssl/certs/bagisto.crt" SSLCertificateKeyFile "/etc/ssl/private/bagisto.key" <Directory "/opt/bitnami/apps/bagsito/htdocs/bagisto/public"> Options Indexes FollowSymLinks AllowOverride All Require all granted </Directory> </VirtualHost> |
(Note:- Make sure to replace bagisto.crt and bagisto.key with your own SSL certificate and key)
Now, edit the /opt/bitnami/apache2/conf/bitnami/bitnami-apps-vhosts.conf and add the following line :-
|
1 |
Include "/opt/bitnami/apps/bagisto/conf/httpd-vhosts.conf" |
Set the bagisto file permissions to default apache user i.e. daemon.
|
1 2 |
chown -R daemon:daemon /opt/bitnami/apps/bagisto/ chmod -R 755 /opt/bitnami/apps/bagisto/ |
We are good to go now, Just restart your apache server
|
1 |
/opt/bitnami/ctlscript.sh restart apache |
and browse your server IP, you will see the bagisto Installation page –
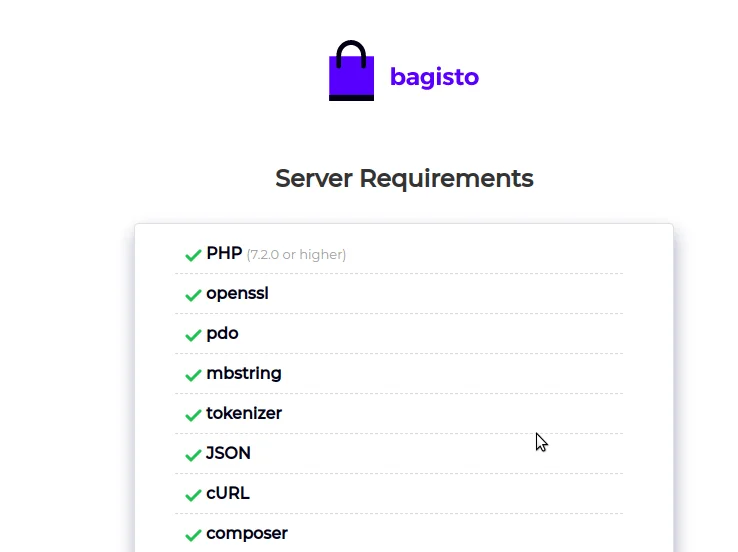

Install the bagisto, and then log in into your admin panel
|
1 |
http://SERVER-IP/admin |
your admin credentials:
|
1 2 |
Username:- admin@example.com password:- admin123 |
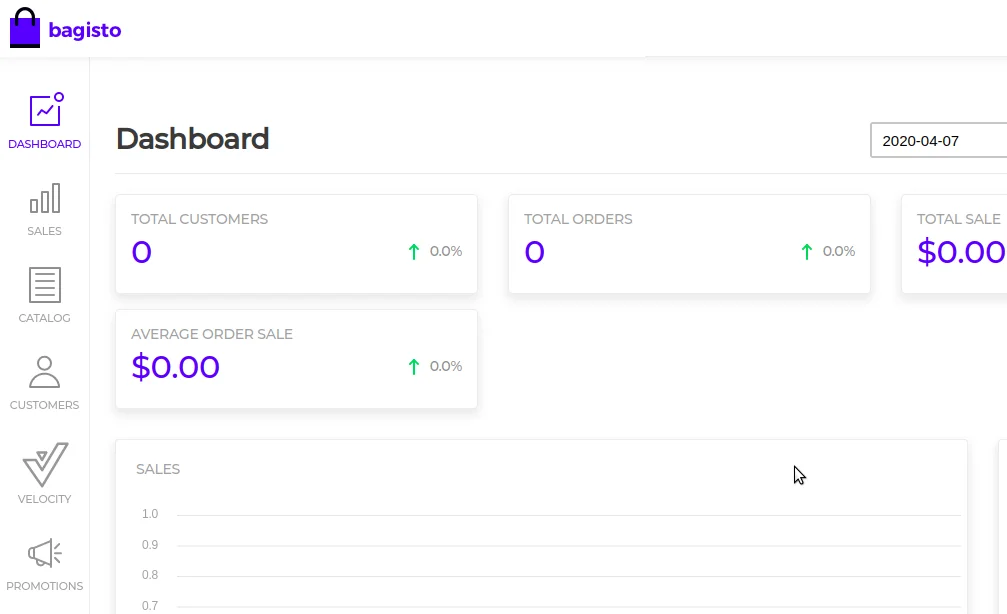

Now you have successfully Installed Bagisto on bitnami server on AWS cloud.
Also, for any suggestions or query contact us at https://bagisto.uvdesk.com/en/
Thanks for reading the article
Stay Connected !!

