In this guide, we’ll build a simple authentication system for a Next.js storefront using Bagisto Headless Commerce.
This authentication system allows users to:
- Sign in with email and password
- Create new accounts
- Stay logged in while browsing
- See their account page
The guide follows a clear, step-by-step structure with practical examples, and you can download the full working code from here.
What You Need
- Bagisto Setup
- Bagisto API
- Next.js Project
- API Keys
Generate using this command:
1php artisan bagisto-api:generate-key --name="My App2" --rate-limit=null
👉 Check this Complete Installation guide

Step 0: Create Your Next.js Project
If you don’t have a Next.js project yet, let’s create one!
0.1 Install Node.js
First, make sure you have Node.js installed. Follow these steps:
- Go to nodejs.org
- Download the latest version (v18 or higher)
- Install it on your computer
- Open your terminal and type
node --versionto check
0.2 Create a New Next.js Project
Open your terminal. Then type these commands:
|
1 2 3 |
npx create-next-app@latest bagisto-auth-tutorial cd bagisto-auth-tutorial |
This creates a new Next.js project. The project is called bagisto-auth-tutorial.
0.3 Install TypeScript (Optional but Recommended)
If you want to use TypeScript, run this command. TypeScript helps catch errors:
|
1 2 3 |
npm install --save-dev typescript @types/node npx tsc --init |
0.4 Start Your Project
Now start your project with this command:
|
1 2 |
npm run dev |
Your Next.js website should now be running. Open your browser and visit http://localhost:3000.
Step 1: Install Login Tools
Open your computer’s terminal. Then type these commands:
|
1 2 |
npm install next-auth @apollo/client graphql |
What this does:
next-auth– Helps manage user loginsapollo-client– Talks to your Bagisto storegraphql– The language for asking questions to your store
These tools work together. They create a secure login system for your store.
Step 2: Set Up Your Keys
Create a file named .env.local in your project folder. Add this content:
|
1 2 3 4 5 |
NEXT_PUBLIC_BAGISTO_ENDPOINT=https://your-bagisto-url.com NEXT_PUBLIC_BAGISTO_STOREFRONT_KEY=your_storefront_key_here NEXT_PUBLIC_NEXT_AUTH_SECRET=your_nextauth_secret_here NEXT_PUBLIC_NEXT_AUTH_URL=http://localhost:3000 |
Replace with your actual values:
https://your-bagisto-url.com– Your Bagisto websiteyour_storefront_key_here– The key from your admin panelyour_nextauth_secret_here– Generate with:openssl rand -base64 32- http://localhost:3000 – Your local development URL
Important: Never share these keys with anyone. Keep them private and secure.
Step 3: Create an Authentication System
3.1 Make the Login Route
Create a file at this location: src/app/api/auth/[...nextauth]/route.ts
Then add this code:
|
1 2 3 4 5 6 7 8 9 10 11 12 13 14 15 16 17 18 19 20 21 22 23 24 25 26 27 28 29 30 31 32 33 34 35 36 37 38 39 40 41 42 43 44 45 46 47 48 49 50 51 52 53 54 55 56 57 58 59 60 61 62 63 |
import NextAuth, { NextAuthOptions } from 'next-auth' import CredentialsProvider from 'next-auth/providers/credentials' import { authenticateWithBagisto } from '@/utils/auth' export const authOptions: NextAuthOptions = { session: { strategy: 'jwt', maxAge: 30 * 24 * 60 * 60, // Users stay logged in for 30 days }, providers: [ CredentialsProvider({ name: 'Credentials', credentials: { username: { label: 'Email', type: 'text' }, password: { label: 'Password', type: 'password' }, }, authorize: async (credentials): Promise<any> => { if (!credentials?.username || !credentials?.password) { throw new Error('Email and password are required.') } return await authenticateWithBagisto(credentials) }, }), ], callbacks: { async jwt({ token, user }) { if (user) { token.id = user.id token.apiToken = user.apiToken token.accessToken = user.accessToken token.role = 'customer' } return token }, async session({ session, token }) { session.user = { ...session.user, id: (token.id as string) || '', apiToken: token.apiToken, accessToken: token.accessToken, role: token.role, } return session }, }, pages: { signIn: '/login', error: '/login', }, secret: process.env.NEXT_PUBLIC_NEXT_AUTH_SECRET, } const handler = NextAuth(authOptions) export { handler as GET, handler as POST } |
What this code does:
This code sets up NextAuth. It uses credentials (email and password) for login. Users stay logged in for 30 days.
3.2 Create Authentication Helper
Create a file at this location: src/utils/auth.ts
Then add this code:
|
1 2 3 4 5 6 7 8 9 10 11 12 13 14 15 16 17 18 19 20 21 22 23 24 25 26 27 28 29 30 31 32 33 34 35 36 37 38 39 40 41 42 43 44 45 46 47 48 49 50 51 52 53 |
import { gql } from '@apollo/client' import { print } from 'graphql' // This asks Bagisto if the login is correct export const CREATE_CUSTOMER_LOGIN = gql` mutation loginCustomer($input: createCustomerLoginInput!) { createCustomerLogin(input: $input) { customerLogin { id apiToken token message success } } } ` // Check if login is correct export async function authenticateWithBagisto(credentials: any) { const response = await fetch(`${process.env.NEXT_PUBLIC_BAGISTO_ENDPOINT}/api/graphql`, { method: 'POST', headers: { 'Content-Type': 'application/json', 'X-STOREFRONT-KEY': `${process.env.NEXT_PUBLIC_BAGISTO_STOREFRONT_KEY}`, }, body: JSON.stringify({ query: print(CREATE_CUSTOMER_LOGIN), variables: { input: { email: credentials.username, password: credentials.password, }, }, }), }) const result = await response.json() const data = result?.data?.createCustomerLogin?.customerLogin if (!data || !data.success || !data.token) { throw new Error(data?.message || 'Invalid credentials.') } return { id: data.id, email: credentials.username, name: credentials.username, apiToken: data.apiToken, accessToken: data.token, role: 'customer', } } |
What this code does:
This function talks to Bagisto. It sends the email and password. Then Bagisto checks if they’re correct. If yes, it returns user data. If no, it shows an error.
Step 4: Add GraphQL Proxy
Next.js needs a way to talk to Bagisto without CORS errors. Create this API route.
Create a file: src/app/api/graphql/route.ts
|
1 2 3 4 5 6 7 8 9 10 11 12 13 14 15 16 17 18 19 20 21 22 23 24 25 26 27 28 29 30 31 32 33 |
import { NextRequest, NextResponse } from 'next/server' export async function POST(req: NextRequest) { try { const body = await req.json() const { query, variables } = body // Forward the request to Bagisto GraphQL endpoint const response = await fetch(`${process.env.NEXT_PUBLIC_BAGISTO_ENDPOINT}/api/graphql`, { method: 'POST', headers: { 'Content-Type': 'application/json', 'X-STOREFRONT-KEY': `${process.env.NEXT_PUBLIC_BAGISTO_STOREFRONT_KEY}`, }, body: JSON.stringify({ query, variables, }), }) const data = await response.json() return NextResponse.json(data) } catch (error) { return NextResponse.json( { message: 'Network error', error: error instanceof Error ? error.message : error, }, { status: 500 } ) } } |
Step 5: Wrap Your App with Providers
|
1 2 3 4 5 6 7 8 9 10 11 12 13 14 15 16 17 18 19 20 21 22 23 24 25 26 27 28 29 30 31 32 33 |
'use client' import { ApolloClient, ApolloProvider, InMemoryCache, createHttpLink } from '@apollo/client' import { SessionProvider } from 'next-auth/react' import { setContext } from '@apollo/client/link/context' const httpLink = createHttpLink({ uri: '/api/graphql', }) const authLink = setContext((_, { headers }) => { return { headers: { ...headers, 'X-STOREFRONT-KEY': `${process.env.NEXT_PUBLIC_BAGISTO_STOREFRONT_KEY}`, } } }) const client = new ApolloClient({ link: authLink.concat(httpLink), cache: new InMemoryCache(), }) export function Providers({ children }: { children: React.ReactNode }) { return ( <SessionProvider> <ApolloProvider client={client}> {children} </ApolloProvider> </SessionProvider> ) } |
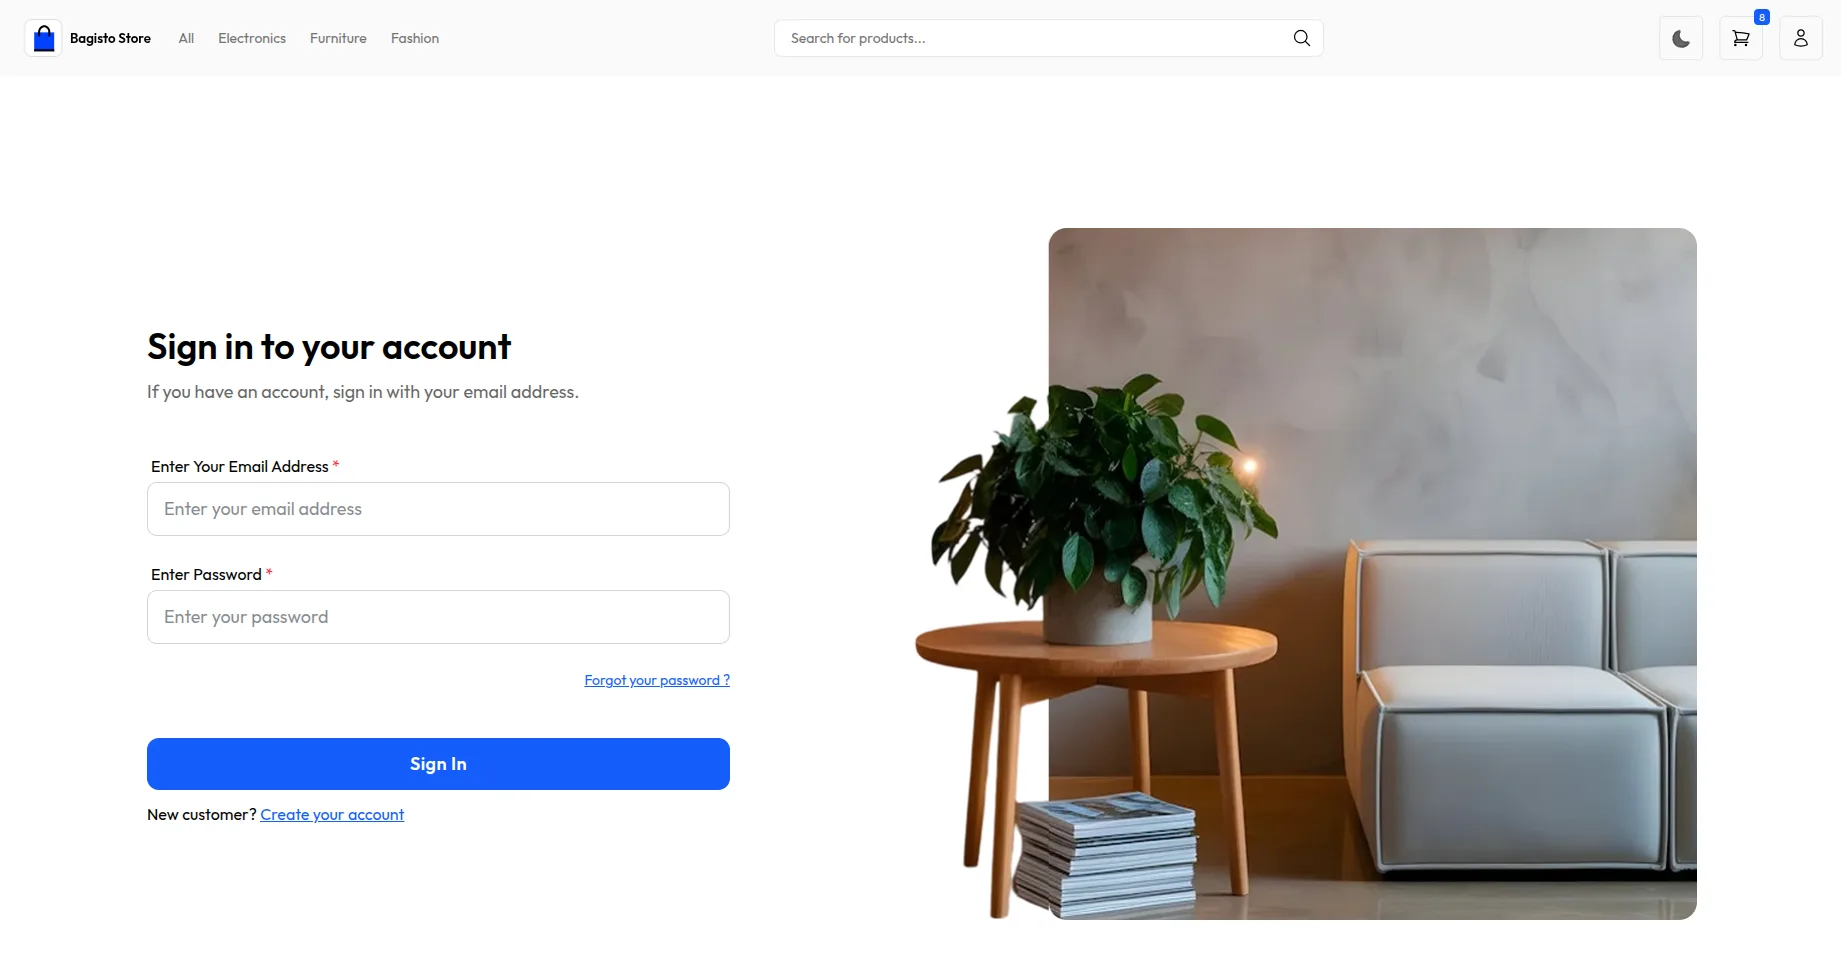
Step 6: Create Login Form
Create a file at this location: src/components/customer/LoginForm.tsx
Then add this code:
|
1 2 3 4 5 6 7 8 9 10 11 12 13 14 15 16 17 18 19 20 21 22 23 24 25 26 27 28 29 30 31 32 33 34 35 36 37 38 39 40 41 42 43 44 45 46 47 48 49 50 51 52 53 54 55 56 57 58 59 60 61 62 63 64 65 66 67 68 69 70 71 72 73 74 |
'use client' import { useState } from 'react' import { useRouter } from 'next/navigation' import { signIn, useSession } from 'next-auth/react' export default function LoginForm() { const [email, setEmail] = useState('') const [password, setPassword] = useState('') const [error, setError] = useState('') const router = useRouter() const { data: session } = useSession() const handleSubmit = async (e: React.FormEvent) => { e.preventDefault() const result = await signIn('credentials', { username: email, // NextAuth expects 'username' field password, redirect: false, }) if (result?.error) { setError(result.error) } else { router.push('/account') router.refresh() } } if (session) { return ( <div> <p>You are already signed in.</p> <button onClick={() => router.push('/account')}> Go to Account </button> </div> ) } return ( <form onSubmit={handleSubmit} className="login-form"> <h2>Login to Your Account</h2> <div className="form-group"> <label htmlFor="email">Email Address</label> <input type="email" id="email" value={email} onChange={(e) => setEmail(e.target.value)} placeholder="Enter your email" required /> </div> <div className="form-group"> <label htmlFor="password">Password</label> <input type="password" id="password" value={password} onChange={(e) => setPassword(e.target.value)} placeholder="Enter your password" required /> </div> {error && <div className="error">{error}</div>} <button type="submit" className="btn-primary">Login</button> </form> ) } |
What this code does:
This creates a login form. Users enter their email and password. Then they click “Login”. The form sends data to Bagisto.
If the login succeeds, users go to their account page.
Step 7: Create Registration Form
Create a file at this location: src/components/customer/RegistrationForm.tsx
Then add this code:
|
1 2 3 4 5 6 7 8 9 10 11 12 13 14 15 16 17 18 19 20 21 22 23 24 25 26 27 28 29 30 31 32 33 34 35 36 37 38 39 40 41 42 43 44 45 46 47 48 49 50 51 52 53 54 55 56 57 58 59 60 61 62 63 64 65 66 67 68 69 70 71 72 73 74 75 76 77 78 79 80 81 82 83 84 85 86 87 88 89 90 91 92 93 94 95 96 97 98 99 100 101 102 103 104 105 106 107 108 109 110 111 112 113 114 115 116 117 118 119 120 121 122 123 124 125 126 127 128 129 130 131 132 133 134 135 136 137 138 139 140 141 142 143 144 145 146 147 148 149 150 151 152 153 154 155 156 157 158 159 160 |
'use client' import { useState } from 'react' import { useRouter } from 'next/navigation' import { useMutation, gql } from '@apollo/client' const CREATE_CUSTOMER = gql` mutation registerCustomer($input: createCustomerInput!) { createCustomer(input: $input) { customer { id firstName lastName email phone status apiToken customerGroupId subscribedToNewsLetter isVerified isSuspended token rememberToken name } } } ` export default function RegistrationForm() { const [formData, setFormData] = useState({ firstName: '', lastName: '', email: '', password: '', passwordConfirmation: '', }) const [error, setError] = useState('') const router = useRouter() const [register] = useMutation(CREATE_CUSTOMER, { onCompleted({ createCustomer }) { if (createCustomer.customer) { router.push('/login') } else { setError('Registration failed') } }, onError(error) { setError(error.message || 'Registration failed') }, }) const handleChange = (e: React.ChangeEvent<HTMLInputElement>) => { setFormData({ ...formData, [e.target.name]: e.target.value, }) } const handleSubmit = async (e: React.FormEvent) => { e.preventDefault() if (formData.password !== formData.passwordConfirmation) { setError('Passwords do not match') return } await register({ variables: { input: { firstName: formData.firstName, lastName: formData.lastName, email: formData.email, password: formData.password, confirmPassword: formData.passwordConfirmation, status: '1', isVerified: '1', isSuspended: '0', subscribedToNewsLetter: true, }, }, }) } return ( <form onSubmit={handleSubmit} className="login-form"> <h2>Create Your Account</h2> <div className="form-group"> <label htmlFor="firstName">First Name</label> <input type="text" id="firstName" name="firstName" value={formData.firstName} onChange={handleChange} placeholder="Enter your first name" required /> </div> <div className="form-group"> <label htmlFor="lastName">Last Name</label> <input type="text" id="lastName" name="lastName" value={formData.lastName} onChange={handleChange} placeholder="Enter your last name" required /> </div> <div className="form-group"> <label htmlFor="email">Email Address</label> <input type="email" id="email" name="email" value={formData.email} onChange={handleChange} placeholder="Enter your email" required /> </div> <div className="form-group"> <label htmlFor="password">Password</label> <input type="password" id="password" name="password" value={formData.password} onChange={handleChange} placeholder="Create a password" required /> </div> <div className="form-group"> <label htmlFor="passwordConfirmation">Confirm Password</label> <input type="password" id="passwordConfirmation" name="passwordConfirmation" value={formData.passwordConfirmation} onChange={handleChange} placeholder="Confirm your password" required /> </div> {error && <div className="error">{error}</div>} <button type="submit" className="btn-primary">Register</button> </form> ) } |
What this code does:
This creates a registration form. New users enter their details. They provide first name, last name, email, and password. Then they confirm their password.
After registration succeeds, they go to the login page.
Step 8: Create Account Page
Create a file at this location: src/app/account/page.tsx
Then add this code:
|
1 2 3 4 5 6 7 8 9 10 11 12 13 14 15 16 17 18 19 20 21 22 23 24 25 26 27 28 29 30 31 32 33 34 35 36 37 38 39 40 41 42 43 44 |
'use client' import { useSession, signOut } from 'next-auth/react' import { useRouter } from 'next/navigation' export default function AccountPage() { const { data: session, status } = useSession() const router = useRouter() if (status === 'loading') { return <p>Loading...</p> } if (!session) { return ( <div> <p>Please login to see your account.</p> <button onClick={() => router.push('/login')}> Login </button> </div> ) } return ( <div className="account-page"> <h1>Welcome to Your Account!</h1> <p>You are logged in successfully.</p> <p>Logged in as: {session.user?.email}</p> <div className="account-actions"> <button onClick={() => router.push('/orders')}> View Orders </button> <button onClick={() => router.push('/profile')}> Edit Profile </button> <button onClick={() => signOut()}> Logout </button> </div> </div> ) } |
What this code does:
This creates the account page. Only logged-in users can see this page. They see a welcome message. They can view orders, edit profile, or logout.
When they logout, they go back to the home page.
Step 9: Test Your Login
How to Test:
Follow these steps to test your login system:
- Start your website – Run
npm run devin your terminal - Go to
/login– Open your browser and visithttp://localhost:3000/login - Try to login – Use an email and password from your Bagisto store
- Check if it works – You should see the account page

Troubleshooting List:
Here are solutions to common issues:
• Invalid email or password
→ Check your Bagisto URL and Storefront Key
• Page not found
→ Make sure you created all the required files
• Something went wrong
→ Check your terminal or console for error messages
Need more help? Look at the error messages in your browser console. They tell you exactly what’s wrong.
Final Results
You now have a working login system for your Bagisto store! Here’s what you built:
Login Page – Users can sign in
Registration Page – Users can create accounts
Account Page – Users see their account
Logout Button – Users can sign out
Security Checks – Forms are validated
30-Day Login – Users stay logged in for a month
Great job! You’ve successfully created a complete authentication system. Your users can now login, register, and manage their accounts.

